Maintenance
XPR300 Instruction Manual 809480 249
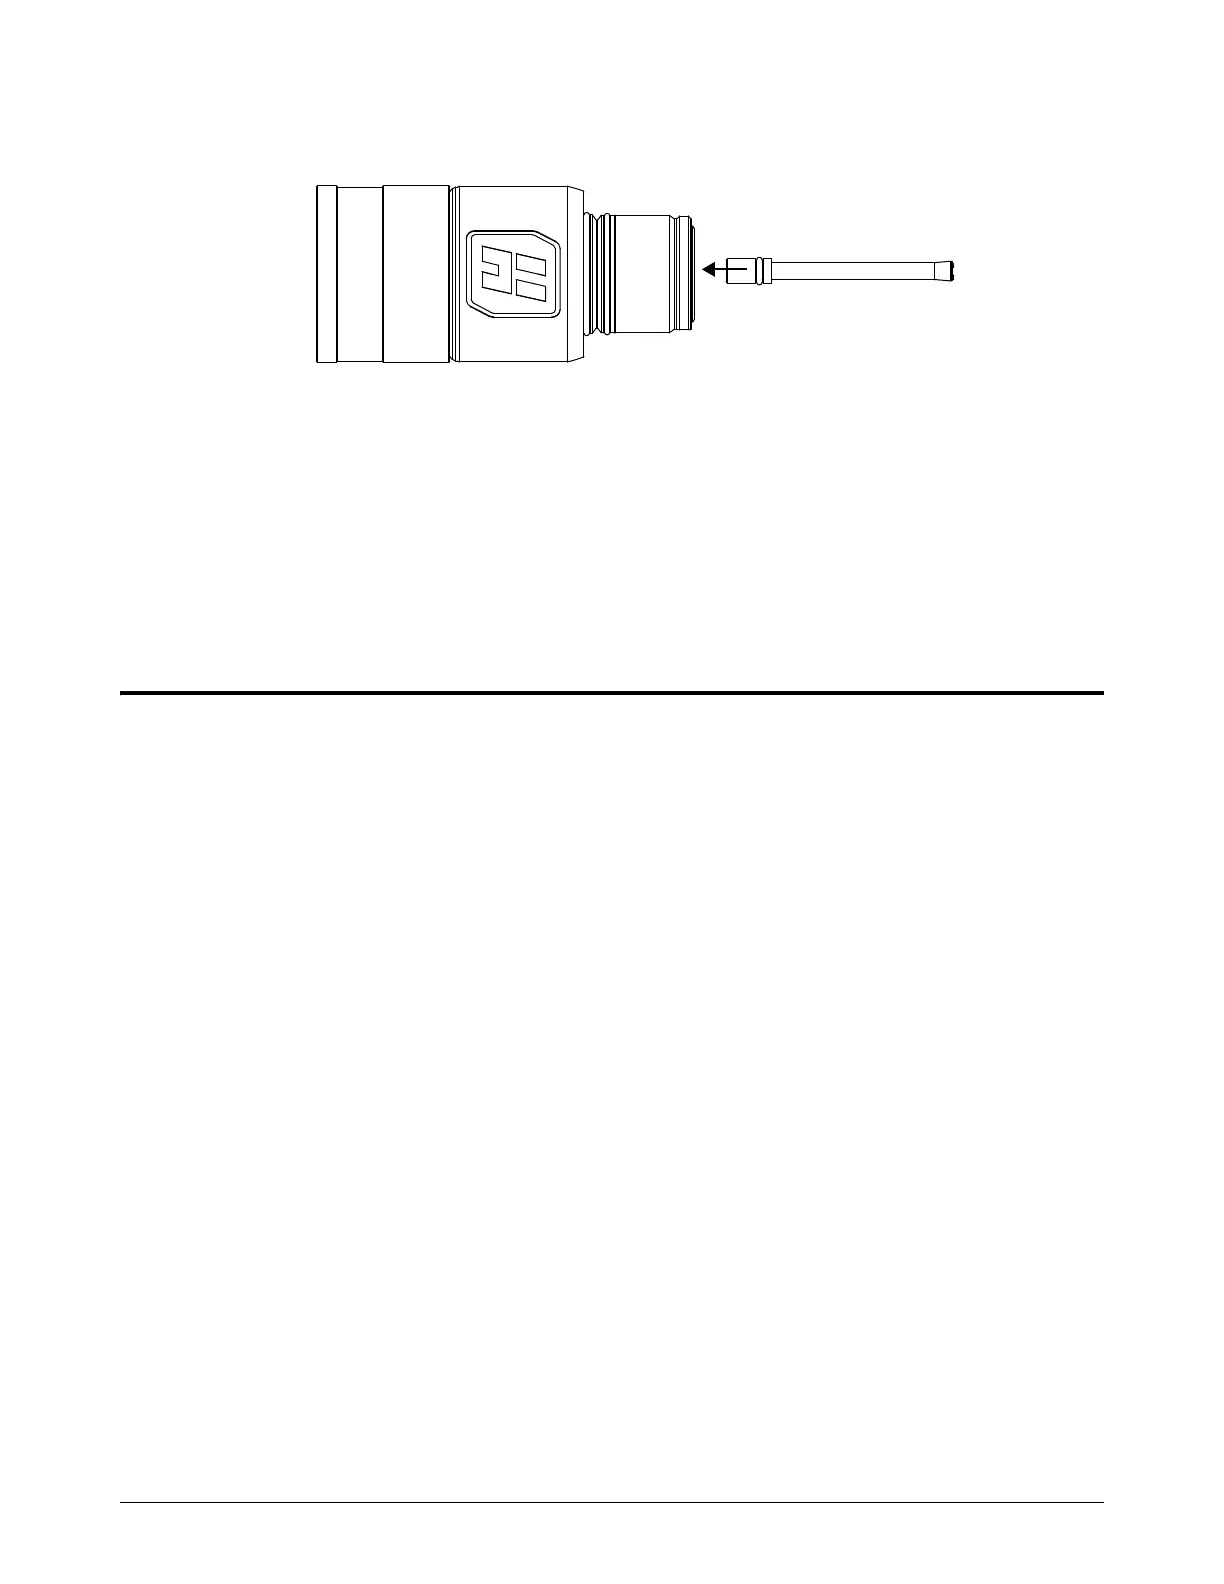
4. Install a water tube in the torch.
When correctly installed, the water tube can seem loose. Any side-to-side
looseness will disappear after electrode installation.
5. Before you supply power to the cutting system, install the following components:
Consumables in the torch. Refer to Install the consumables on page 133.
Torch in the torch receptacle. Refer to Install the torch into the torch receptacle on
page 135.
How to identify emitter wear
Emitter wear can indicate when to replace the electrode. Emitter wear can be described by the
width, depth, and appearance of the electrode pit. The number of starts and the arc-on time can
have an effect on emitter wear.
Emitter wear can cause the cut quality to degrade. Your cut quality requirements will indicate when
to replace the electrode.
If an electrode needs replacement because of emitter wear, always
replace the nozzle at the same time as the electrode.
The following guidelines for how to evaluate emitter wear apply to hafnium-emitter electrodes.
The face of a new electrode looks shiny and smooth (Figure 60).