Preparing to install drives 115
Preparing to install drives
Before you install an additional:
• Drive (of any type), you may need to purchase
power and signal cables.
• Hard disk, see “Installing additional drives” on page
116.
Deciding which drive bay to use
Use the following table to help you determine where to
install your drive.
note:
You can install a drive in any empty bay in which
the drive fits.
Bay Drive Specifications Bay Capacity
1 Can hold a 3.5-inch slim drive, such as
a diskette or tape drive.
101.6 x 25.4 mm
(4.0 x 1.0 in.)
2 Can hold up to a 5.25-inch half high
drive, such as a diskette, tape, or CD-
ROM drive.
149 x 41.3 mm
(5.87 x 1.625 in.)
3 Can hold up to a 5.25-inch half high
drive, such as a diskette, tape, or CD-
ROM drive.
149 x 41.3 mm
(5.87 x 1.625 in.)
4 Can hold up to a 3.5-inch half high
drive, such as a diskette or tape drive.
101.6 x 41.3 mm
(4.0 x 1.625 in.)
5 Can hold a 3.5-inch slim hard disk.
(No external access.)
101.6 x 25.4 mm
(4.0 x 1.0 in.)
6 Can hold a 3.5-inch slim hard disk.
(No external access.)
101.6 x 25.4 mm
(4.0 x 1.0 in.)
Note: Using the appropriate installation hardware, you can install
smaller drives than those listed here.
Before you install a drive, make sure you remove the
system unit cover. For cover removal instructions, see
page 107.
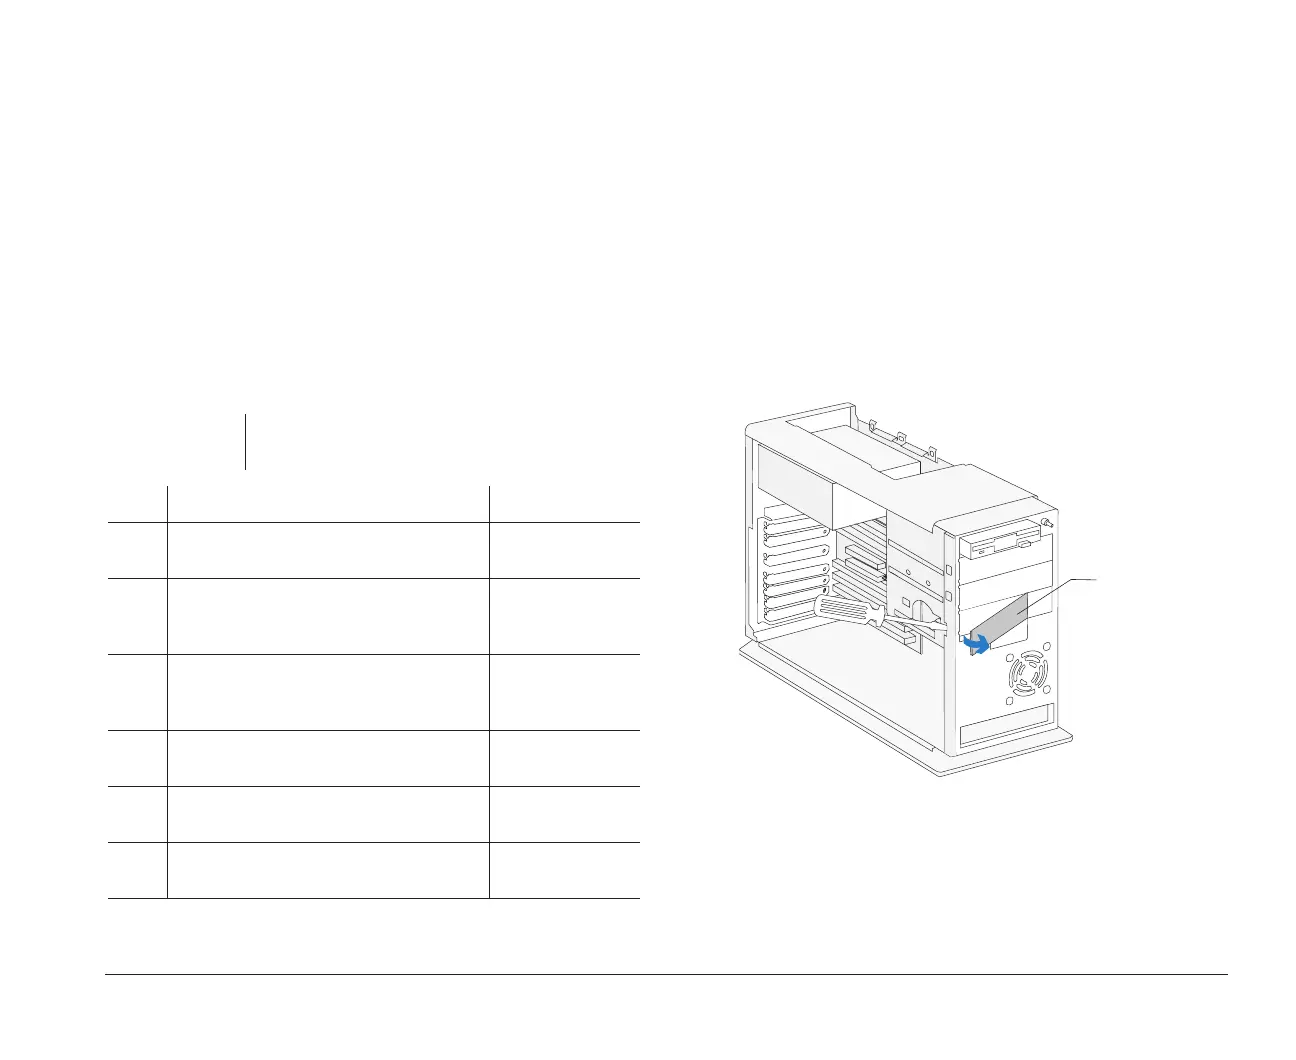
1. If you are installing a drive in bay 2, 3, or 4, you
may need to remove the bay panel first. Insert a
small, flat-blade screwdriver behind the panel and
depress the panel latches. Refer to the illustration
as an example.
2. To ensure that a drive is aligned properly in a bay,
do the following:
a. Insert each screw and tighten loosely.
b. Then tighten all screws securely.
Front View
Bay Panel
bi2gntce.bk : bi2gusy2.doc Page 115 Saturday, June 3, 1995 6:54 AM

 Loading...


