122 Installing and removing a hard disk in bay 5
Installing and removing a hard disk in bay 5
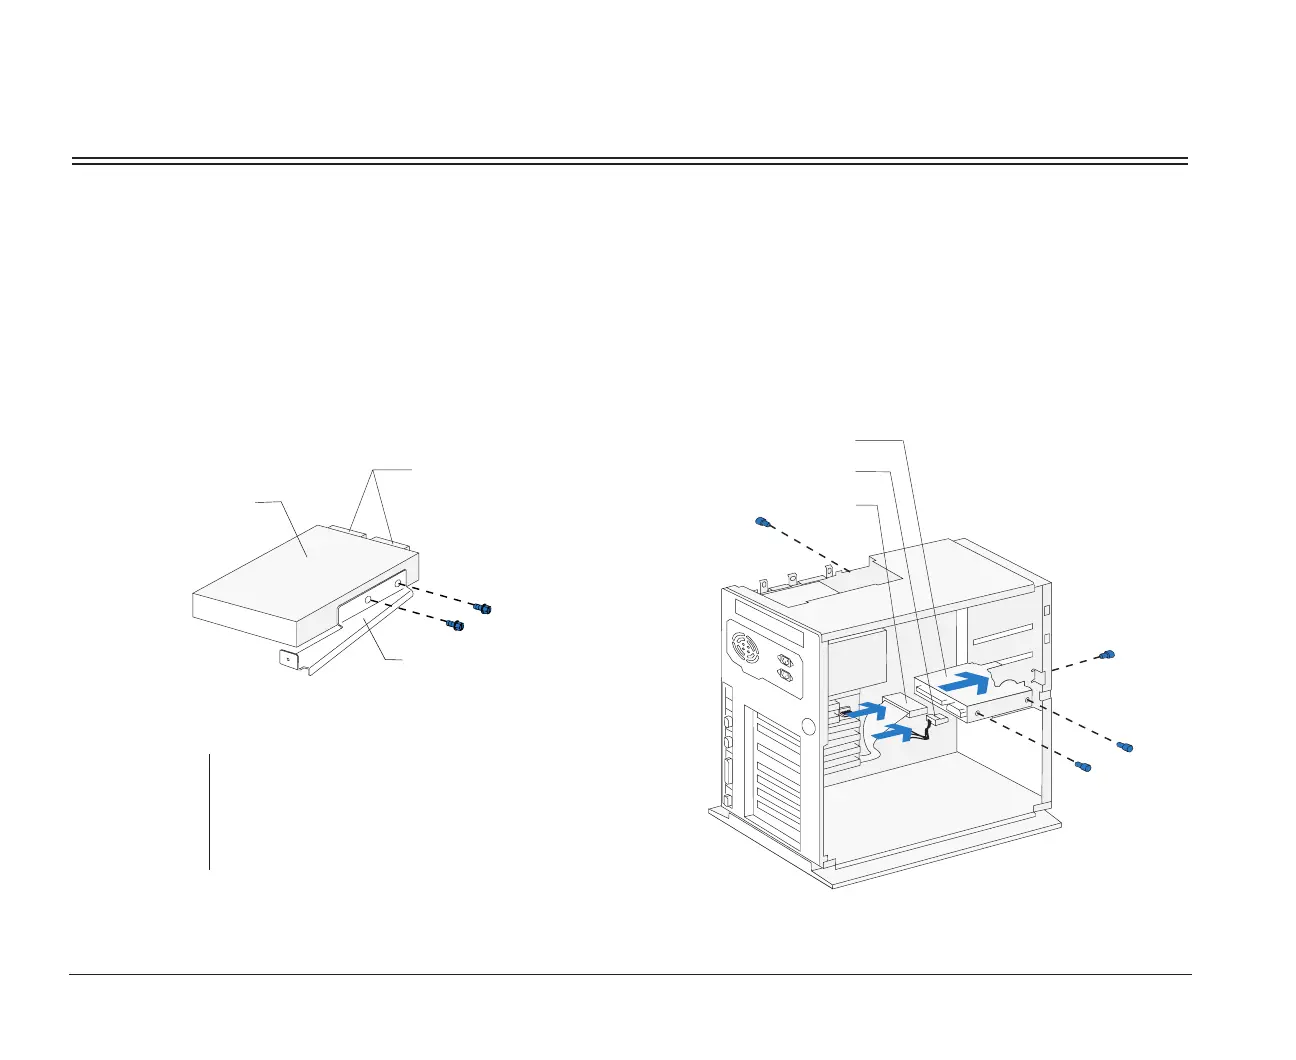
Bay 5 can hold a 3.5-inch slim hard disk. For hard disk removal, reverse these steps.
1. To attach the mounting bracket, align the screw
holes and insert the two screws.
note:
The drive is drawn in this position to show
bracket attachment. Once the bracket is installed
on the drive, rotate the drive 180 degrees so that
the front of the drive faces the front of the system
unit.
Hard Disk
(Front View)
Mounting
Bracket
Drive
Connectors
2. Insert the hard disk (with the bracket attached) into
the bay. Align the screw holes and insert the four
screws. Connect the power and signal cables. (To
ensure that your hard drive functions properly,
read “Installing additional drives” on page 116
before connecting the cables.)
Drive
Signal Cable
Power Cable
(Back View)
bi2gntce.bk : bi2gusy2.doc Page 122 Saturday, June 3, 1995 6:54 AM

 Loading...


