132 Installing cache memory
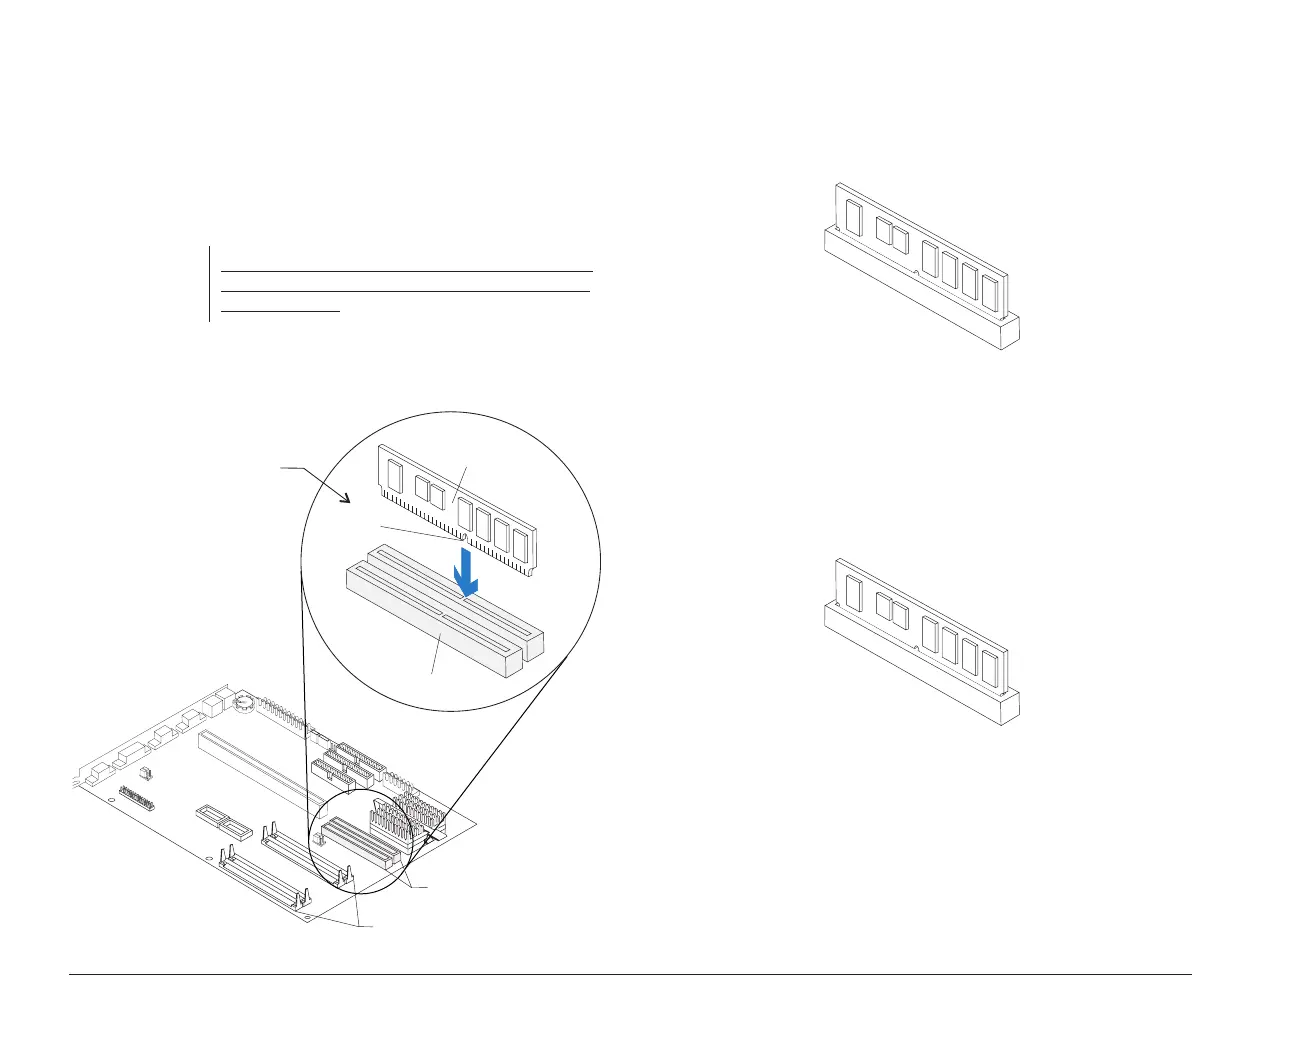
2. The middle notch at the bottom divides the cache
module into two unequal halves.
Position the notch over the center divider in the
socket as shown in the next picture, matching the
wide half of the module to the wide half of the
opening in the socket.
Push the module straight down into the socket.
Important:
The module can be correctly installed only when
the wide set of contacts is inserted into the wide
socket opening.
cache memory
module sockets
cache
memory module
notch
cache memory
module socket
memory module sockets
To insert cache module:
Position bottom notch over
socket divider as shown.
To install 256K:
Insert one 256K cache memory module into Bank 0. A
properly-inserted module looks like this:
To install 512K:
Insert one 256K cache memory module into each socket
(Bank 0 and Bank 1). A properly-inserted module looks
like this:
bi2gntce.bk : bi2gbsys.doc Page 132 Saturday, June 3, 1995 6:54 AM

 Loading...


