Hardware Installations and Upgrades
142 Intel
®
Entry Storage System SS4000-E User Guide
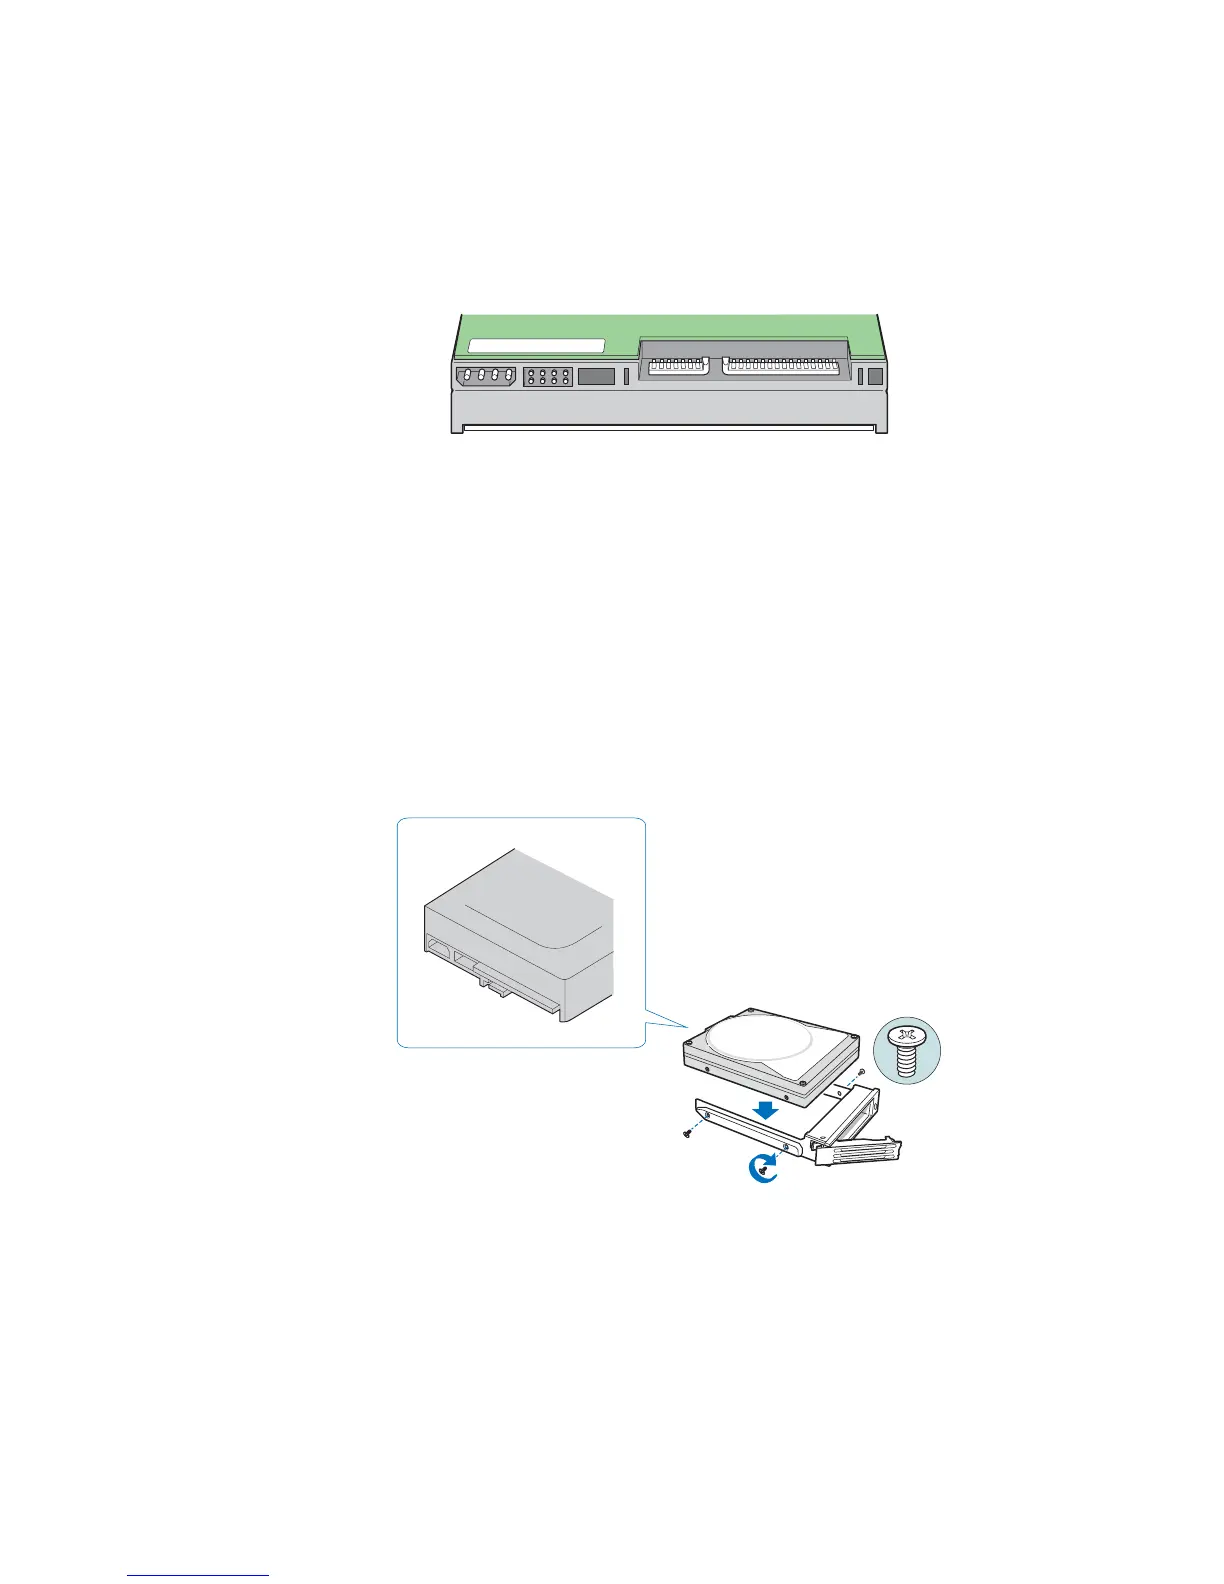
6. Remove the hard disk from its wrapper and place it on an anti-static surface.
Important: Make sure the hard disk is a SATA disk. It should have a SATA connector similar to the one
in the following figure.
Figure 17. Rear View of SATA Hard Disk
7. With the hard disk circuit-side down, position the connector end of the new hard disk
so it is facing the rear of the drive carrier. Align the holes in the new hard disk to the
holes in the drive carrier and attach the new hard disk to the carrier with the screws
removed in Step 5.
Note: Do not remove the side rail on the right side of the drive carrier. This rail
contains the light pipe that displays the LED light on the front of the drive
carrier. If the side rail comes loose, check to ensure the light pipe is properly
inserted into the LED hole before reattaching the side rail to the drive carrier.
Figure 18. Installing Hard Disk into Drive Carrier
AF000306
TP00929