EasyCoder PX4i and PX6i Service Manual 133
Chapter 13 — Power Supply
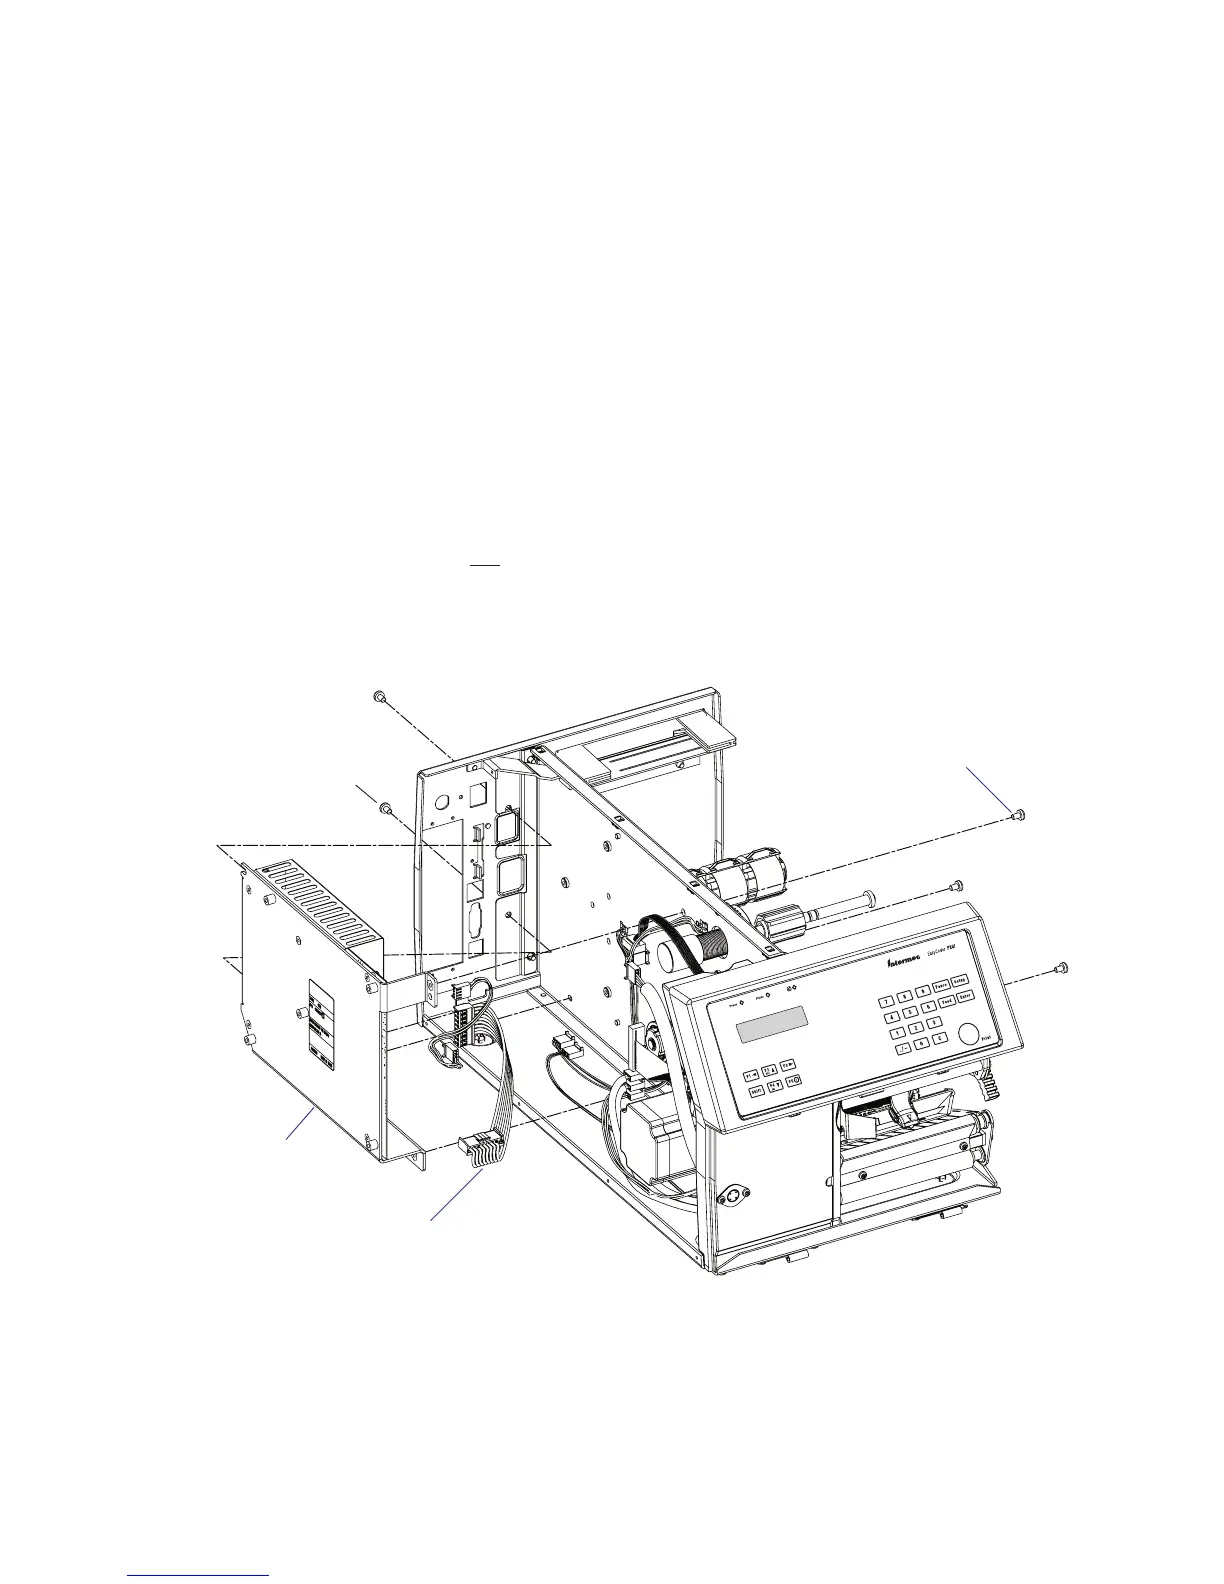
13.2 Replacement
• Take precautions to avoid any electrostatic discharges.
• Switch off the printer and disconnect the power cord and all interface
cables on the rear plate.
• Remove the left-hand cover as described in Chapter 3.3.
• Remove any interface board connected or attached to the CPU board.
• Disconnect all cables from the CPU board and remove it (see Chapter
15.3). The CPU board is held to the PSU bracket using four #T20
screws and one hexagonal spacer.
• Disconnect the cables that run between the PSU and the driver board.
• Remove the three #T20 Torx screws that hold the PSU assy to the center
section and two #T20 Torx screw that hold it to the rear plate.
• Do not dismantle the PSU. Replace the entire unit!
• Assemble in reverse order. Fit the top screw at the rear plate fi rst.
#T20 Torx screws (x2)
Cables to driver pcb
Fit this screw fi rst!
PSU assy
#T20 Torx screws (x3)