16 EasyCoder PX4i and PX6i Service Manual
Chapter 2 — Front and Keyboard
2.1 Front
The moulded front part is attached to the center section using four #T20
screws and to the bottom plate using two #T20 screws. The front mould-
ing is provided with holes for mounting a cutter connector (4-pin female
DIN-type).
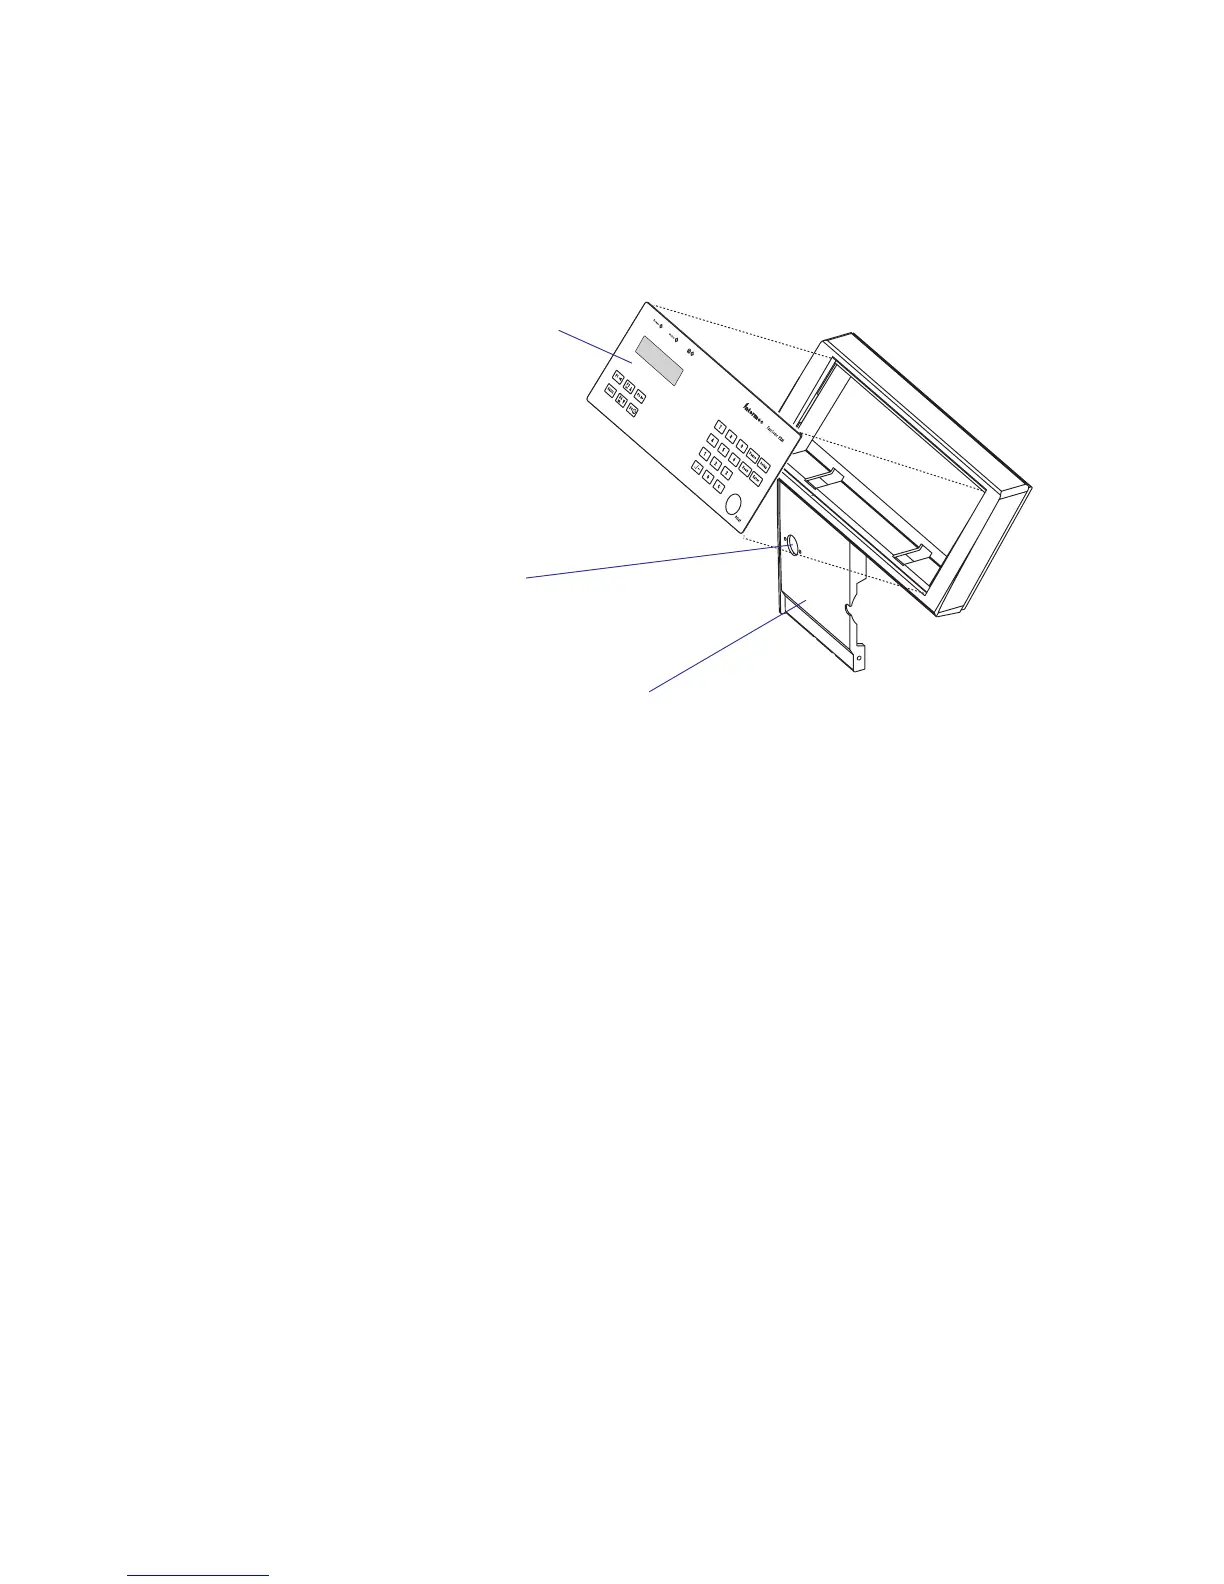
At the top part of the front moulding, there is a cavity for the keyboard/
display assy. This assembly is affi xed using two 2 mm hexagon grub screws
underneath the keyboard part of the front moulding.
Keyboard/display assy.
Provision for cutter
connection
Front moulding