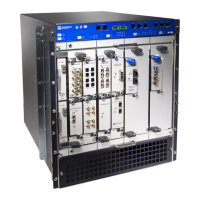
4. Loosen the captive screws on either side of the air filter faceplate and remove the
faceplate.
5. Press back and down on the filter to release it from the hooks, then slide it straight
out of the chassis.
Figure 63: Removing the M120 Air Filter
See Also M120 Cooling System Description on page 19•
• Maintaining the M120 Air Filter on page 263
• Troubleshooting the M120 Cooling System on page 286
• Installing the M120 Air Filter on page 188
Installing the M120 Air Filter
To install the front air filter (see Figure 64 on page 189):
1. Attach an ESD grounding strap to your bare wrist and connect the strap to one of the
ESD points on the chassis.
2. Insert the air filter element into the chassis by sliding it straight into the chassis until
it stops.
Copyright © 2018, Juniper Networks, Inc.188
M120 Multiservice Edge Router Hardware Guide

 Loading...