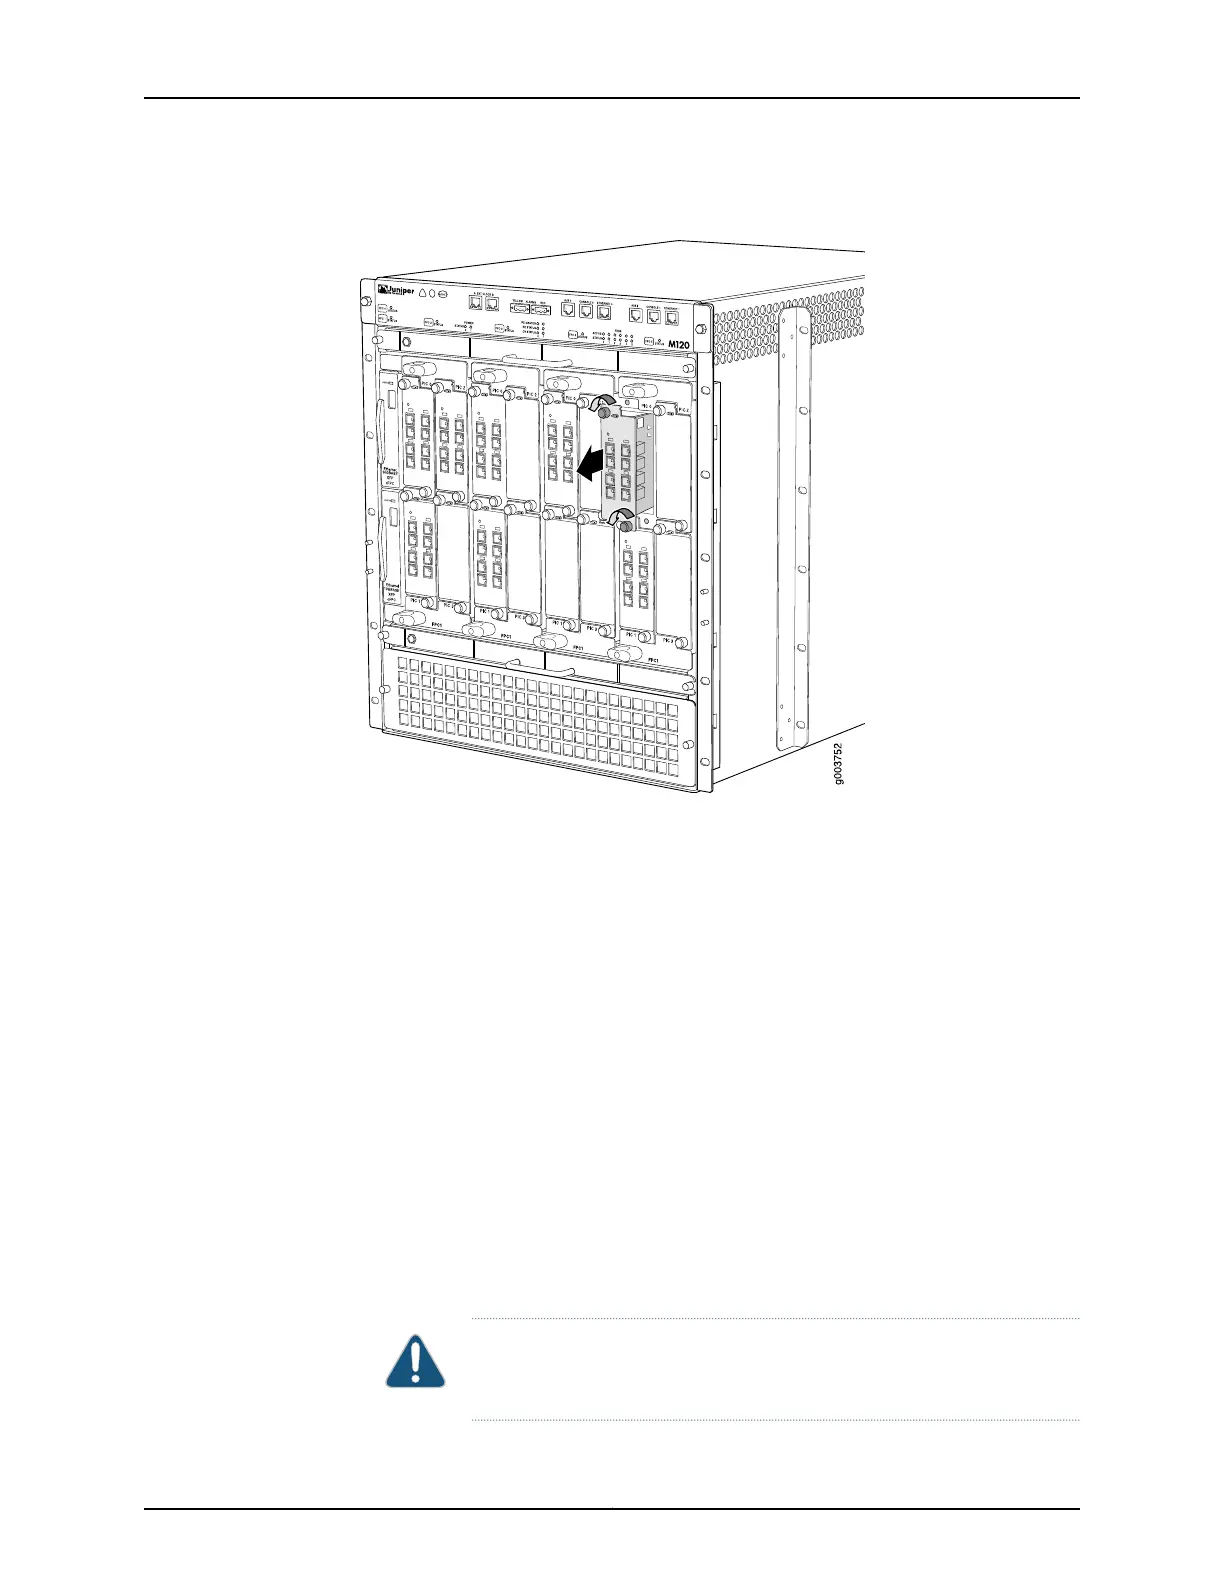
Figure 89: Removing an M120 PIC
See Also M120 PICs Description on page 57•
• Maintaining M120 PICs and PIC Cables on page 275
• Troubleshooting M120 PICs on page 288
• Installing an M120 PIC on page 225
Installing an M120 PIC
To install a PIC (see Figure 90 on page 227):
1. Attach an ESD grounding strap to your bare wrist and connect the strap to one of the
ESD points on the chassis.
2. If the PIC uses fiber-optic cable, verify that there is a rubber safety cap over each
transceiver on the faceplate. Install a cap if necessary.
3. Align the notches in the connector at the rear of the PIC with the notches in the PIC
slot in the FPC and then slide the PIC in until it lodges firmly in the FPC.
CAUTION: Slide the PIC straight into the slot to avoid damaging the
components on the bottom of the PIC.
225Copyright © 2018, Juniper Networks, Inc.
Chapter 27: Replacing Line Card Components