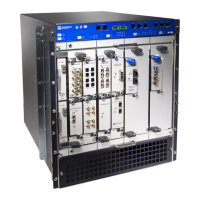
5. Slide the transceiver until the connector is seated in the PIC or CFPC slot. If you are
unable to fully insert the transceiver, make sure the connector is facing the right way.
6. Remove the rubber safety cap from the transceiver and the end of the cable. Insert
the cable into the transceiver.
7. Verify that the status LEDs on the PIC faceplate indicate that the SFP or XFP is
functioning correctly. For more information about the PIC LEDs, see the PIC description
for the PIC in the M120 Multiservice Edge Router Interface Module Reference. You can
also verify PIC functioning by issuing the show chassis fpc pic-status command
described in “Maintaining M120 PICs and PIC Cables” on page 275.
See Also M120 Router Chassis Description on page 7•
• Overview of Troubleshooting Resources for the M120 Router on page 283
• Removing an SFP or XFP Transceiver on page 234
Related
Documentation
• M120 Router Chassis Description on page 7
• Overview of Troubleshooting Resources for the M120 Router on page 283
237Copyright © 2018, Juniper Networks, Inc.
Chapter 27: Replacing Line Card Components

 Loading...