13 Sensor vericaon
187
13 Sensor vericaon
A company maintaining quality system according to ISO 9000 quality standards must
have deined procedures for controlling and calibrating its measuring equipment.
Such procedures are needed to demonstrate the conformance of the inal product to
speciied requirements. The company should
− Identify the required accuracy and select appropriate equipment for measure-
ments.
− Establish calibration procedures including a check method and acceptance crite-
ria.
− calibrate the equipment at prescribed intervals against certiied equipment having
a known valid relationship to nationally recognized standards. In cases where no
such standards exist, the basis used for calibration must be documented.
K-Patents veriies the calibration of all delivered instruments according to a proce-
dure similar to the one described Section 13.1. K-Patents quality system is ISO 9001
certiied by Det Norske Veritas.
13.1 Refracve index n
D
vericaon
Before starting the veriications procedures, make sure that you have a K-Patents
PR-23 sample holder at hand. Also check the condition of your standard refractive
index liquids. You’ll also need a cleaning solution (ethanol or IPA) and tissues to clean
the sensor prism and the sample holder between the samples.
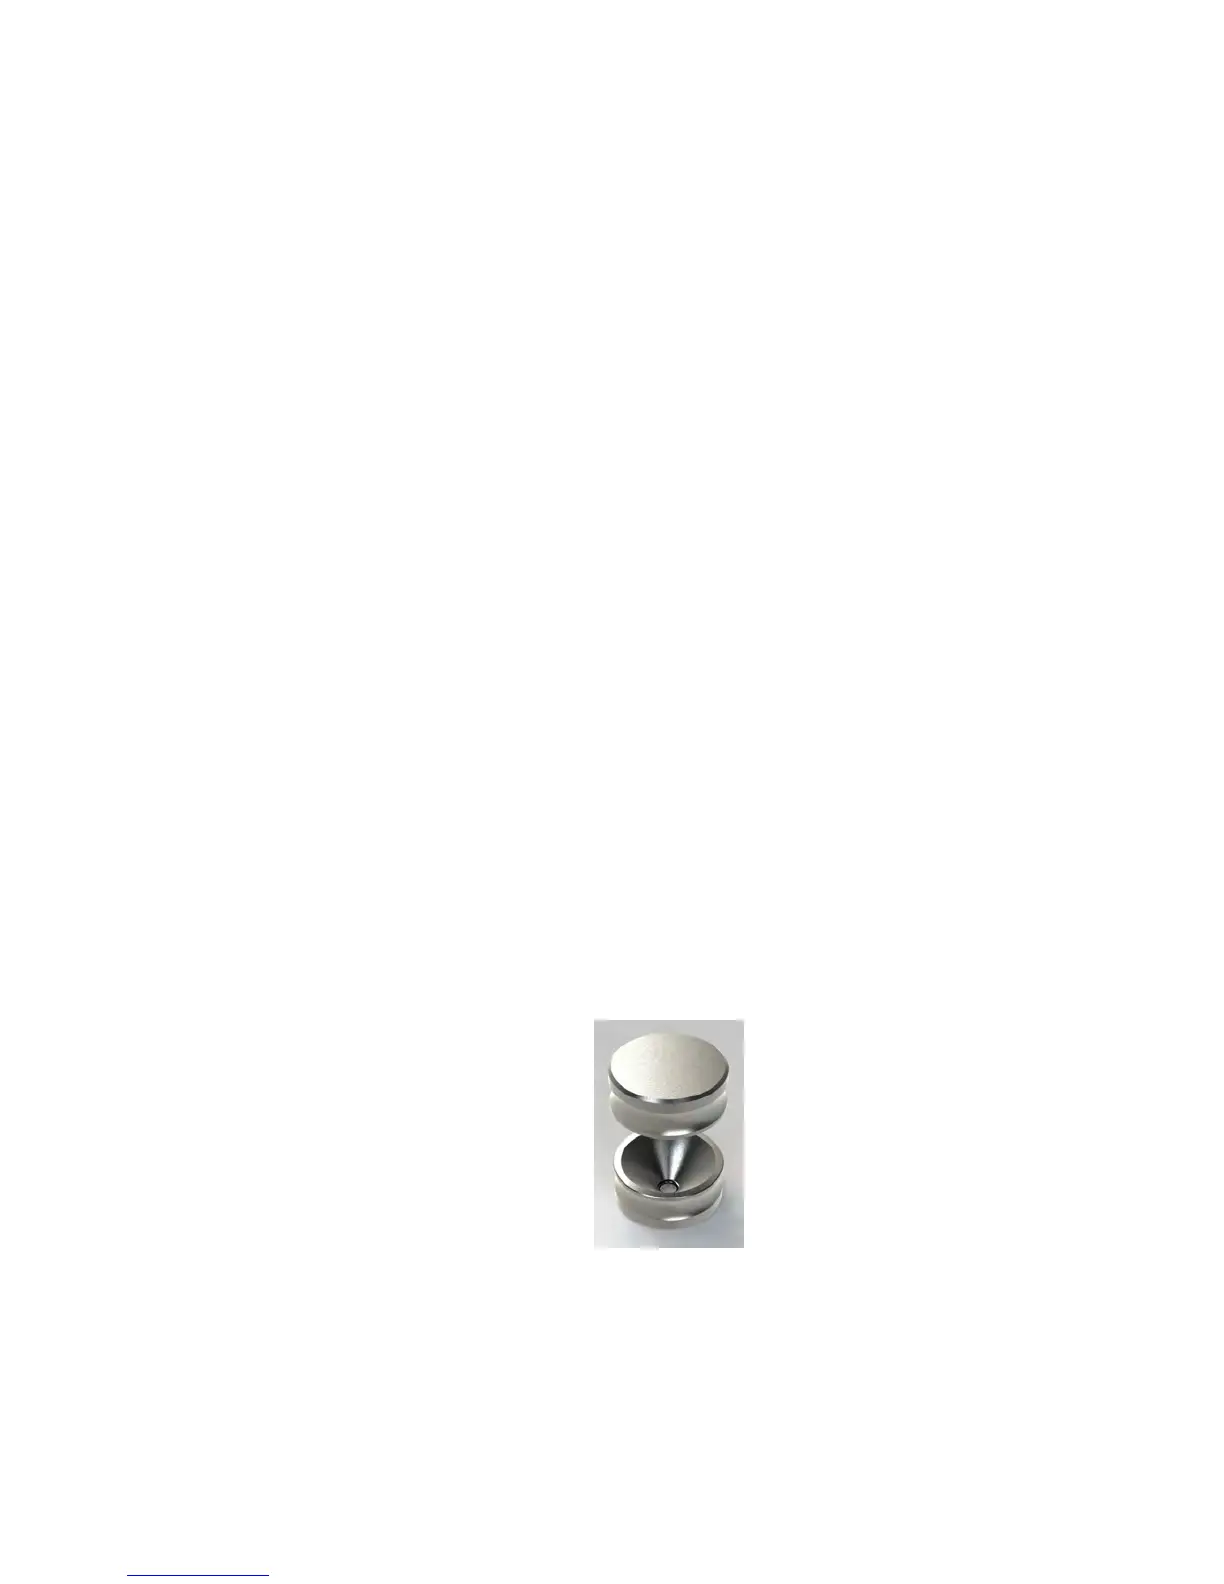
The sample holder keeps the sample on the prism surface and also keeps the ambient
light out. The K-Patents universal sample holder PR-1012 (Figure 13.1) can be used
with any K-Patents PR-23 sensor (in PR-23-M only the top part of the sample holder
is needed).
Figure 13.1 The universal sample holder PR-1012
 Loading...