64
The following table shows the types of musical data that can
be edited by “Event Edit” and the range of their values.
Note data and velocity values can also be entered by
holding down the [ENTER] key and playing a note on a
connected MIDI instrument.
Pattern Parameter
This command specifies the number of measures and the
time signature of the selected pattern.
1 Use “Pattern Bank” and “Pattern Select” to specify the
pattern.
2 Select “Pattern Parameter” to access the dialog box.
3 In “Length,” specify the number of measures in the pat-
tern.
4 In “Meter,” specify the time signature of the pattern.
5 To execute the Pattern Parameter settings, press the [F8]
(“OK”) key. To cancel, press the [F7] (“Cancel”) key.
Erase Pattern
This command erases the musical data from the selected
pattern.
1 Use “Pattern Bank” and “Pattern Select” to specify the
pattern.
2 Select “Erase Pattern” to access the dialog box.
3 If you check “All Pattern,” all user patterns in the multi
will be erased.
If “All Patterns” is not checked, only the pattern speci-
fied in
1 will be erased.
4 To execute the Erase Pattern command, press the [F8]
(“OK”) key. To cancel, press the [F7] (“Cancel”) key.
Copy Pattern
This command copies the settings and musical data of the
selected pattern to another pattern.
User patterns belong to a particular multi, but you can use
the Copy Pattern command to use a pattern in another
multi.
While preset patterns cannot be edited, you can copy a pre-
set pattern to a user pattern and then edit and save it as a
user pattern. Be aware that when you execute the Copy Pat-
tern operation, the pattern settings and musical data of the
copy destination will be erased.
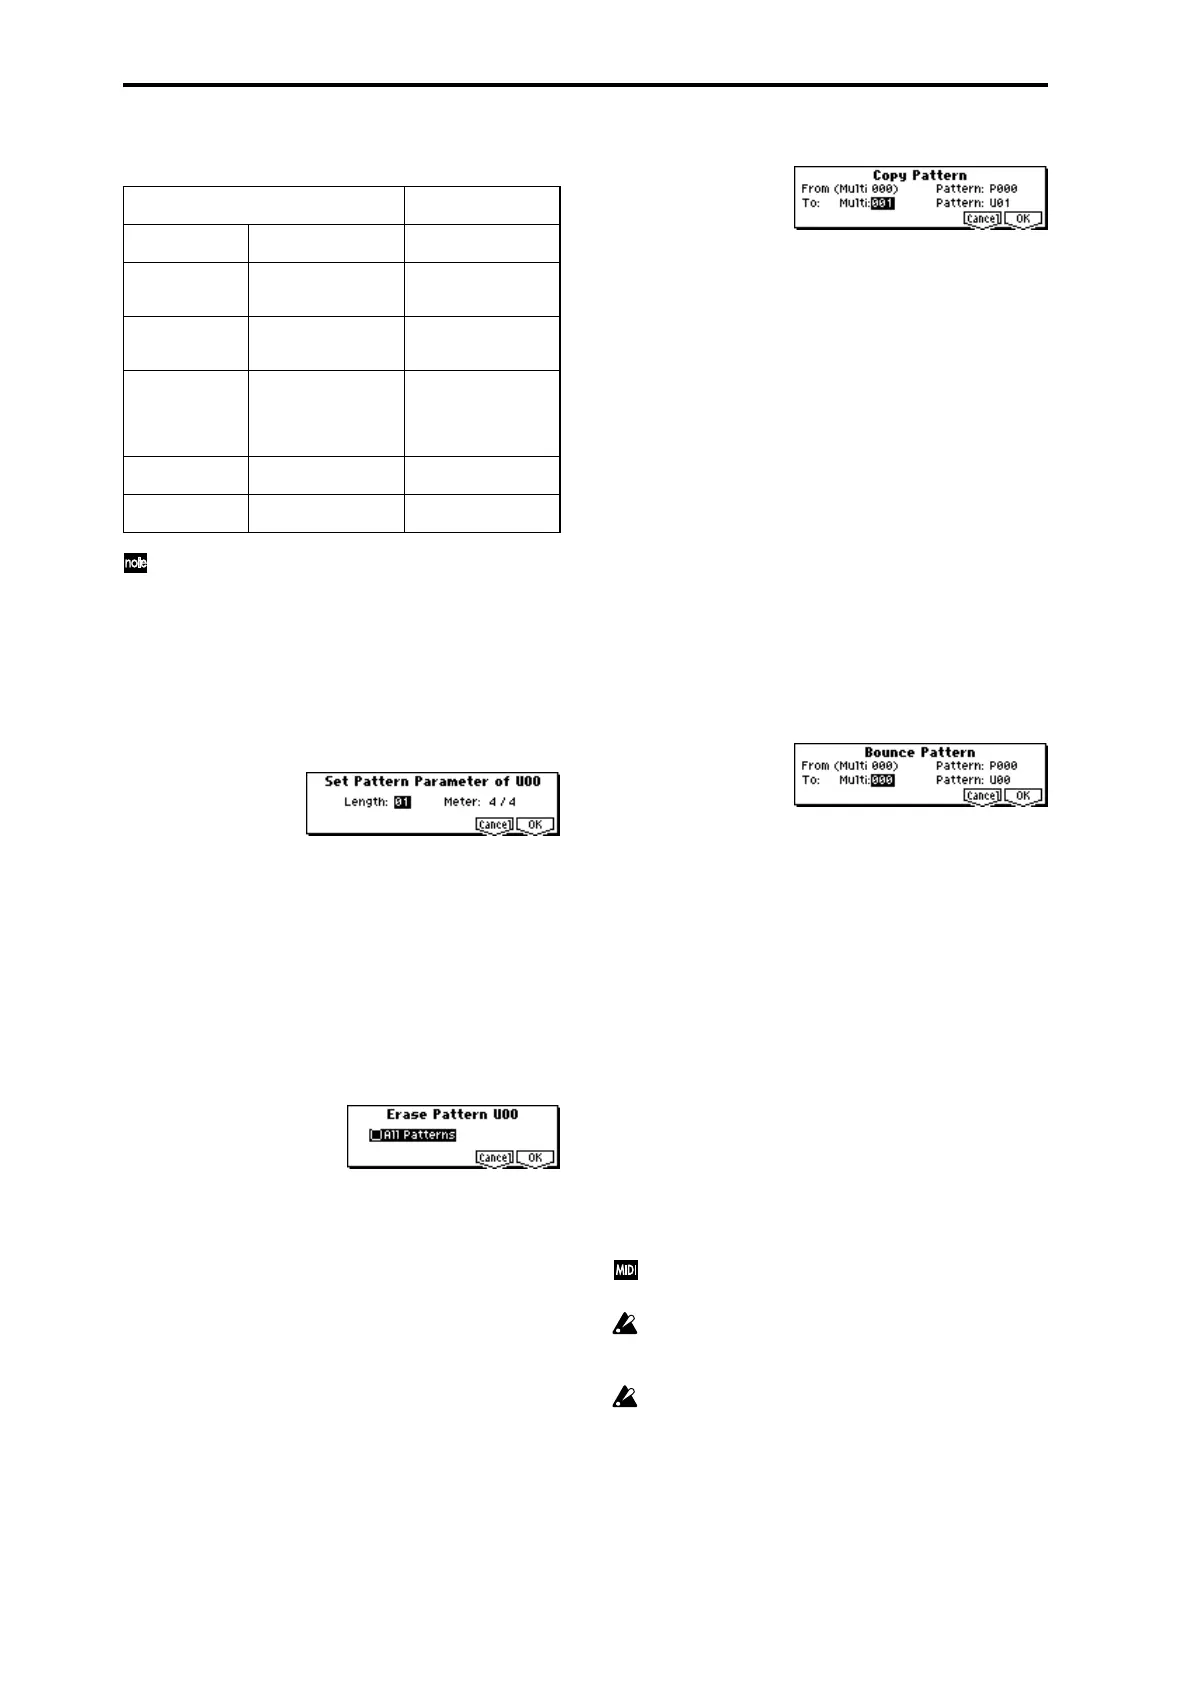
1 Select “Copy Pattern” to access the dialog box.
2 In From: “Pattern,” specify the copy source pattern. (By
default, this will be the pattern that was selected in the
page.)
3 In To: “Multi” and “Pattern,” specify the copy destina-
tion multi and pattern. For “Pattern,” only user patterns
U00–U99 can be specified.
4 To execute the Copy Pattern command, press the [F8]
(“OK”) key. To cancel, press the [F7] (“Cancel”) key.
Bounce Pattern
This command combines the musical data of the bounce
source pattern and bounce destination pattern, and places
the combined musical data in the bounce destination. The
time signature and length of the pattern following execution
will be according to the settings of the bounce destination.
If MIDI control data exists in the selected pattern and in the
bounce destination pattern, the resulting playback following
the bounce operation may produce unexpected results. We
recommend that you use “Event Edit” (5.1–1e) to prepare
the MIDI control data of the two patterns before executing
the Bounce Pattern command.
1 Use “Pattern Bank” and “Pattern Select” to specify the
bounce source pattern.
2 Select “Bounce Pattern” to access the dialog box.
3 In From “Pattern,” select the bounce source pattern. (By
default, the pattern that are selected in the page will be
chosen.)
4 In To: “Multi” and “Pattern,” select the bounce destina-
tion multi and pattern. For “Pattern,” only user patterns
U00–U99 can be specified.
5 To execute the Bounce Pattern command, press the [F8]
(“OK”) key. To cancel, press the [F7] (“Cancel”) key.
5.1–2: RPPR (RPPR Setup)
Indicates settings for the RPPR (Realtime Pattern Play/
Recording) function. RPPR allows you to assign the patterns
of a multi to individual keys, and play the patterns by press-
ing keys on a connected MIDI instrument. This playback can
also be recorded on an external sequencer.
For each multi, you can assign either a preset pattern or a
user pattern to the 72 keys in the range of C#2–C8. For each
key you can specify the pattern, track number, and how the
pattern will be played.
Patterns are triggered on the channel of the track that is
currently selected as the “Control Track.”
You can also control RPPR from an external sequencer,
or record note data from RPPR onto an external
sequencer. (
☞p.227, 228)
The arpeggiator will not be applied to the RPPR pattern
playback. When RPPR is on, keys to which no pattern is
assigned will sound as usual. At this time, the arpeggia-
tor that is turned on for that track (arpeggiator A or B)
will function. The notes produced by the arpeggiator
will not trigger RPPR.
BAR (displayed only)
(Measure line)
Meter: 1/4...16/16
(Time signature)
C–1...G9
(Note data)
Vel: 1...127
(Velocity)
L: 000.000...1584.000
(Length: beats, clocks)
P.Aft
(Polyphonic after
touch)
C–1...G9
(Note number)
Val: 0...127
(Value)
Ctl.C
(Control change)
#: 0...101
(Control change num-
ber)
Val: 0...127
(Value)
PROG
(Program change)
Bnk: I-A...I-F,
000...127, G,
g(1)..g(9) g(d), - - -, E-
A...E-H
(Program bank)
No.: 0...127, 1...128
(G, g(1)...g(d))
(Program number)
AftT
(After Touch)
0...127
(value)
BEND
(Pitch bend)
–8192...+8191
(value)