5555
LeeBoy 8515E Conveyor Paver 5-29
Maintenance
To test the element:
1. Disconnect elements one at a time from the
connection point on the lower side of the control
box, keeping track of connector placement.
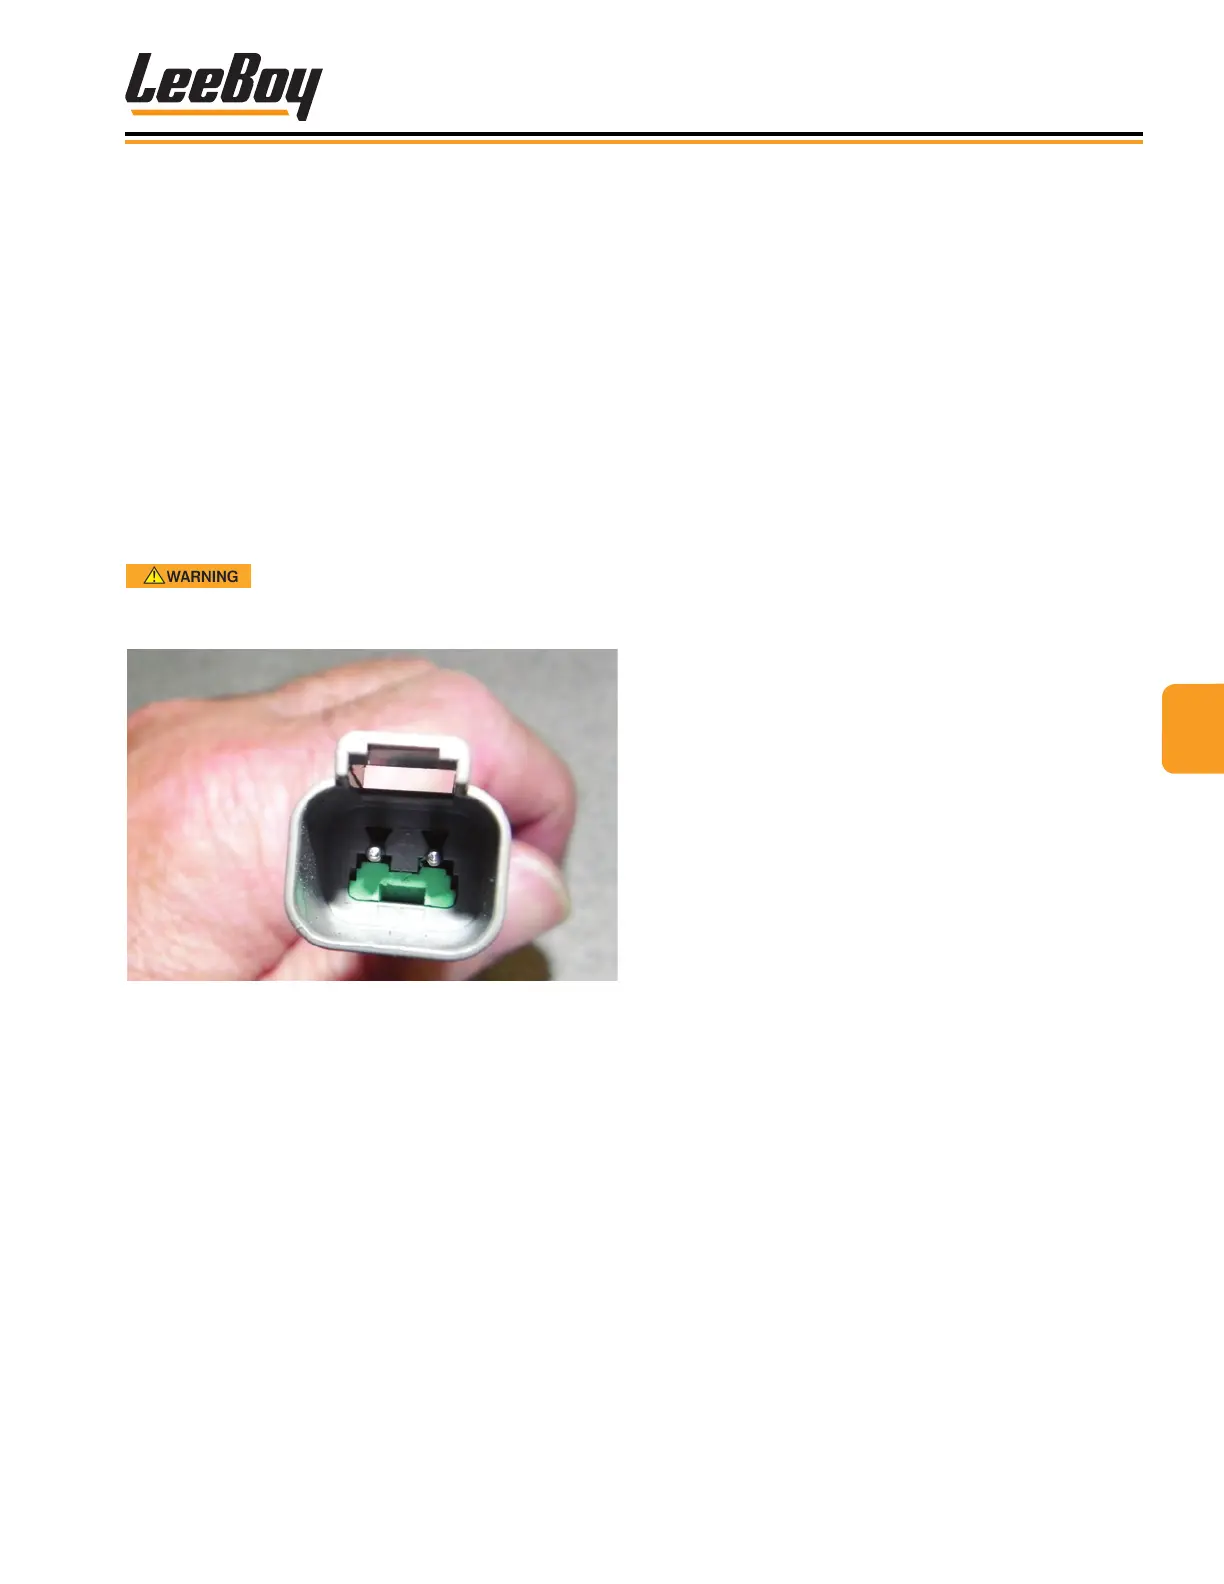
2. Using an ohm meter, test the resistance through the
element between the two pins in the plug. (Figure
5-31)
NOTE: You do not have to test the plug attached to
the lower side of the control box.
3. Before replugging the element, check each wire
pin with an ohm meter test lead, placing the lead
on a steel section of the screed frame. If there is
any continuity through the element to the frame, the
element must be replaced.
DO NOT operate an element with a
known electrical shortage. Replace faulty elements
and wiring immediately.
Figure 5-31. Plug
Heating ElementsHeating Elements
Each heating element is sized to t properly and provide
sufcient heat to the screed plate. Elevated temperature
prevents mix from sticking to the lower surface of the
screed plate.
An element assembly consists of four main components:
• The element.
• The wire protector adapter.
• The wire protector.
• The two-pin wire plug at the end of the element
protector.
Each element is covered by a thin strip of insulation
to keep heat from escaping. A support bar and shield
protects the element assembly.
Each element is clamped onto the screed plate to
provide a positive and efcient connection. Enough
pressure should be applied to the element assembly
to sufciently hold it securely against the screed plate
surface.
To remove an element:
1. Remove top cover from the extension screed plate.
2. Loosen all the clamping studs over the element.
3. Remove and replace element.
4. After tightening the clamping stud, lock the clamp by
tightening the stud jam nut.