Using the BayStack 350 Series 10/100 Autosense Switch
2-12
893-00992-E
4.
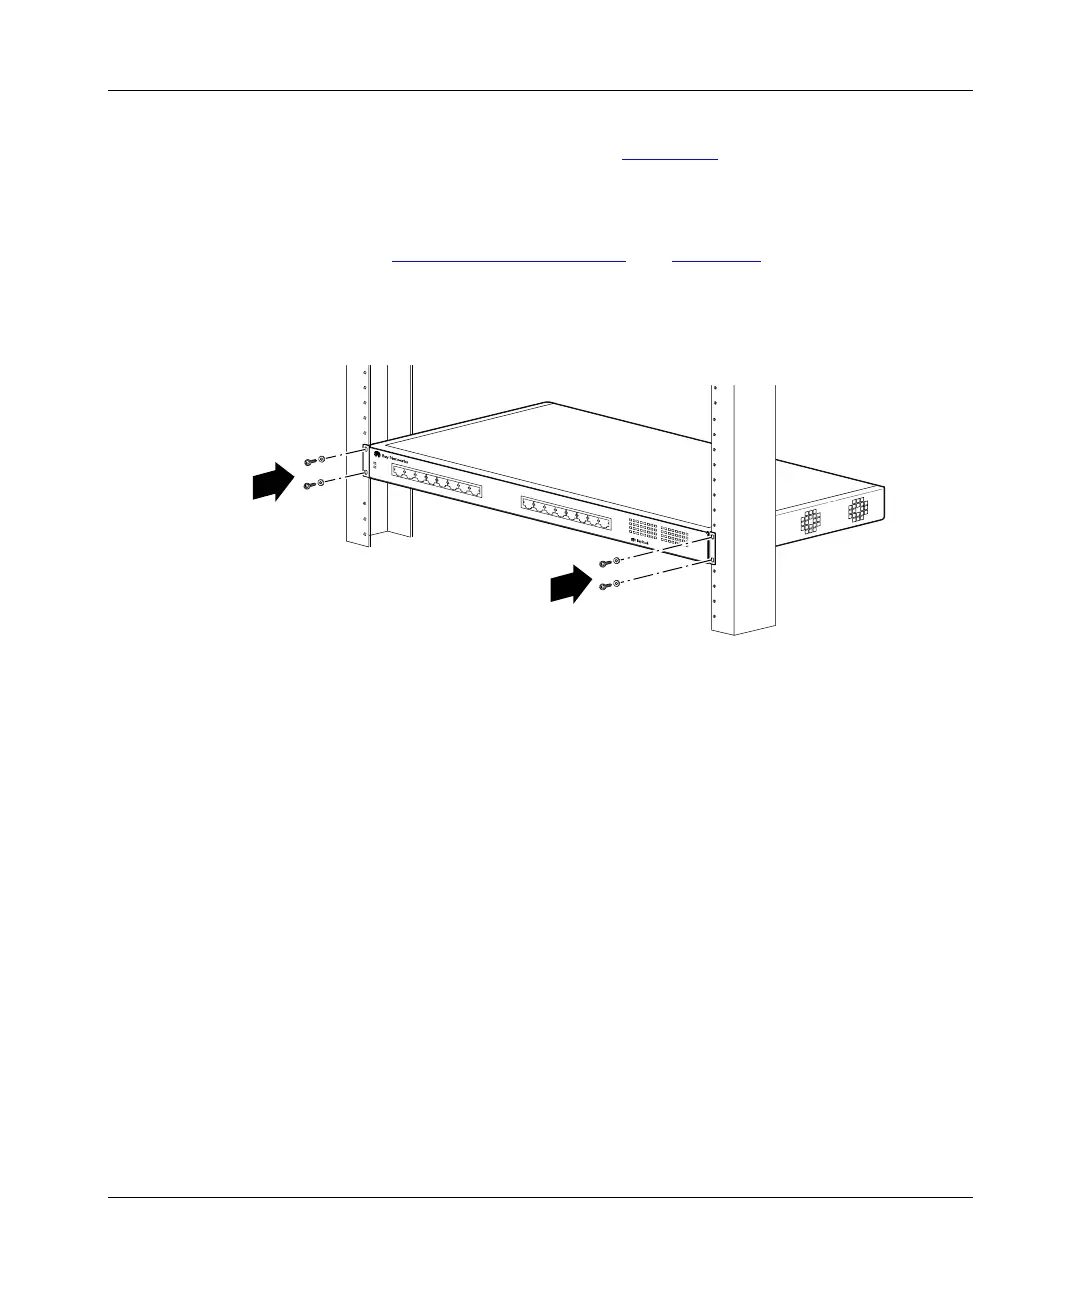
Position the switch in the rack and align the holes in the mounting
brackets with the holes in the rails (Figure 2-7
).
5.
Insert two screws (not supplied) through each of the mounting brackets,
then tighten the screws.
6.
Proceed to “Connecting Port Cables” on page 2-13 to connect the
network cables.
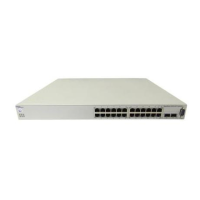
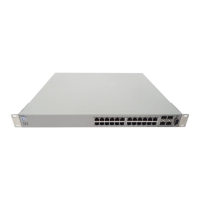
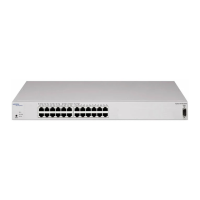
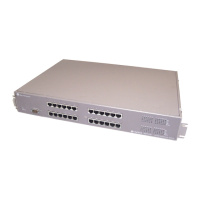
Figure 2-7. Installing the BayStack 350 switch in an equipment rack
611FA
350T
10/100 Autosense Switch





 To Next Page