PART 2: CX-Server PLC Tools
CHAPTER 10 – Data Links OMRON
CX-Server PLC Tools_Page 124
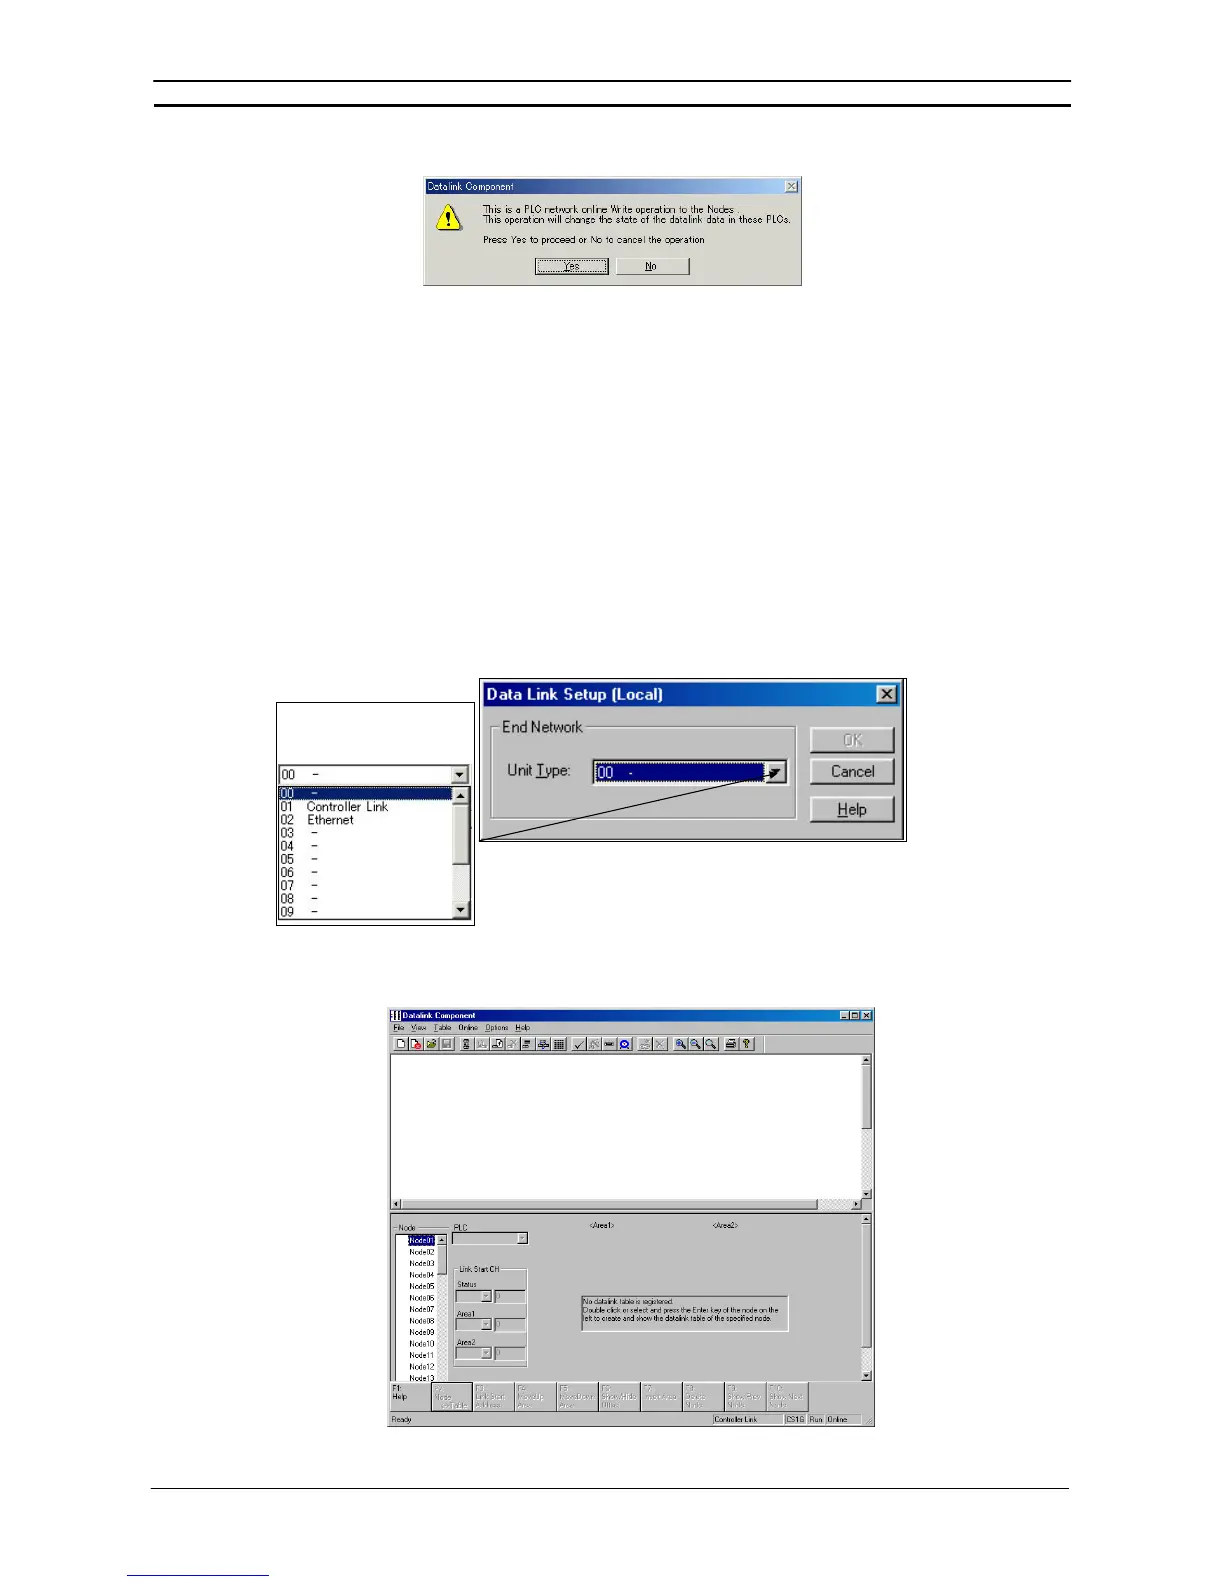
2 Select Online | Transfer to PLC. The following dialog box will be displayed.
3 Click the Yes button.
4 An error list will be displayed.
5 The data link tables will be transferred.
6 The transfer results will be displayed.
Starting and Stopping Data Links (Including Status Displays)
Before performing the operations described below, connect online to a node where the data link table has been
transferred. As long as the data link table is stored there, data link starting and stopping can be executed from any
node.
Note: When starting data links with manual setup, the data link mode for the startup node
must be set to manual.
Starting Data Links
1 Select Data Link | Setup from the CX-Net.
The Data Link Setup dialog box will be displayed. (For local network only, i.e., when network address is 0.)
Clicking on this down arrow will
display the Communications
Units mounted to the PLC, as
shown below.
2 Select Controller Link or SYSMAC LINK, and then click the OK button.
Either the Datalink Component (Controller Link) or Datalink Component (SYSMAC
LINK) window will be displayed.