PART 2: CX-Server PLC Tools
OMRON CHAPTER 11 – Routing Tables
CX-Server PLC Tools_ Page 137
Adding a Remote Network
Use the following procedure to add a remote connection to a local network.
1, 2, 3…
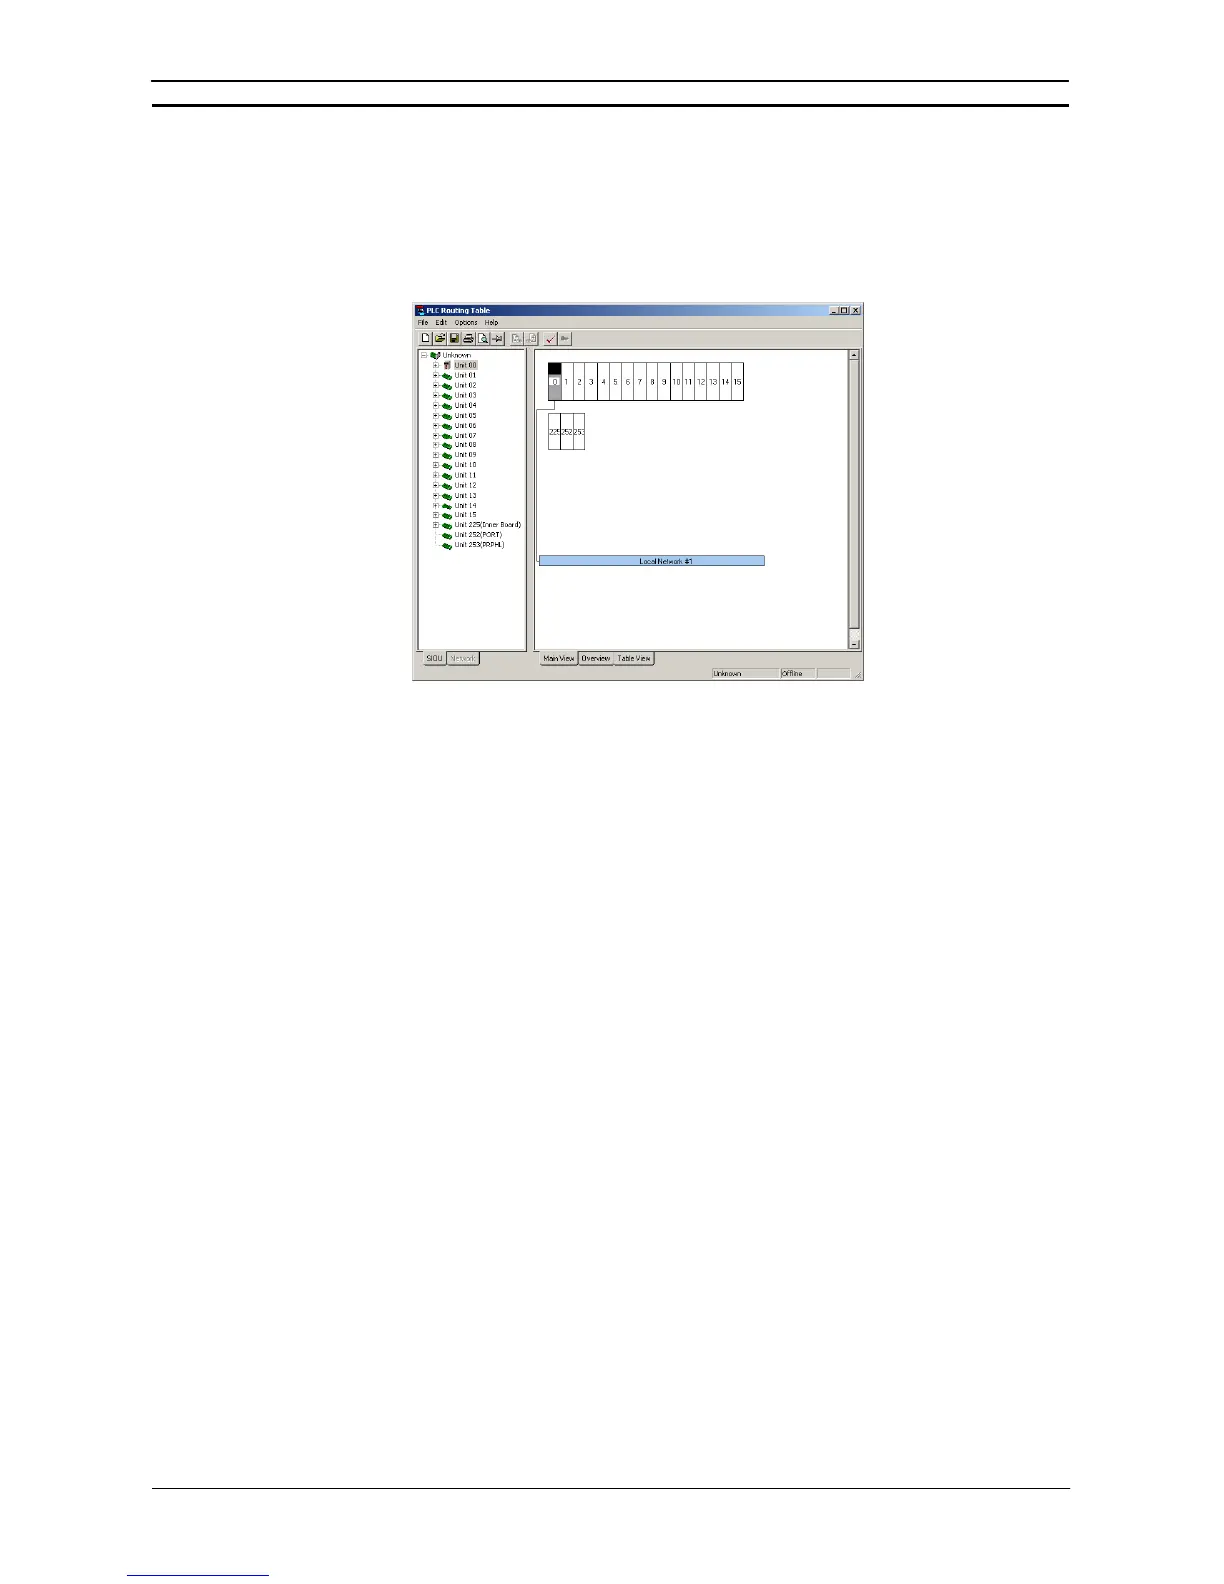
1. Open the PLC Routing Table dialog and select the SIOU tab in the left hand
pane and the Main View tab in the right hand pane.
2. With the cursor positioned over the local network click the right mouse button.
3. From the pop up menu select the Add connection to Remote Network option.
(selecting the Change Local Network option enables the local network number
to be changed).
4. In the Enter Relay Node Details dialog enter the:
Relay node number. This is the ID number of the relay node. Relay Nodes can
be given any ID number in the range 1 to 254.
Remote Network number. This is the ID number that will uniquely identify the
remote connection. Each new remote connection must be given a unique ID
number in the range 1 to 127.
Note that a remote network can not be given the same ID number as an existing
Local Network.
5. Click OK. This will add the remote connection with the specified ID number
(shown in red) to the Local Network. A maximum of 20 remote connections can
be added to a network.
6. Finally from the Options menu check the table for Errors