Retain the external cap. Do not attempt to reinstall it. The cap will need to be
placed on the processor socket of the old motherboard. This will prevent
damage during shipping back to the Service Center for motherboard failure
analysis.
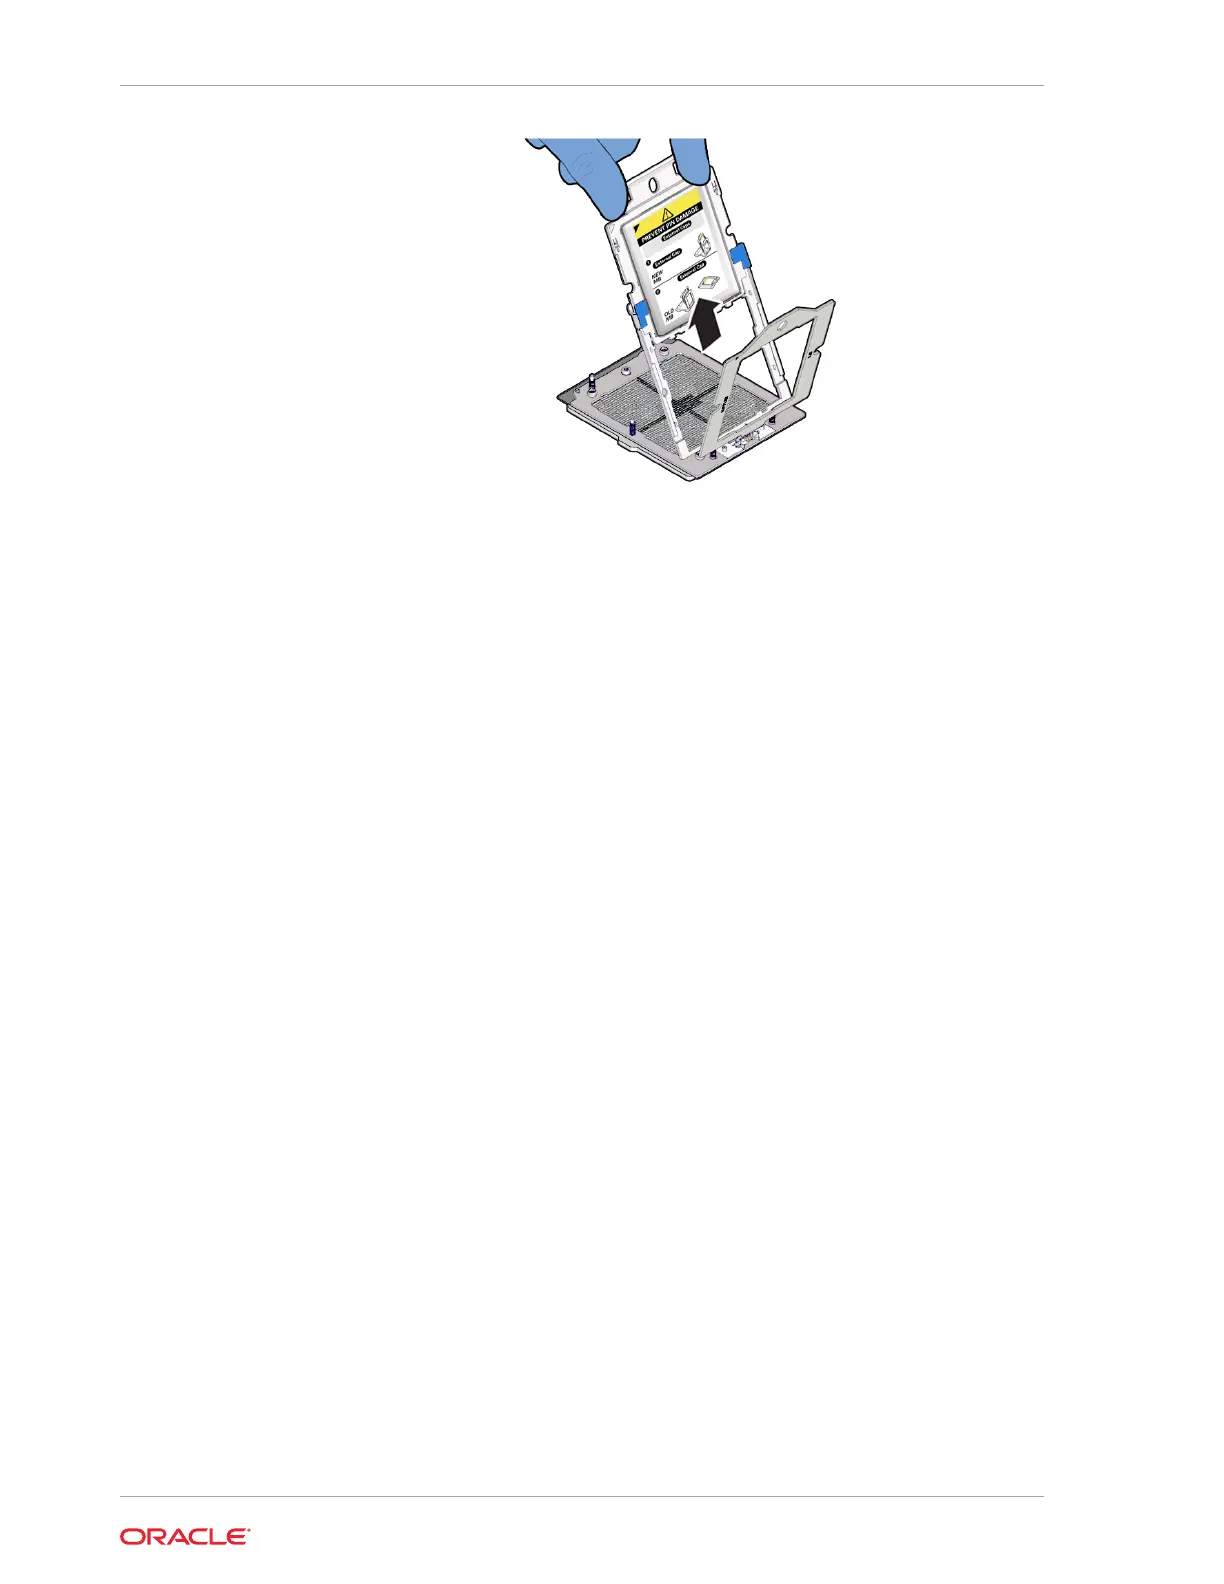
e. If you have a two processor system, repeat steps 12a through 12d to remove
the second processor External Cap from the new motherboard.
13. Remove the following reusable components from the old motherboard and install
them onto the new motherboard.
a. Move the motherboard PCIe Flyover cable from the old motherboard to the
new motherboard.
Remove the PCIe Flyover Cable and Install the PCIe Flyover Cable.
b. Move all DIMMs from the old motherboard to the new motherboard.
Install the DIMMs only in the slots (connectors) that correspond to the slots
from which they were removed. Performing a one-to-one replacement of the
DIMMs significantly reduces the possibility that the DIMMs will be installed in
the wrong slots. If you do not reinstall the DIMMs in the same slots, server
performance might suffer and some DIMMs might not be used by the server.
See Identify and Remove a DIMM and Install a DIMM.
c. Move all M.2 SSD flash risers from the old motherboard to the new
motherboard.
Each flash riser board contains a single M.2 SSD. You do not need to remove
the M.2 SSD from the flash riser board when moving it to the new
motherboard. However, you must install the flash riser boards into the same
slots on the new motherboard as they were installed on the old motherboard.
See Remove a Flash Riser Board and Install a Flash Riser Board.
d. Move each processor and heatsink from the old motherboard to the new
replacement motherboard.
Be sure to install each processor into the same socket on the new
motherboard as it was installed in on the old motherboard.
See Identify and Remove a Processor and Install a Processor.
14. Check to see if the replacement motherboard has a Locate light pipe installed, if
not do the following:
Chapter 5
Servicing the Motherboard Assembly (FRU)
5-46