40 Scan Tool User Guide
Datastream Functions
7: Datastream
Datastream Functions
Functions Overview
There are several functions you can use on the Data-
stream screen. Most of the functions are activated
with the function keys at the bottom of the screen.
These functions, described in detail on the next few
pages, include the following:
• Record – records the data for viewing again at a later
time. (See next column.)
• Graph / Analog / LED / Digital – depending on the
type of data on a line, changes the view of a selected
line from digital to graphical, analog, or LED. (See
page 42
.)
• To Top – moves a selected data item to the top of the
screen. (See page 44
.)
• Lock – locks selected data lines so they are always
included when recording and printing, even if they are
below the viewable area of the screen. (See page 44
.)
• Freeze Data – “freezes” the data acquisition and
displays past data. (See page 45
.)
NOTE: The following functions are on the menu that
appears when you press the More function key.
• Pathfinder – provides quick access to the Pathfinder
Troubleshooting functions. (See page 45
.)
• Print – prints the data in the current data display.
(See page 46
.)
• Zoom – enlarges the view of a data line. (See
page 46
.)
• Sort – rearranges the data alphabetically or with the
LED and graphed lines at the top. (See page 47
.)
• English / Metric Units – changes the units of
measure for the data from English to Metric, or vice
versa. (See page 48
.)
• Show / Hide LED Bar – displays a row of LED read-
ings directly above the status line and function keys.
The LED readings are for frequently monitored
switches. (See page 48
.)
• Show / Hide Analog – when analog gauges are
displayed at the top of the screen, temporarily hides
the gauges or displays them again. (See page 49
.)
• Conflict — for Global OBD II testing, shows details
when two or more PCMs are reading conflicting data
for a sensor or switch. (See page 50
.)
NOTE: There are a couple of automatic Datastream
functions: Remembered Settings and DTC-Triggered
Record. They are described on page 50
.
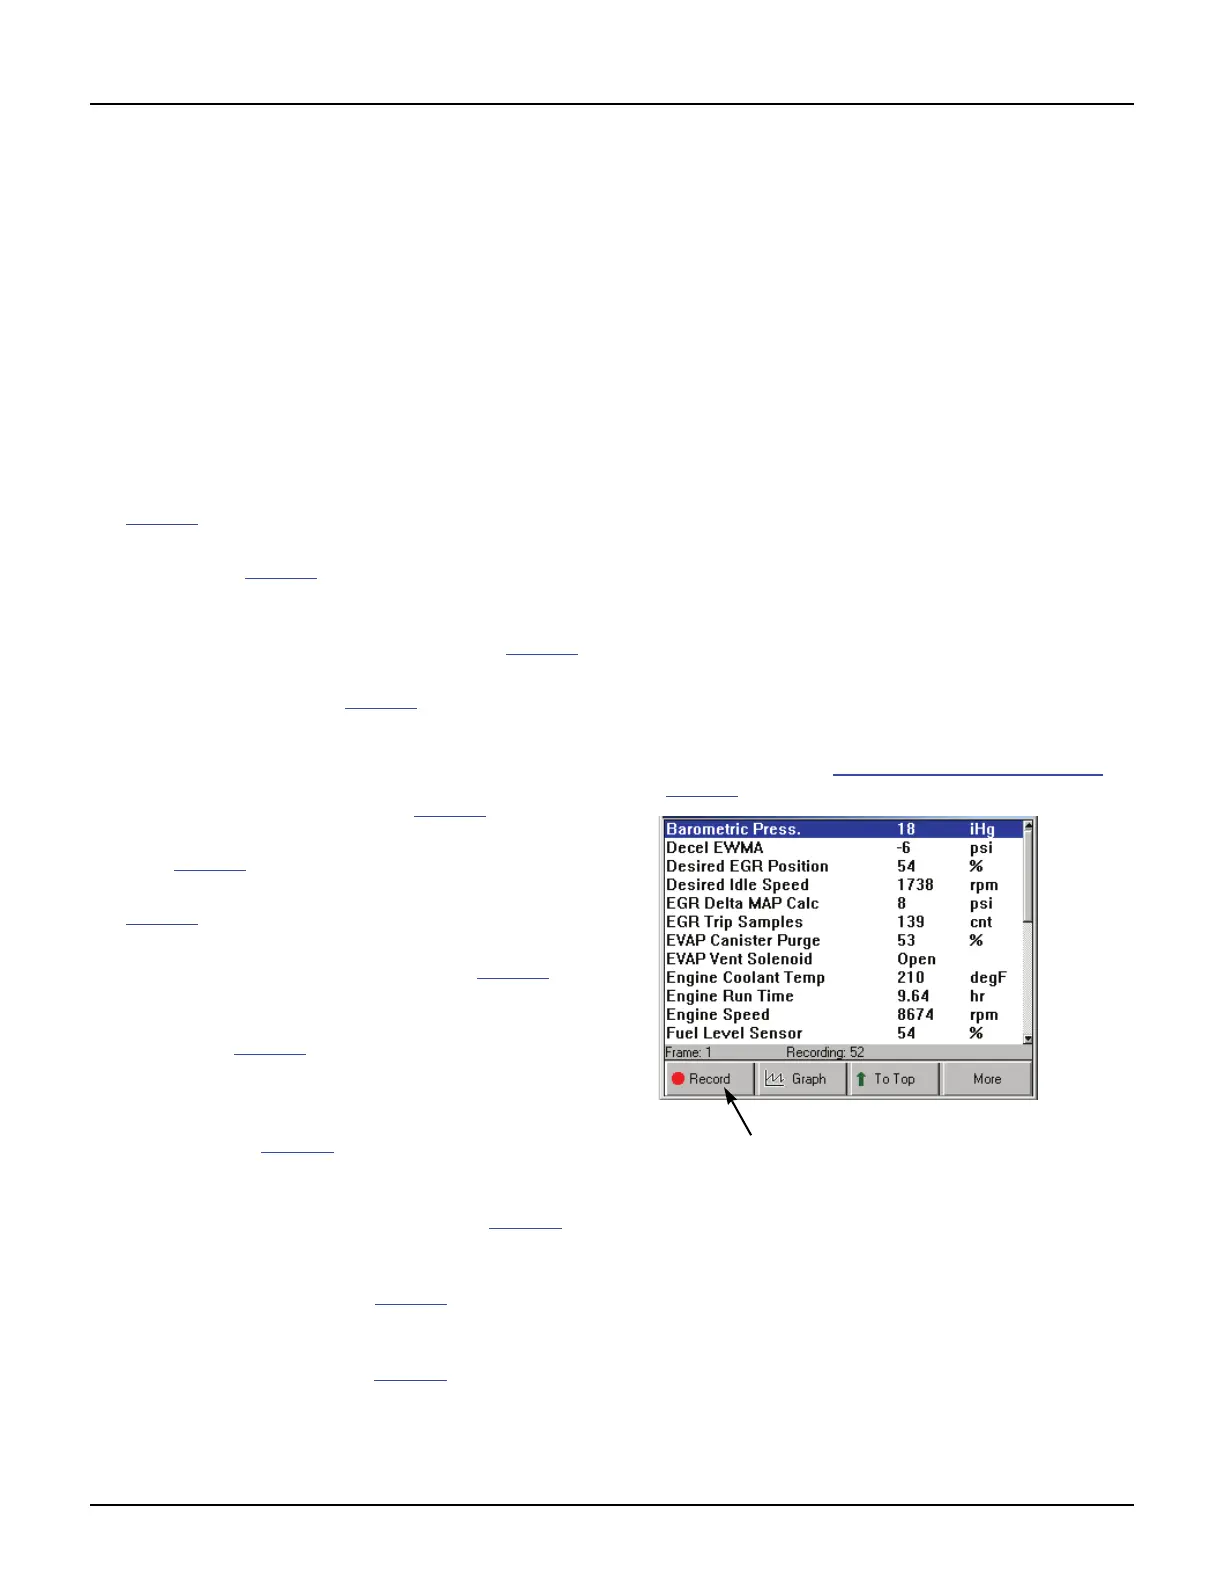
Record
The Record function lets you save data files to either
the scan tool memory or a portable USB drive.
Record to Scan Tool Memory
If there is NOT a portable USB Drive inserted in the
scan tool’s USB port, the Record function saves files
to the scan tool memory card. You can save up to
25 data files of up to 150 frames of data (74 frames
that occur before pressing the Record function key,
one (1) frame marked “0” that occurs when pressing
the key, and 75 frames that occur after pressing the
key). You can then use the Playback Recorded Files
function to view the saved files.
NOTE: The length of time for each frame varies per vehi-
cle. Generally, one frame of data is about 1/4 of a second,
or 4 frames per second.
To record to scan tool memory, follow these
steps:
1 Follow the steps in Basic Datastream Procedure on
page 39
to display the Datastream screen.
Figure 7.3: Record Function