Scan Tool User Guide 71
15: Special Tests (Actuator Tests)
Overview
The Special Tests function lets you perform special
bi-directional diagnostic tests on vehicle systems
and components. The tests let you use the scan tool
to activate or control the system components.
NOTE: During a test, you use the tool to temporarily
control a selected component. When you exit the test,
the component returns to the normal setting.
This chapter includes a basic procedure for doing the
special tests, brief descriptions of the special tests,
and examples of common special test screens.
NOTE: While performing a special test, a Fault Code
Detected screen may appear indicating a fault exists.
Repair the problem and clear the diagnostic test code(s)
before continuing the special test. For details about clear-
ing codes, refer to Diagnostic Trouble Codes
on page
27.
NOTE: The software has an automatic Diagnostic Code
Triggered Record function. If a diagnostic fault occurs
while you are testing a vehicle, the software automatically
alerts you with a screen message and creates a recording
for playback. To replay these recordings, refer to Play-
back on page 75.
WARNING: Before performing any tests,
refer to the Safety Precautions and instructions
provided in this User Guide and the warnings
provided by the vehicle manufacturer. In addition,
follow any warnings and descriptions provided on the
scan tool screens.
WARNING: During active testing, bi-direc-
tional component activation is automatically “inhib-
ited” when required to allow components adequate
time to cool down. Do not bypass this cool-down
period by restarting the test or by using any other
means of bypassing the cool-down period.
Basic Special Test Procedure
The special tests vary for each vehicle, year, and
module (Engine, Transmission, ABS, etc.). This
section provides basic steps for the special tests.
NOTE: The screens shown in this chapter are examples
for the ABS module. Actual screens vary by vehicle and
module.
To perform special tests on a vehicle, follow
these steps:
1 Perform the steps in Test Startup and Vehicle
Connection on page 16 to enter the vehicle informa-
tion and display the Diagnostic Menu screen.
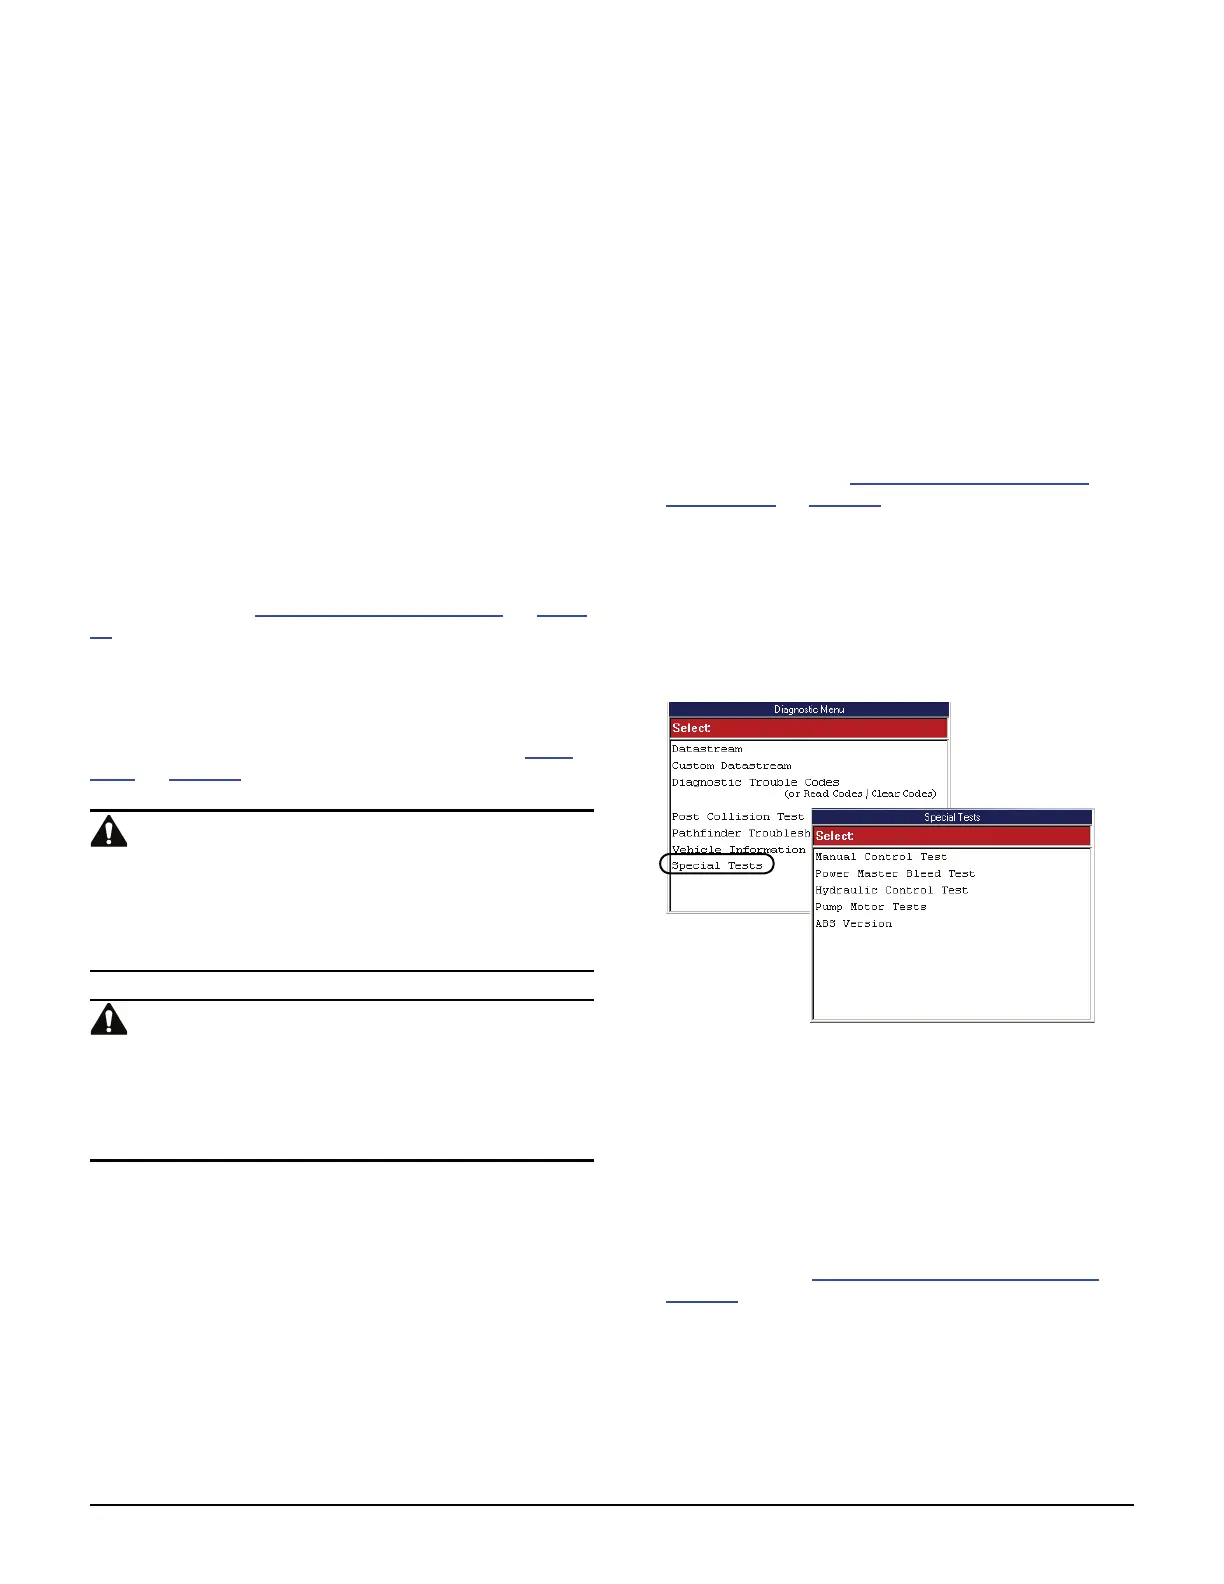
2 From the Diagnostic Menu screen, select Special
Tests. This displays the Special Tests menu screen
(shown below).
NOTE: If an identification screen appears, review
the screen and press the ENTER key to display the
Special Tests menu screen.
Figure 15.1: Diagnostic Menu Screen and Special Tests Screen
3 Select the test you want to perform and press the
ENTER key.
4 A group selection screen, test selection screen,
several step-by-step instruction screens, or bi-
directional control screen may appear. Read the
screens and follow all instructions. If necessary,
use the function keys to perform commands or
answer any questions. Use the ENTER key as
instructed. (See Special Test Screen Examples
on
page 72
.)
5 When finished, use the EXIT key to return to previous
screens.