Scan Tool User Guide 79
Unit Defaults
17: System Setup
Unit Defaults
The Unit Defaults function lets you set the date, time,
units-of-measure, and automatic shut down time. It
also lets you turn the audible beep and print header
functions on or off.
1 Follow the steps in Basic Procedure on page 77 to
display the System Setup screen (see Figure 17.1).
2 Select Unit Defaults and press the ENTER key.
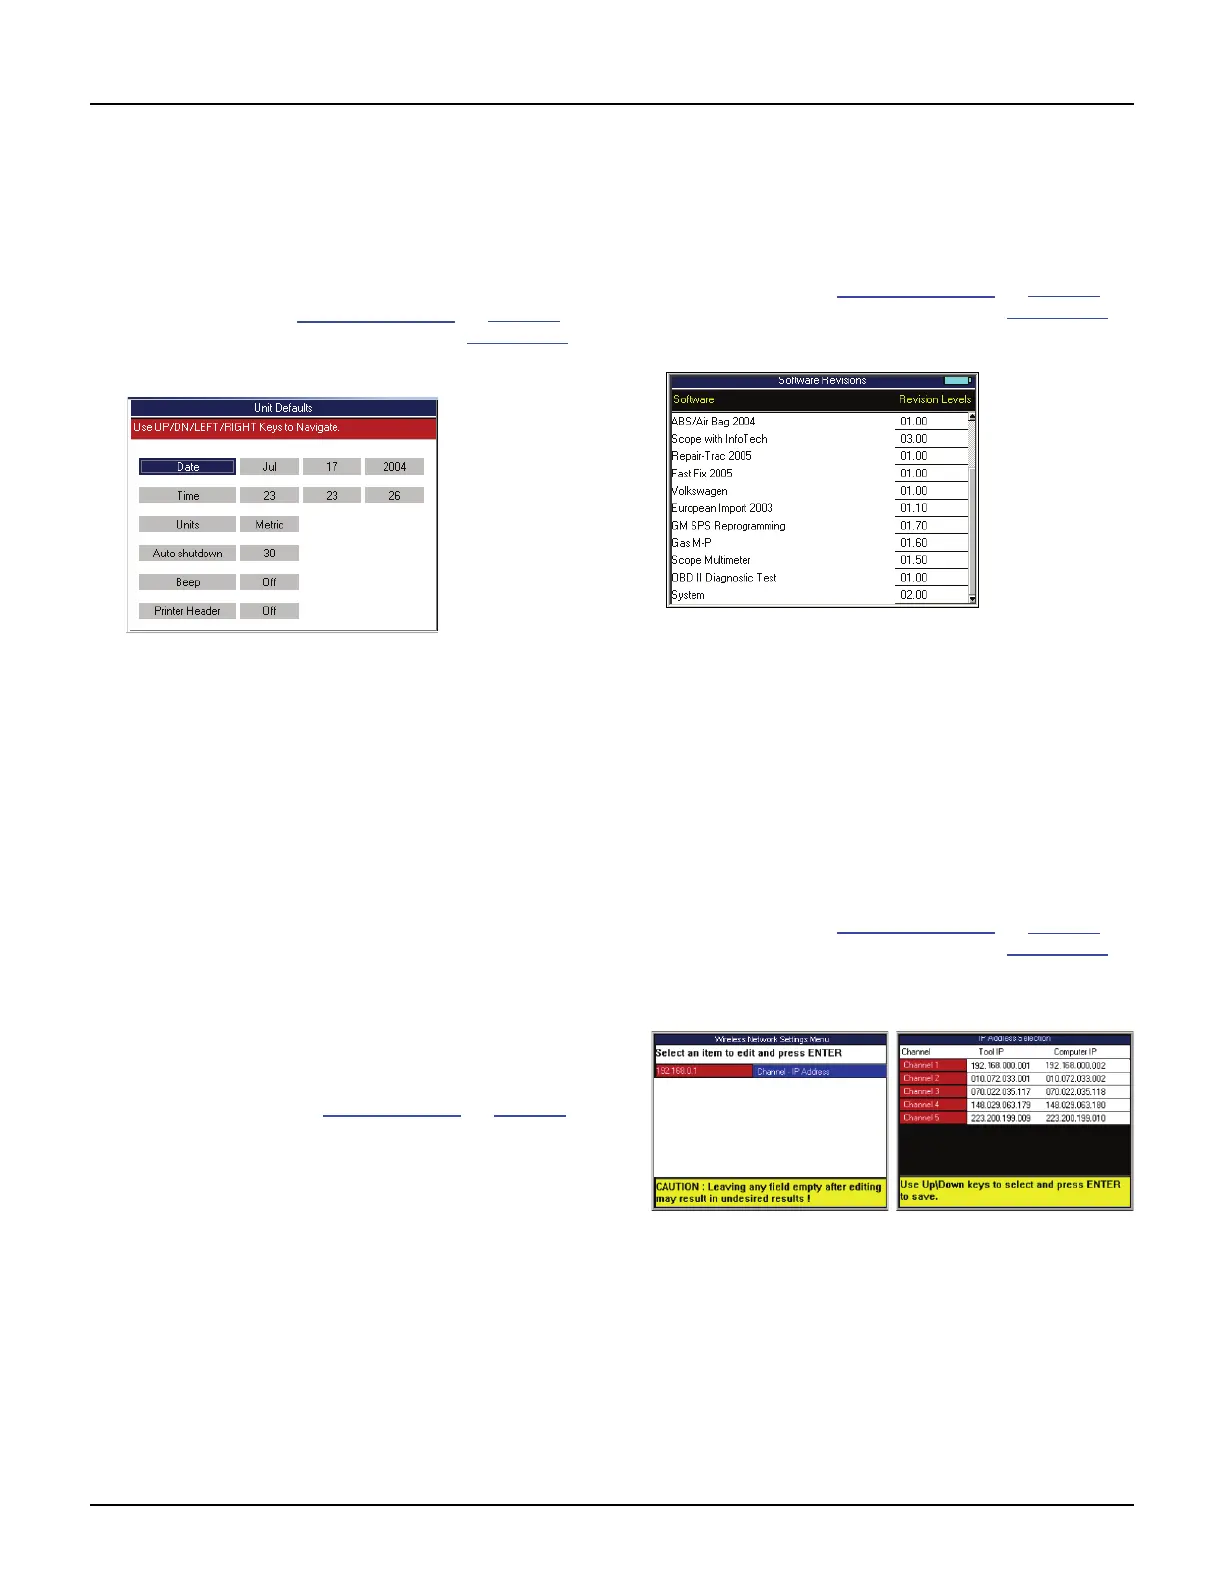
Figure 17.5: Unit Defaults Screen
3 Use the Up and Down Direction keys to select the
item to set from the far left column:
• Date — sets the date in the scan tool as month,
date, and year.
• Time — sets the time in the scan tool as hours,
minutes, and seconds (24 hour clock).
• Units — sets the units-of-measure as English
or Metric.
• Auto Shutdown — sets the amount of time the
scan tool stays on before shutting off automat-
ically (only when using internal battery power).
This is the amount of time since the last key
press. The setting can be made for between
5 and 60 minutes, in 5 minute increments.
• Beep — turns the audible beep on or off.
• Print Header— turns the print header function
on or off. Refer to Printer Header
on page 78.
4 Press the Right Direction key once to move to the
edit box.
5 Use the Up or Down Direction key to select an option
for the box.
6 For Date and Time, repeat steps 4 and 5 to enter the
entire date or time.
7 Use the Left Direction key to go to the far left column.
8 Repeat steps 3 through 7 until all the settings are
made.
9 Use the EXIT key to return to previous screens.
Revision Levels
The Revision Levels function displays software
version numbers (for use when calling technical
support).
1 Follow the steps in Basic Procedure on page 77 to
display the System Setup screen (see Figure 17.1
).
2 Select Revision Levels and press the ENTER key.
Figure 17.6: Revision Levels Screen
3 View the information.
4 Use the EXIT key to return to previous screens.
Wireless Network Settings
The Wireless Network Settings function (Classic
only) lets you set up IP addresses for wireless
communications between the scan tool and a PC or
external device.
1 Follow the steps in Basic Procedure on page 77 to
display the System Setup screen (see Figure 17.1
).
2 Select Wireless Network Settings and press the
ENTER key.
Figure 17.7: Dial-Up Settings Screens
3 Press the ENTER key to select Channel-IP Address
and then select an IP Address and press the ENTER
key. When the warning message appears, press the
ENTER key again.
NOTE: Select an IP Address not in use by your
network or another scan tool. If using multiple scan
tools, use a different IP Address for each tool.
4 Use the EXIT key to return to previous screens.