17-00001-C Page | 20
Main power set-up
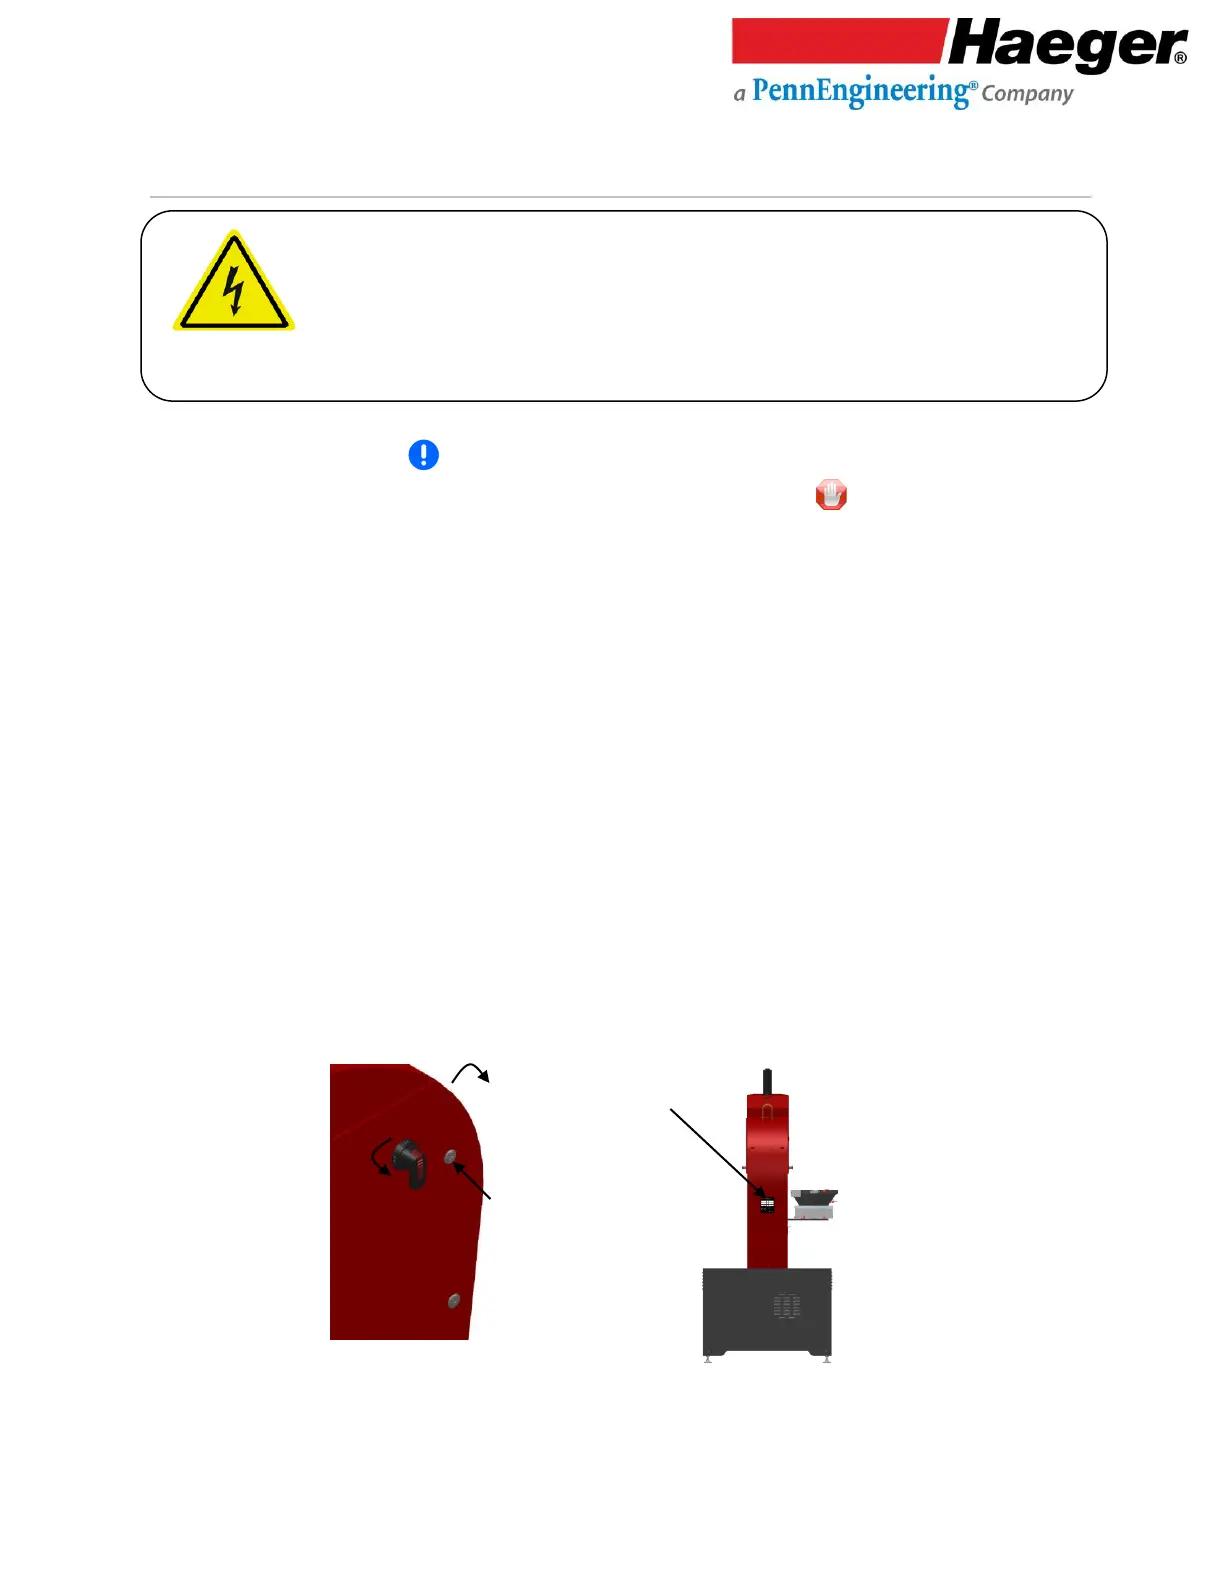
1. Check the voltage on the Machine Nameplate, located on the rear of the machine’s Main Electrical
Cabinet (see Figure 2.3). MAKE SURE the machine’s incoming shop voltage is the same as the
voltage the machine has been wired for. If the voltages do not match, STOP! Contact your
Haeger Representative for instructions on how to proceed.
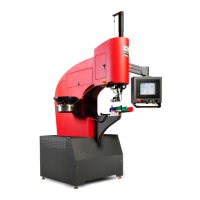
2. Ensure that the machine’s electrical power supply has been disconnected at the supply source. Turn
the machine’s Main Disconnect Switch to the Off position. Using the special key, open the door of
the Main Electrical Control Cabinet (see Figure 2.4).
3. Wire the incoming three phase electrical power to the three connectors on the Main Disconnect
Switch terminals labeled L1, L2 and L3. Make sure the machine is properly grounded by connecting
the incoming ground wire to the top terminal of the green and yellow terminal block on the right
side of the Main Disconnect Switch.
4. After all electrical connections have been properly made, we recommend installing service loops
and/or an angle bracket (not included) on the main power cord coming in through the rear of the
machine. Service loops provide a means of securing the main power cord to the electrical cabinet.
In addition, it provides strain relief and unnecessary wire chafing.
5. Close and latch the Main Electrical Control Cabinet door using the special key.
6. Install the computer into the front of the computer cabinet and secure with fasteners supplied.
➢ The electrical connections required in this section must be made by a qualified
electrician.
➢ Check to make sure that the electrical power supply for this machine has been
disconnected at the supply source before doing any work on the machine’s
electrical system.