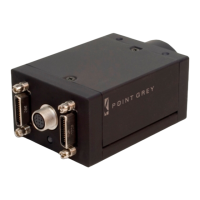
Point Grey Flea3 USB 3.0 Technical Reference 2 Getting Started with Flea3 USB 3.0
2.3 Installing Your Camera
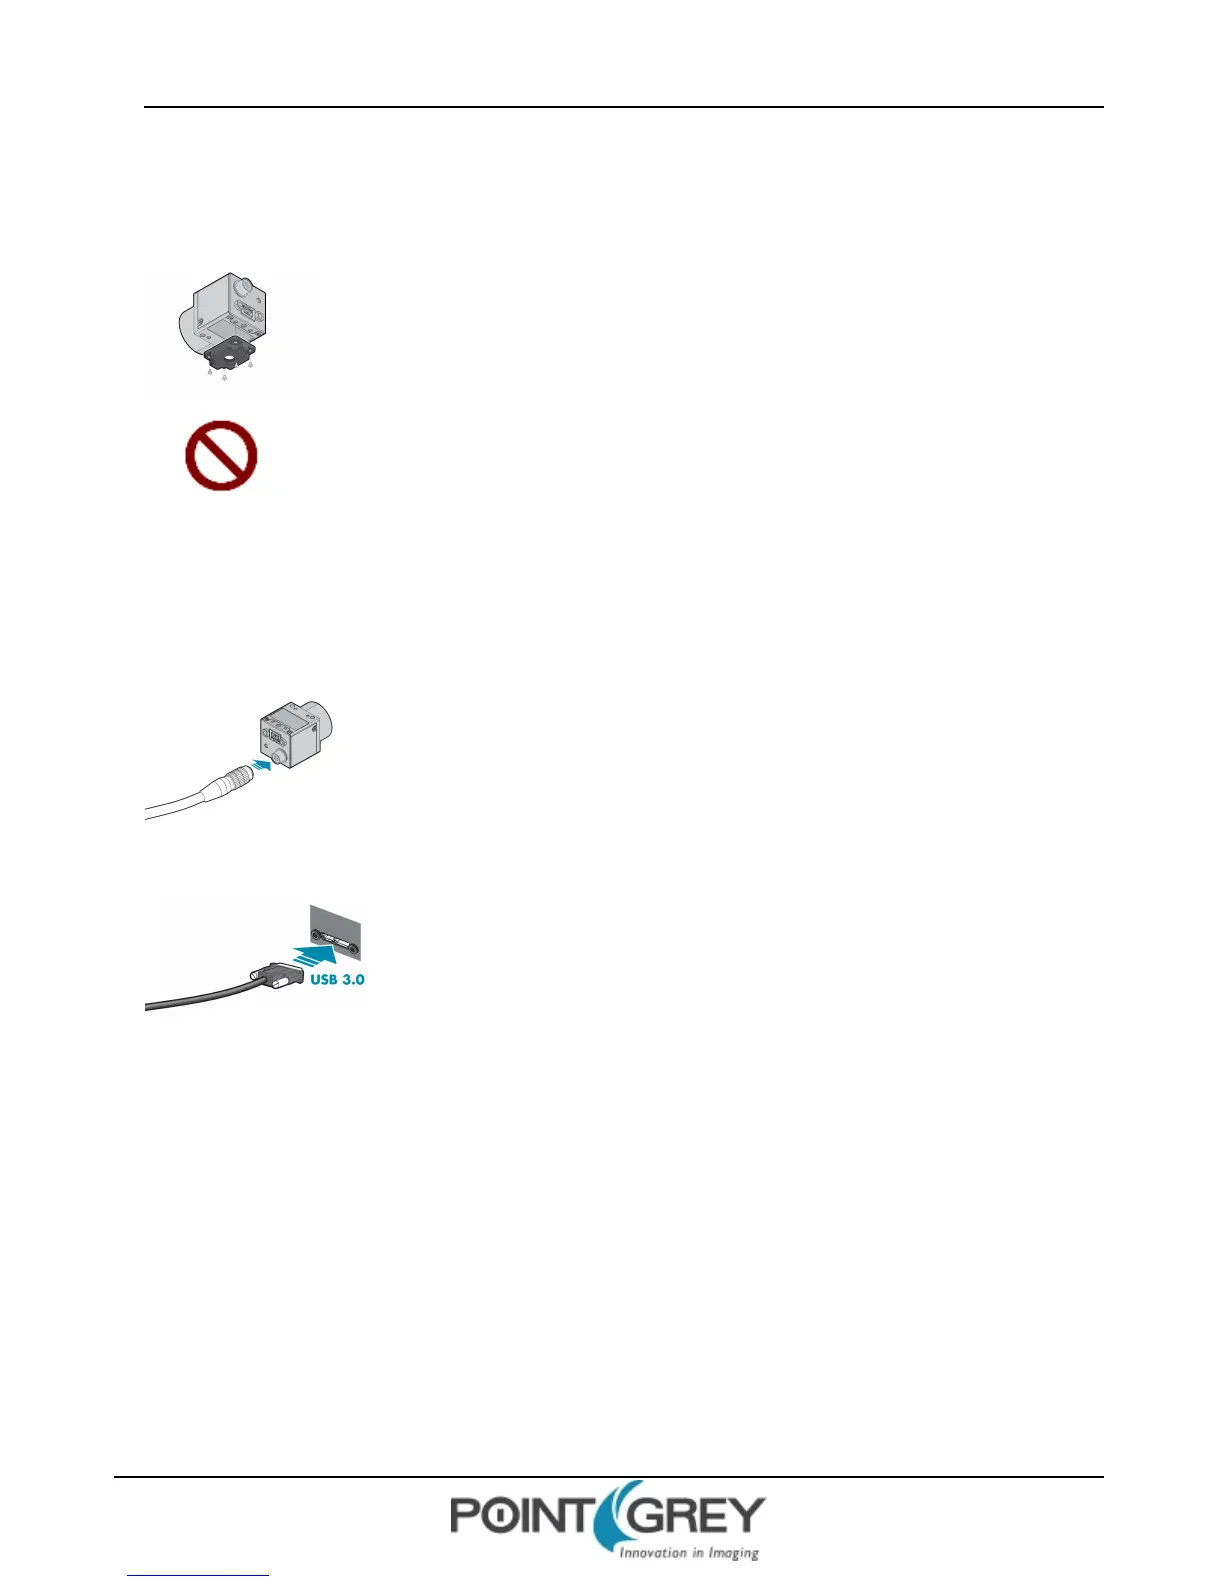
1. Install the Tripod Mounting Bracket
The ASA and ISO-compliant tripod mounting bracket attaches to the camera using the included
metal screws.
Cameras with metal cases should use metal screws; cameras with plastic cases should use plastic
screws. Using improper screws may cause damage to the camera.
2. Attach a Lens
For FL3-U3-13S2/FL3-U3-32S2: Unscrew the dust cap from the CS-mount lens holder to install a lens. Note: the
camera can be used with a removable 5 mm C- mount adapter.
For FL3-U3-13Y3: Unscrew the dust cap from the C-mount lens holder to install a lens.
3. Plug in the GPIO connector
GPIOcan be used for power, trigger, pulse width modulation, serial input output, and
strobe.
The wiring harness must be compatible with a Hirose HR25 8-pin female GPIOconnector.
4. Connect the interface Card and Cable to the Camera
Plug the interface cable into the host controller card and the camera. The cable jack
screws can be used for a secure connection.
5. Confirm Successful Installation
Check Device Manager to confirm that installation was successful.
a. Go to the Start menu, select Run, and enter devmgmt.msc.
Verify the camera is listed under "Point Grey Research Devices."
b. Run the FlyCap2 program: Start-> Point Grey Research->FlyCapture2-> FlyCap2
The FlyCap2 program can be used to test the camera's image acquisition capabilities.
Changes to your camera's installation configuration can be made using utilities available in the FlyCapture2 SDK (see
Configuring Camera Setup on page 27).
Revised 9/27/2012
Copyright ©2011-2012 Point Grey Research Inc.
24