7.32
FINAL DRIVE
NOTE: The amount of grease that’s provided is pre-
measured, so use all the grease.
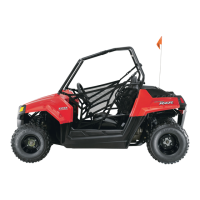
14. Fully compress the joint and push the drive shaft firmly into
the inner race.
15. Align the circlip with the lead-in chamfer.
16. Use a soft-faced hammer to tap the joint onto the drive shaft
until you reach the end of the splines and the joint locks in
place.
17. Pull on the joint to test that the circlip is seated and that the
joint is securely fastened to the shaft.
18. Remove excess grease from the plunging joint’s external
surfaces and place the excess grease in the boot.
19. Pull the boot over the joint and position the boot lips into
the grooves on the joint housing and shaft. Make sure the
boot is not dimpled or collapsed.
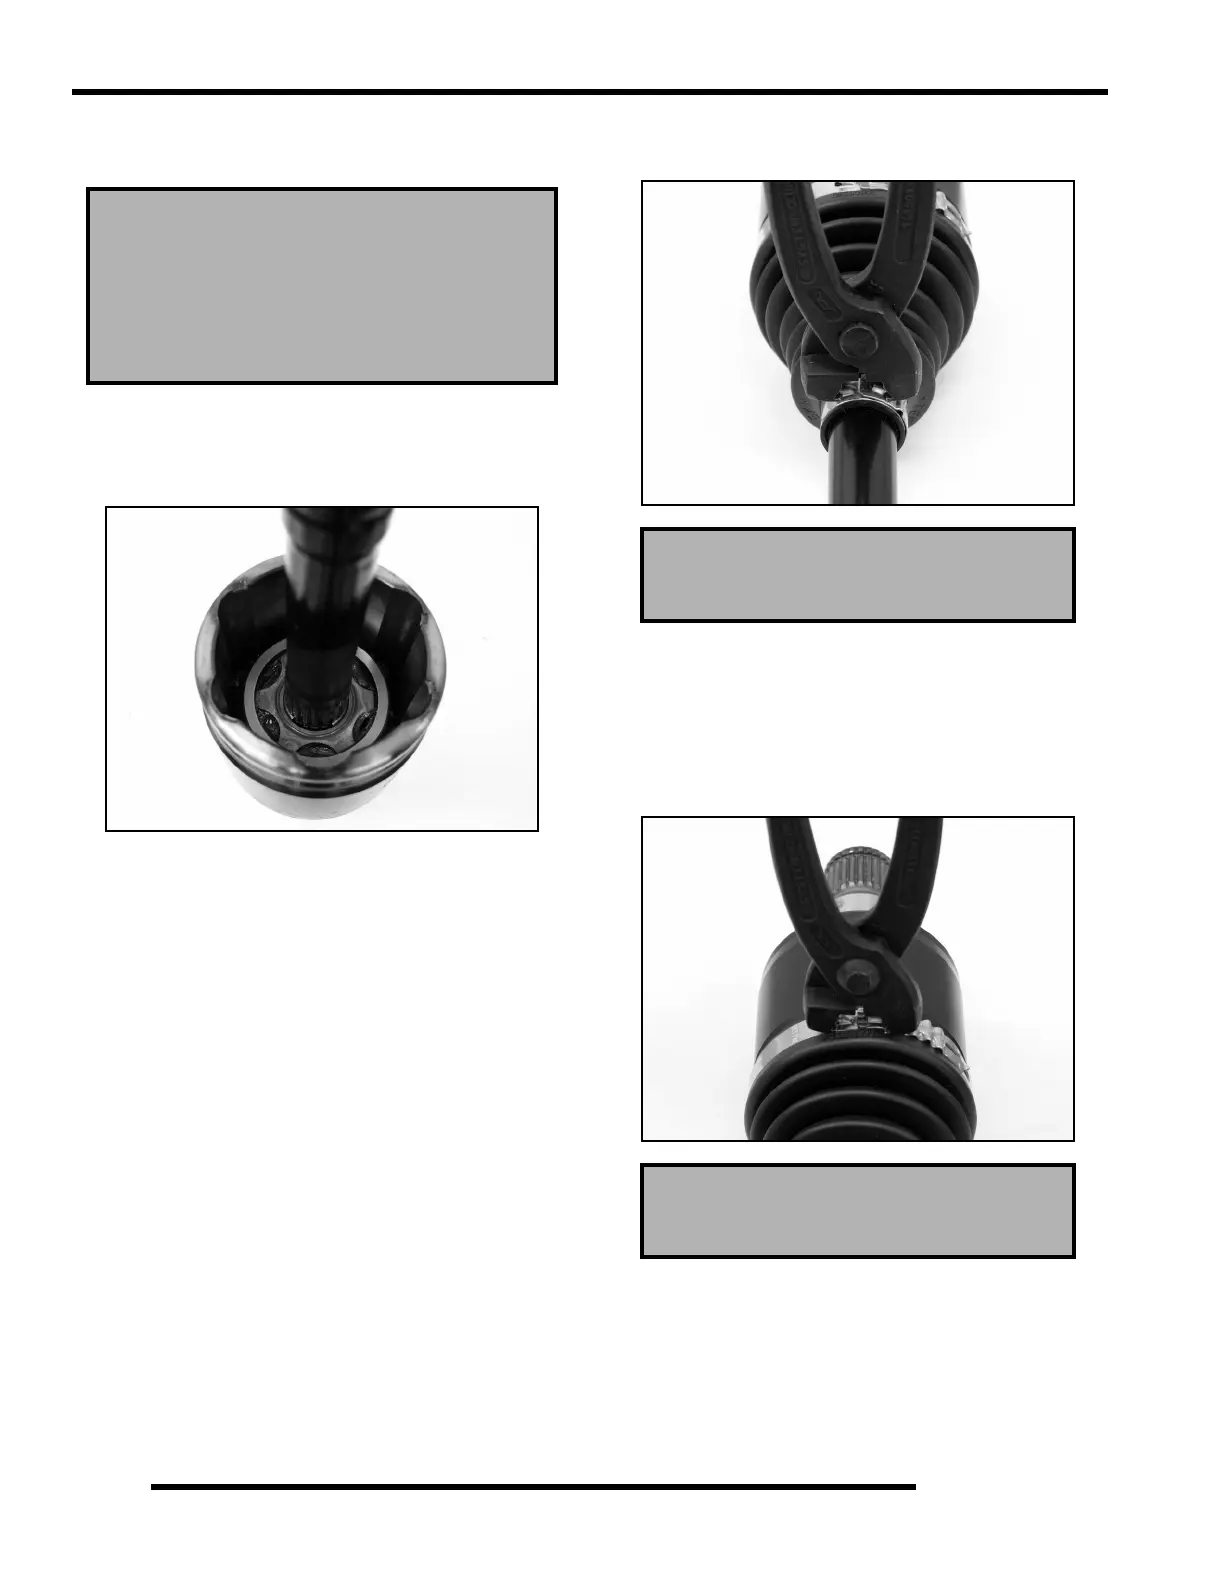
20. Install and tighten the small clamp using the Axle Boot
Clamp Tool (PU-48951).
21. Pull out on the drive shaft to center the joint in the housing.
Slide a straight O-ring pick or a small slotted screw driver
between the large end of the boot and the joint housing and
lift up to equalize the air pressure in the boot.
22. Position the boot lip in its groove. Install and tighten the
large clamp using the Axle Boot Clamp Tool (PU-48951).
Boot Replacement Grease Requirement:
Grease Only Service Kits
PN 1350059 (20g) / PN 1350046 (30g) / PN 1350047 (50g)
Inner Plunging Joint Capacity: 90g
Axle Boot Clamp Tool
PU-48951
Axle Boot Clamp Tool
PU-48951
 Loading...