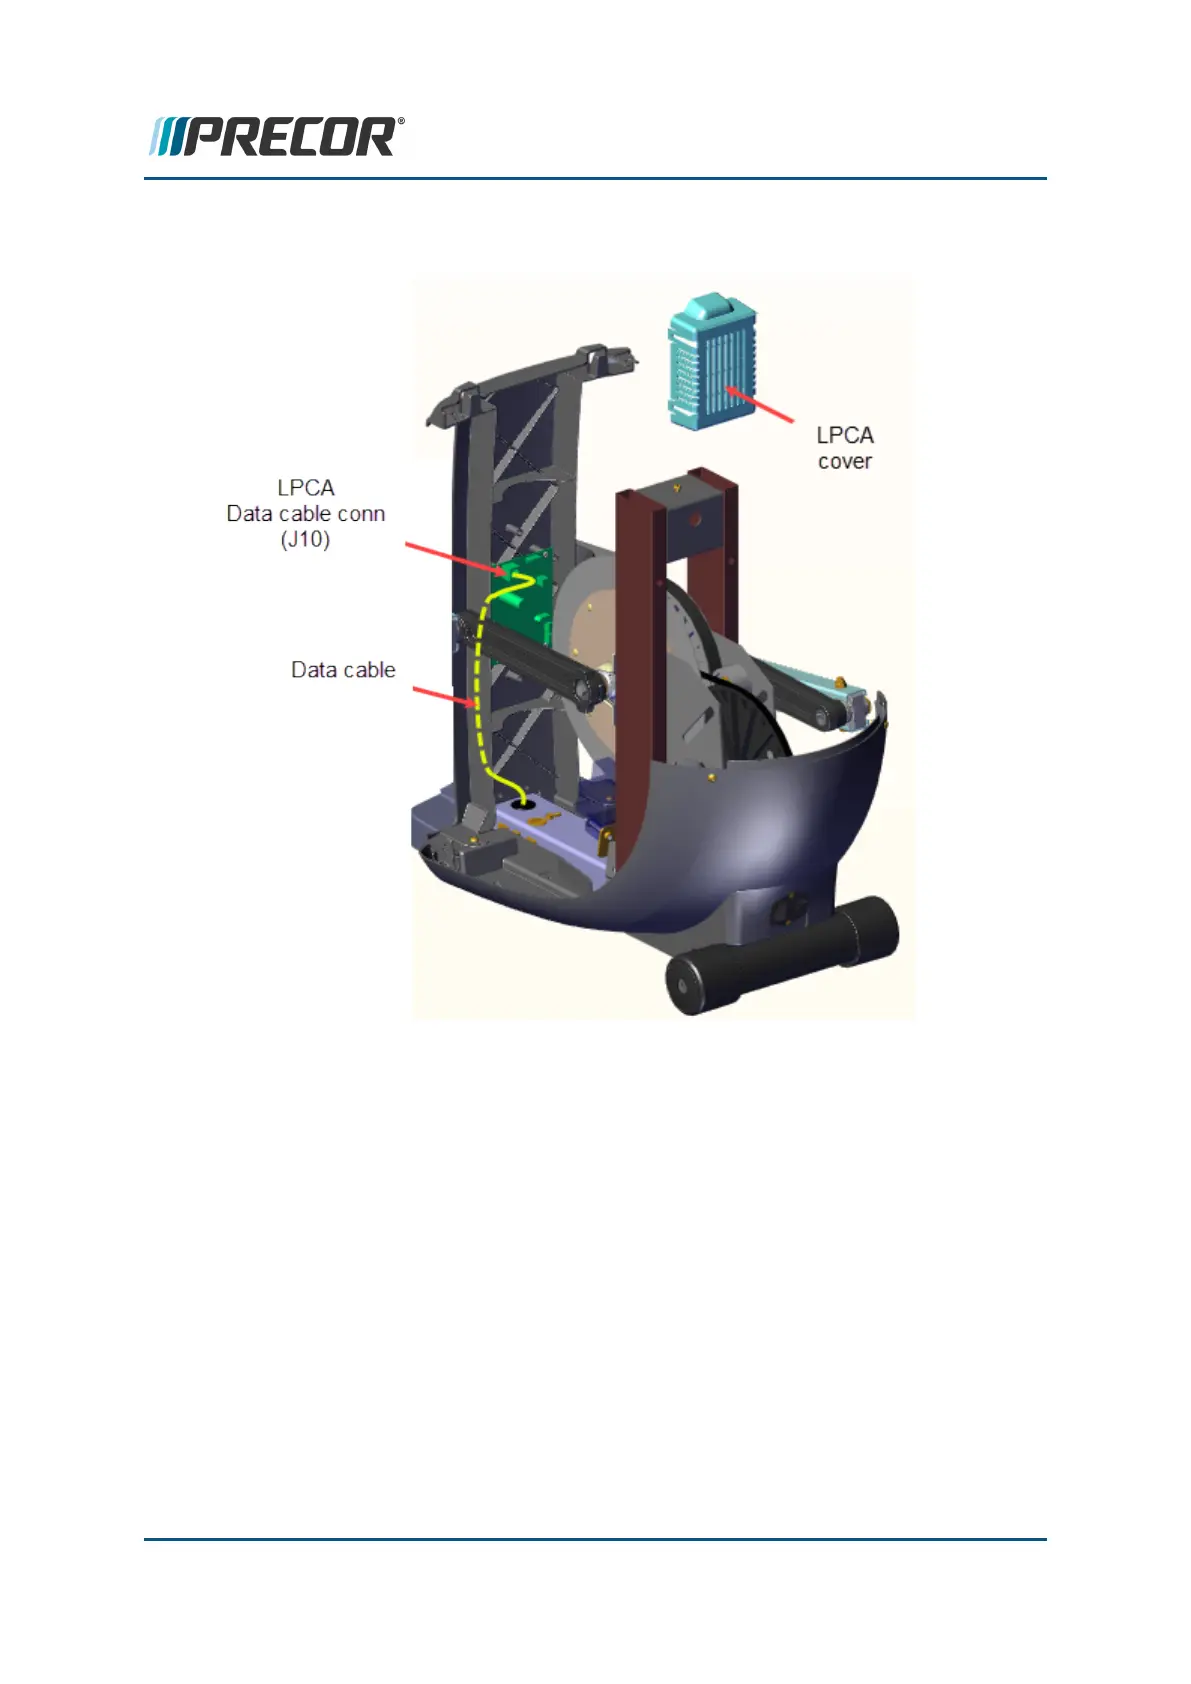
6. Remove the LPCA cover and disconnect the lower data cable from the LPCA Data
Cable (J10) connector.
7. Remove and replace the existing lower data cable thru the main frame weldment.
Tape the replacement data cable to the LPCA end of the existing data cable. Before
removing, record the length of the existing lower data cable that exits the main frame
weldment access hole. Then grab the end of the existing data cable at the main frame
weldment access hole and carefully pull the replacement cable through the main
frame weldment. Stop when the length of the replacement cable exiting the main
frame weldment access hole matches the previously recorded existing data cable exit
length.
Contact Precor Customer Support at support@precor.com or 800.786.8404 with
any questions.
Page 106
6 Available Replacement Procedures
Data Cable Replacement

 Loading...