QLS-4100 Xe 7-13
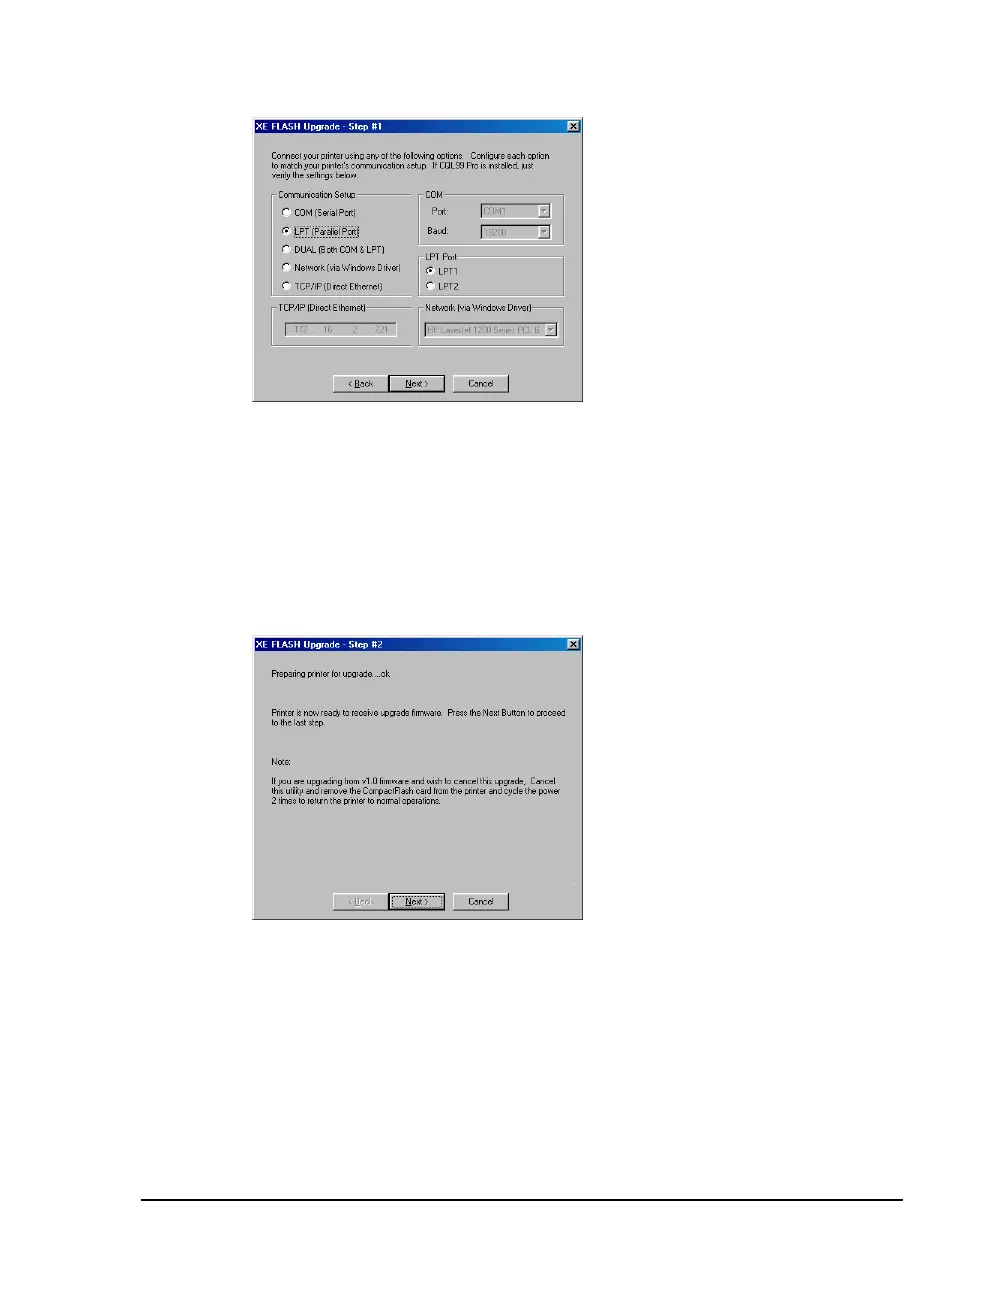
2 Choose the Next button. The following screen will appear.
3 Set up communications to your printer by selecting the appropriate
connection options.
If Custom QuickLabel is installed, these settings will reflect the last
settings used in Custom QuickLabel. If necessary, change the setup as
required. Remember to also configure the printer, if necessary.
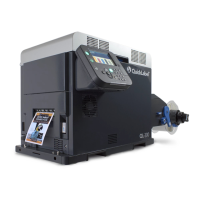
4 Choose the Next button. The following screen will appear.
The flash utility will query the printer to determine if the upgrade can
continue. When complete, the menu will indicate that you may either
continue with the upgrade or that an error occurred.
If an error occurs, follow the message instructions to correct the problem
on the printer if necessary and press the Retry button.