58 / 280
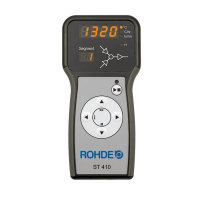
Switch output (event) indicator:
• The switch output is switched on (relay contacts are closed) when the switch output indicator lights up.
• The switch output is switched off (relay contacts are open) when the switch output indicator does not light up.
• The switch output indicator shows in active firing mode, while a program is running, whether the switch output (event)
is active (indicator lights up) or inactive (indicator does not light up).
The LED for the indicator above the switch output (event) key lights up.
The LED for the indicator above the switch output (event) key does not light up.
Note:
Before the program runs, the switch output (event) is inactive (relay contacts are open).
6.5.5. Programming the exhaust air flap (ST 411 only)
To be able to program an exhaust air flap in the firing program, the additional switch output must first be set to “2” in the
parameter configuration (see Section 10./Parameter no. 45).
⇒ If parameter no. 45 has not been set to “2”, the wrong configuration menu is displayed.
Note:
1. If no button is pressed for 30 seconds, the control automatically exits the exhaust air flap temperature configuration
menu. Previous entries are not saved and will be lost.
2. The controller must not be running a program when programming the exhaust air flap temperature (“Program running”
indicator must not light up).
3. In the sequence described, it is important that the
g key is pressed a total of four times, otherwise, changes will not
be saved.
Programming the exhaust air flap in the configuration menu:
The control unit must not run a firing
program during programming.
If necessary, stop the firing
program with the
j key.
d Pr.C
Press the
h and g keys simultaneously
to open the configuration menu.
The menu for the exhaust air flap
closing temperature is displayed.
d Pr.C
Release the
h and g keys.
410
Press the
g key.
The last set exhaust air flap
closing temperature is displayed.
411
Enter the exhaust air flap closing
temperature by pressing the
d or f
key.
The keys can also be held down
for faster input.
411
Press the
g key to confirm the entry.
d Pr.O
The menu for the exhaust air flap opening
temperature is displayed.
 Loading...