Chapter 3 Replacing the Motherboard and Associated Components 3-23
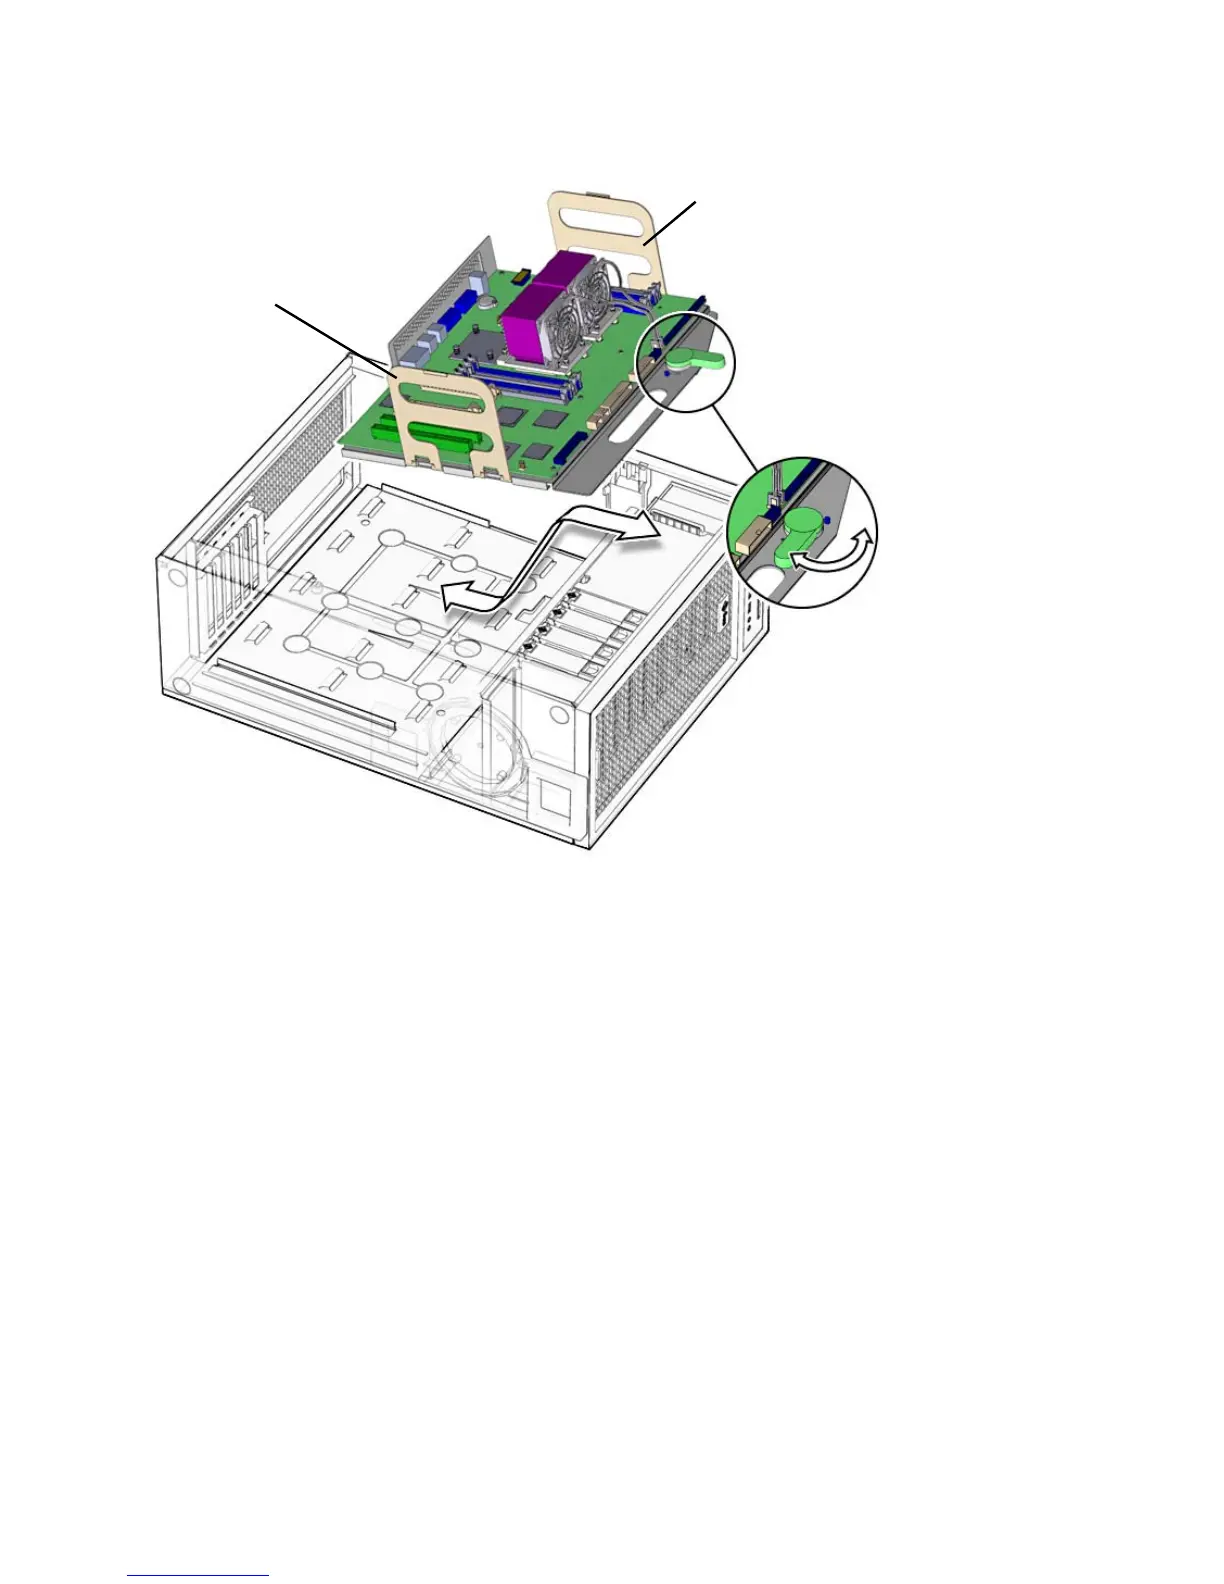
FIGURE 3-13 Releasing the Motherboard Latch
8. Move the cables out of the way.
9. Using the motherboard handles, tilt the motherboard to one side and lift it until it
is free of the chassis (
FIGURE 3-13).
10. Set the motherboard down onto the antistatic mat.
3.6.2 Installing the Motherboard
1. Remove the new motherboard from its antistatic package and place it on an
antistatic mat.
2. Move all cables out of the way.
3. Align the motherboard rear panel connectors with the matching holes in the rear
panel (
FIGURE 3-13).
Motherboard latch
Motherboard handle
Motherboard handle