EasyManuals Logo

Sun Microsystems Ultra 25 User Manual

Sun Microsystems Ultra 25
198 pages
To Next Page IconTo Next Page
To Previous Page IconTo Previous Page
Page #83 background imageLoading...
Page #83 background image
Chapter 5 Replacing Chassis Components 5-7
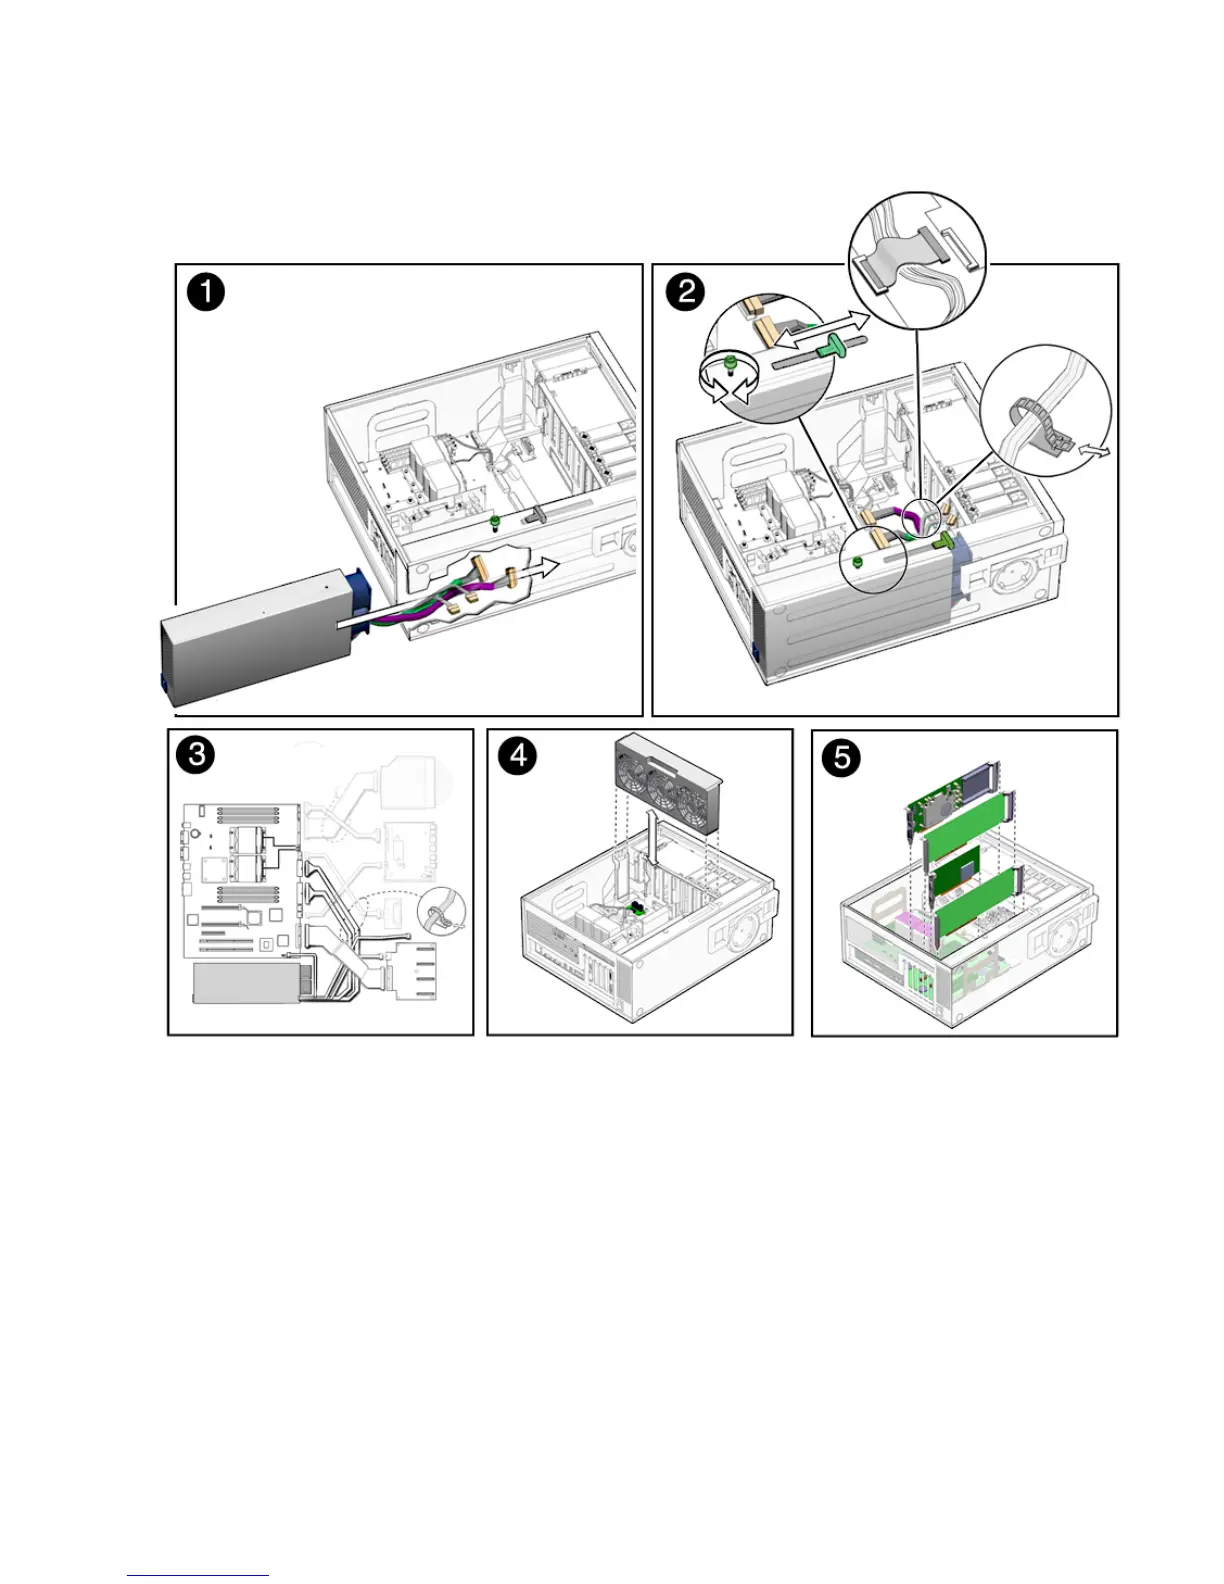
FIGURE 5-4 Installing the Power Supply
3. Guide the cables and push the power supply into the chassis opening until the
back of the power supply aligns with the back of the chassis.
4. Tighten the captive screw that secures the power supply to the chassis (
FIGURE 5-4).
5. Connect the following cables (
FIGURE 5-5):
â–  P1 power cable on the motherboard at (J28)
â–  P2 power cable on the motherboard (J22)
â–  P3 hard drive backplane power cable on the hard drive backplane (J2)
â–  P5 power supply signal cable on the motherboard (J45)

Table of Contents

Questions and Answers:

Question and Answer IconNeed help?

Do you have a question about the Sun Microsystems Ultra 25 and is the answer not in the manual?

Sun Microsystems Ultra 25 Specifications

General IconGeneral
BrandSun Microsystems
ModelUltra 25
CategoryDesktop
LanguageEnglish

Related product manuals