12 Software description
CyFlow
®
Cube 8 | Operating Manual | May 2018 | Revision 032 119
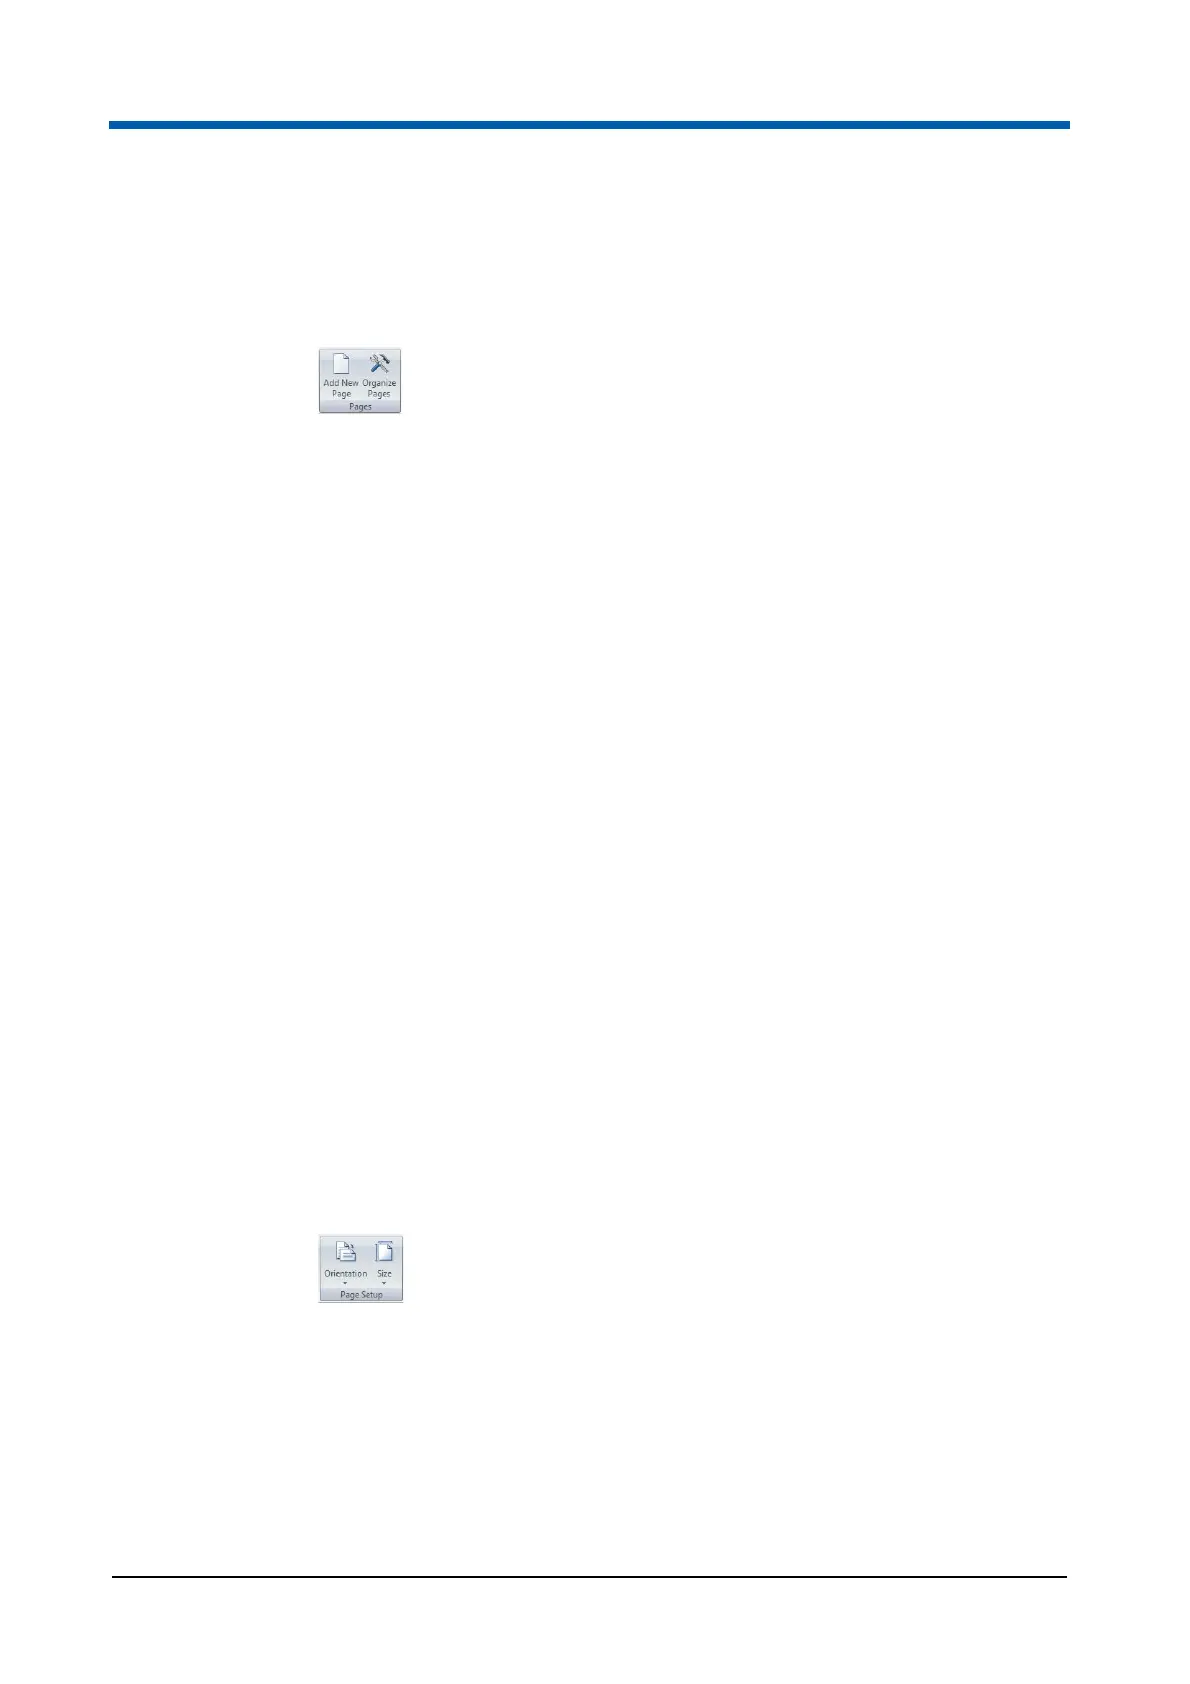
Pages group
The Pages group contains options to add new pages to the report and to
organise the pages of the report.
The Pages group contains the following options:
Add New Page: Click the button to add a new blank page to the end of
the report. All new pages are assigned a unique number, which is
displayed at the top left-hand corner. All new pages display a "Page X of
Y" in the bottom right-hand corner. Up to 800 pages can be added to the
Report. When the maximum number of pages is reached, the Add New
Page button is disabled.
Organize Pages: Click the button to display the "Organize Report
Pages" dialogue. A list of all pages is displayed. Select the desired page
and click the corresponding button to insert a page before or after the
selected page, to move the page up or down, to delete the page or to
delete all pages.
A newly inserted page is given the next available unique number
(between 1 and 800) and has the suffix "(new)" in the dialogue. The
naming is a temporary name which will be updated when the dialogue is
closed and reopened.
A maximum of 800 pages can be inserted into each report. When this
limit is reached, the Insert Page Before button is disabled.
To preview a page in the Workspace, double-click on the page in the list.
Click the OK button to close the "Organize Report Pages" dialogue and
accept the changes made to the report pages. Click the Cancel button to
close the "Organize Report Pages" dialogue and cancel any changes
made to the report pages.
Page Setup group
The Page Setup group contains options to change the orientation and size of
the pages in the report.
The Page Setup group contains the following options:
Orientation: Click the button to display a drop-down list and select the
desired page orientation (portrait or landscape). The page orientation to
all pages in the report is changed. All header, footer and body objects
that lie outside the bounds of the new page are automatically resized to
fit the new orientation. If the orientation is then switched back, any
resized objects are not restored to their original size or position. In order
to restore pages exactly as they were, click the Undo button in the Quick
Access Toolbar.