6 – Modules
8 Snapshot Recall Safe button
Tap this button to enable the Snapshot Recall Safe function
for the selected module. (Default: off)
When this is on, the button will appear highlighted.
NOTE
This can also be set on the MODULE SAFE page of the
SNAPSHOT RECALL SAFE Screen. (See “MODULE SAFE page”
on page 172.)
9 Metering Point position indicator
This shows the position of the set metering point.
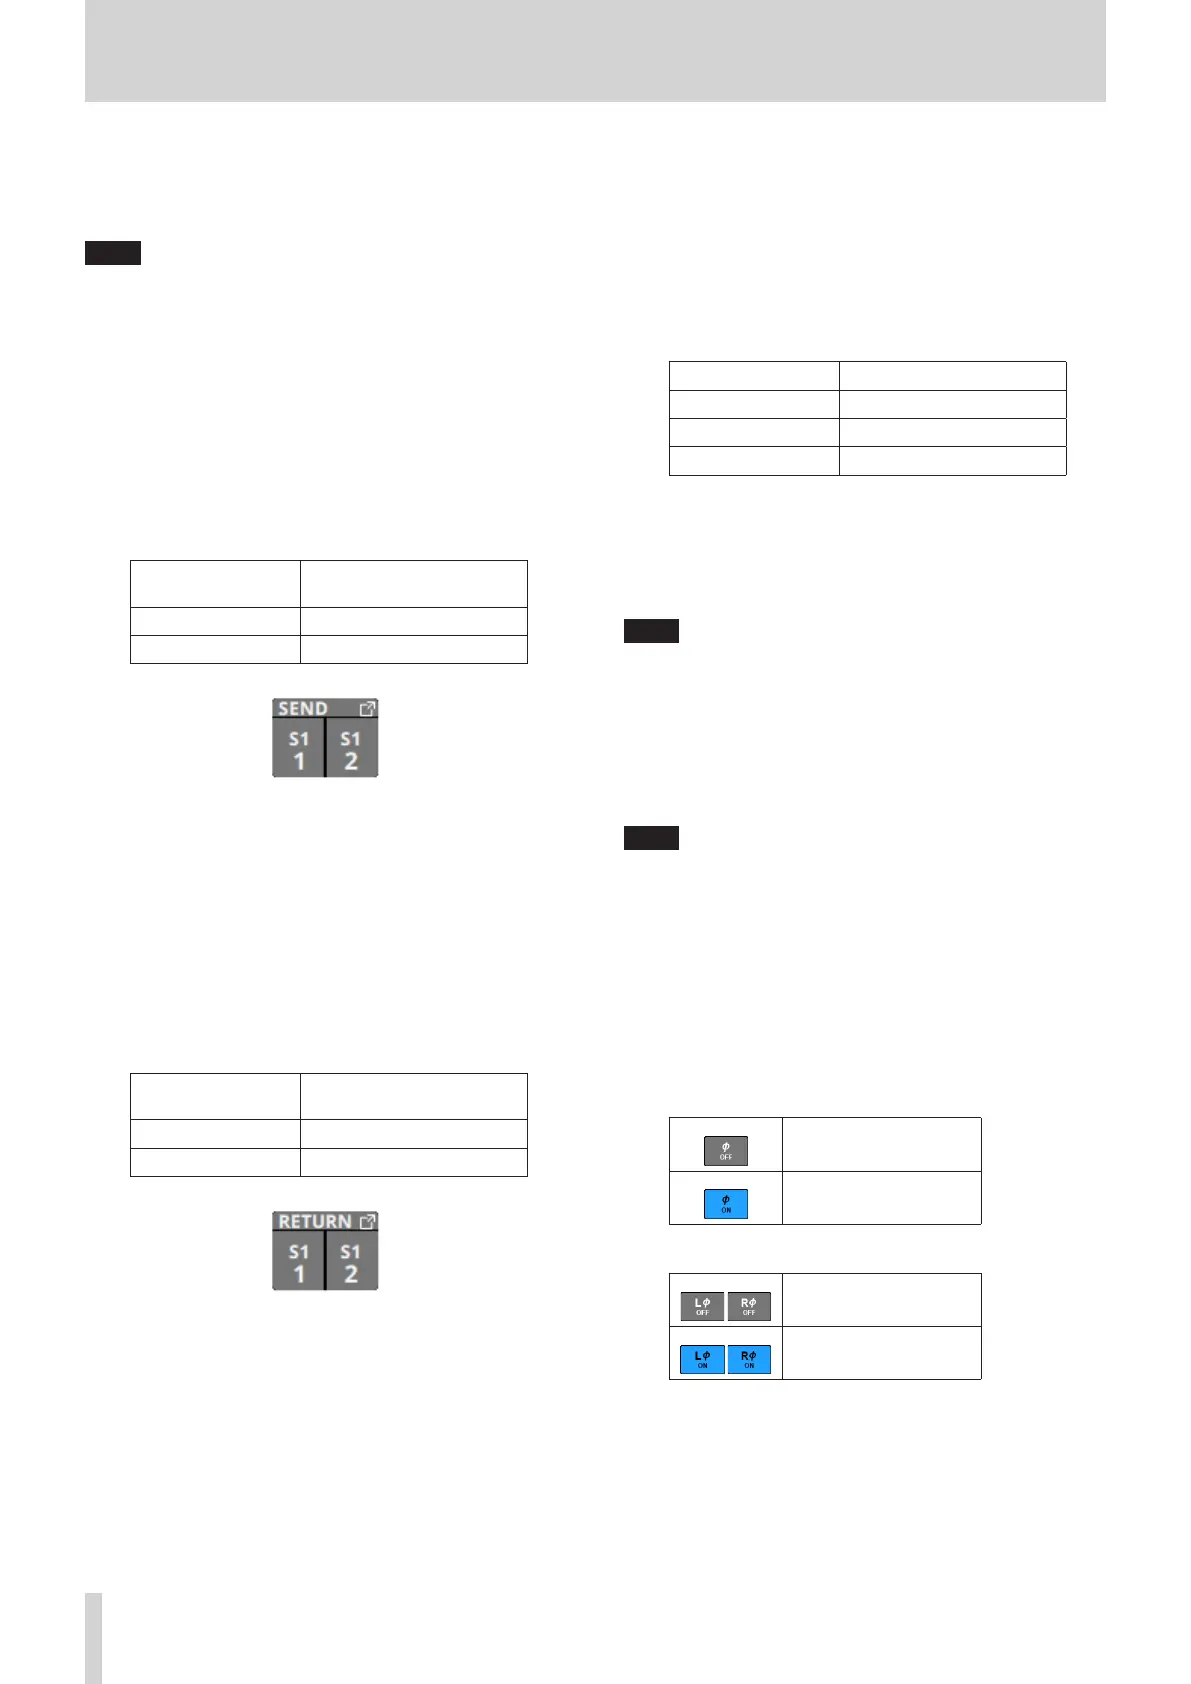
0 SEND button
o This shows the name of the output port that the INSERT
SEND signal is assigned to. If it has been assigned to
multiple output ports, “…” will appear to the bottom right
of the button.
o If the module is stereo, output port names will appear
split left and right and abbreviated as follows.
Module name
shown
Stereo module name
shown
SLOT 1 S1
SLOT 2 S2
o Tap this button to open the INSERT SEND PORT SELECT
Screen. (See “INSERT SEND PORT SELECT screen” on page
106.)
q INSERT button
Tap this button to turn the INSERT on/off. (Default: OFF)
When this is ON, the button will appear highlighted.
w RETURN button
o This shows the name of the input port that is assigned for
the INSERT RETURN signal.
o If the module is stereo, input port names will appear split
left and right and abbreviated as follows.
Module name
shown
Stereo module name
shown
SLOT 1 S1
SLOT 2 S2
o Tap this button to open the INSERT RETURN PORT SELECT
Screen. (See “INSERT RETURN PORT SELECT screen” on
page 107.)
e DELAY button
Tap this button to turn the delay function ON or OFF
(default). This can be used to adjust the timing of the output
signal, for example. (Default: OFF)
When this is on, the button will appear highlighted.
r DELAY TIME
This adjusts the DELAY TIME.
The highlighted unit will be used for operation, so tap the
button for the desired unit.
Unit options Range (unit)
meter 0 – 117.3 (meter)
feet 0 – 384.8 (feet)
msec (default) 0 – 341.32 (msec)
Turn LCD knob 4 (lit green) to adjust it.
t MUTE button
Tap this button to turn muting on/off for the selected
module signal.
When MUTE is on, the button will be highlighted.
NOTE
The MUTE keys on the top of the unit can also be used to set
this.
y FADER LEVEL
Use this to adjust the FADER level of the selected module
signal.
Range: -∞ dB – +10.0 dB (default: 0.0 dB)
Turn LCD knob 5 (lit blue) to adjust it.
NOTE
i The channel faders on top of the unit can also be used for
this adjustment.
i Tap the area while pressing the HOME key on the top panel
to set the FADER level to 0 dB.
u Phase buttons
Use these to change the phases of the signals for the selected
module.
Tap these buttons to reverse the phases of the selected
module signals.
o Phase button display when the Stereo Link setting is off
for the selected module
Normal
Reversed
o Phase button display when the selected module is stereo
Normal
Reversed
122 TASCAM Sonicview 16/Sonicview 24 V1.1.0

 Loading...