System Manual 5. Installation
76.7300FP11/2, Rev A 8/09 Page 2-57
5.40 When inserting modules into the shelf, use caution and observe the
following guidelines:
• Visually inspect modules and module slots before installing modules
into the shelf.
• You must line up the module in the module guides so that the module
easily slides into position until you seat the connectors by using the
module ejectors (10G Switch module only) and/or tightening the
module thumbscrews.
• Never force a module into position. If you force a module, you may
possibly cause damage to components.
• Always pull the module straight out of its slot, taking care not to touch
any adjacent material.
• Do not leave the shelf with modules partially inserted.
5.41 Install modules in the Tellabs 7345 shelf by performing the following steps:
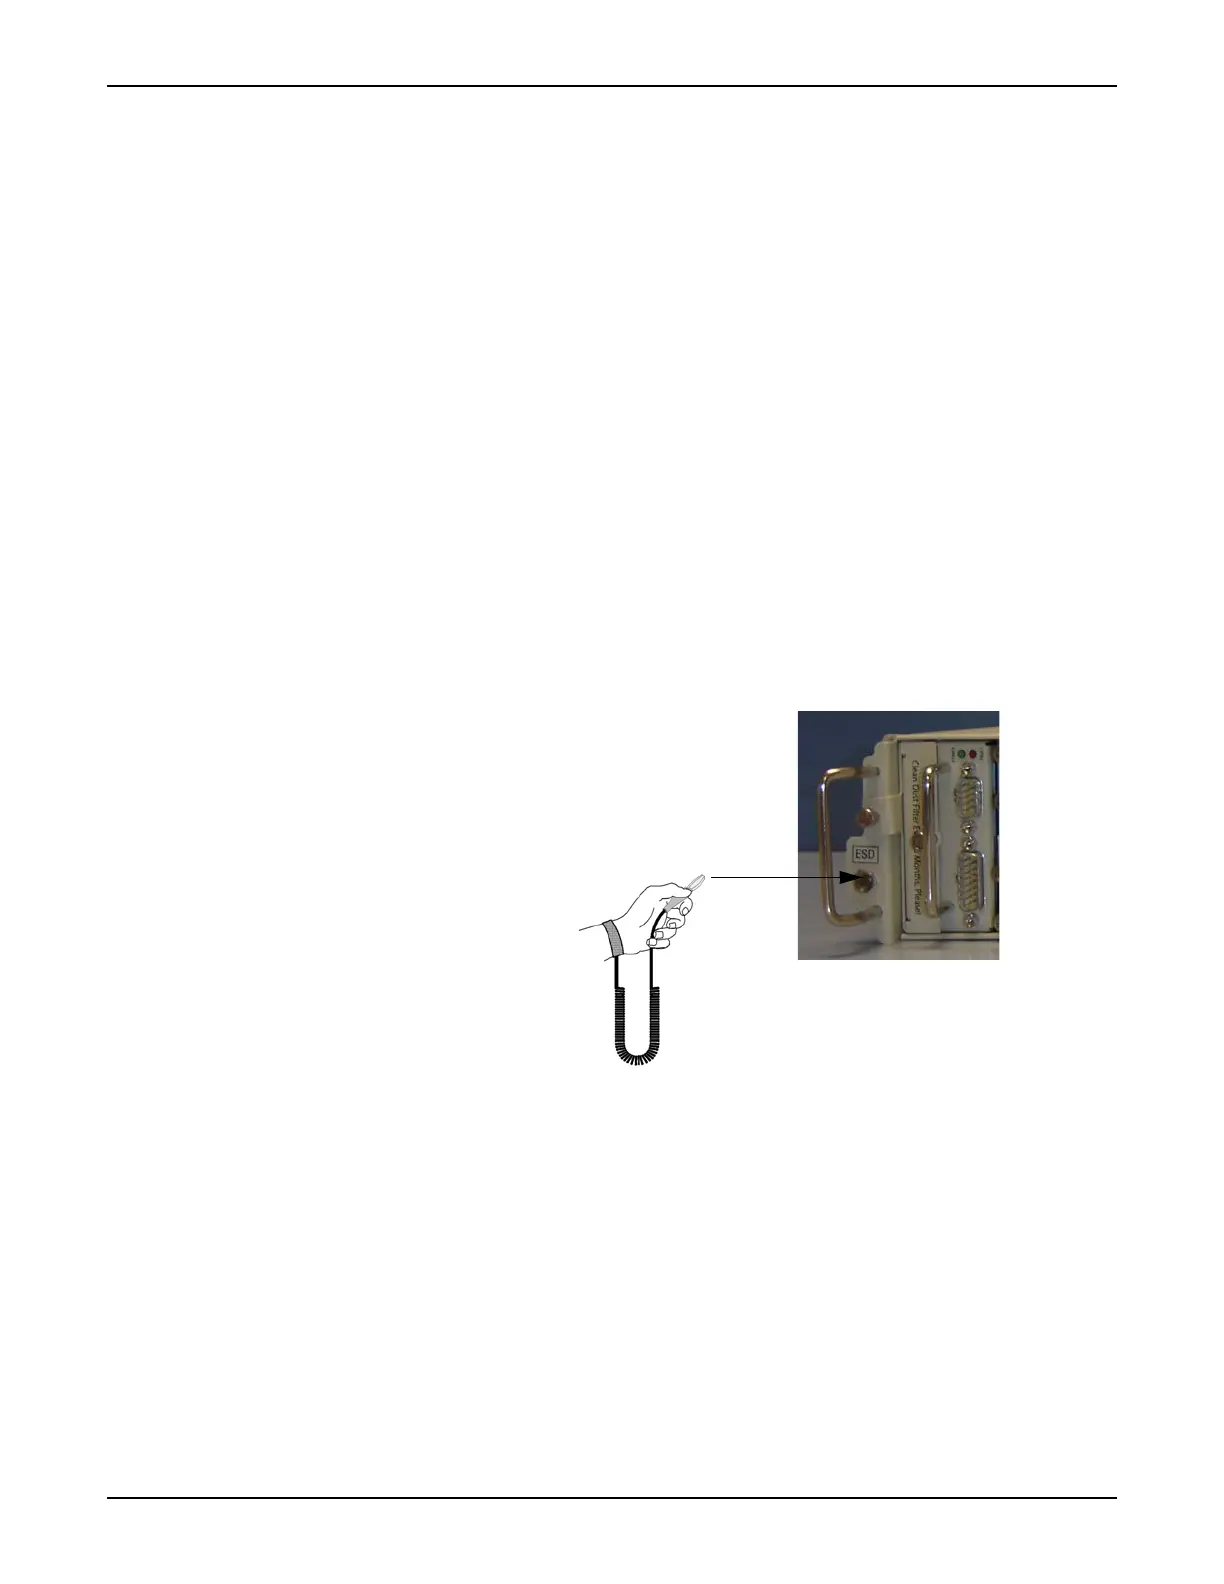
__ 1. Use an antistatic wriststrap connected to the shelf to ensure you are
adequately grounded while installing or servicing the system to avoid
damaging components sensitive to static electricity. Connect the
antistatic wriststrap to the shelf as shown in Figure 5.11, page 2-57.
Figure 5.11 Connect Antistatic Wriststrap to Shelf
__ 2. Remove modules from their antistatic packaging.
__ 3. Install the Fan Tray with Air Filter in slot 1 of the shelf. Refer to Figure
5.12, page 2-58.
__ 4. Install the CMCC module in slot 8 of the shelf. Refer to Figure 5.12,
page 2-58.
__ 5. Install the PSU module in slot 6 of the shelf. Refer to Figure 5.12,
page 2-58.
__ 5.1 If a redundant PSU module is to be installed, install it in
slot 7 of the shelf.
__ 6. Install the 10G Switch module in slot 2 of the shelf, being sure to
secure the module’s ejector latches. Refer to Figure 5.12, page 2-58.
__ 7. Install blank plates in any open slots on the Tellabs 7345 shelf.
 Loading...