Operating Instructions
65
Changing the Setpoint
To change the setpoint complete the following steps.
NOTE: If the S
ETPOINT soft key (far left) displays PRODUCT
or PRODUCT/SETPOINT, the controller has been programmed
with OptiSet Plus temperature profiles. See “OptiSet Plus”
on page 115 for information about selecting or changing the
named product or the setpoint.
1. Begin at the Standard Display.
If the Temperature Watch Display is showing, press the
M
ENU soft key once to return to the Standard Display.
2. Press the S
ETPOINT soft key on the Standard Display. See
Figure 41. The “Setpoint” Screen briefly appears, then the
“Current Setpoint” Screen appears. See Figure 42.
3. Press the + or - soft keys to change the setpoint reading.
See Figure 42.
4. Press the Y
ES or NO soft key accordingly as described
below. See Figure 42.
•If the N
O key is pressed the setpoint change made with the
“+” or “-” soft keys will not be accepted, the setpoint will
not be changed and the display will return to the Standard
Display.
•If the Y
ES soft key is pressed, the setpoint change made
with the “+” or “-” soft keys will be accepted, and the
following screens will appear.
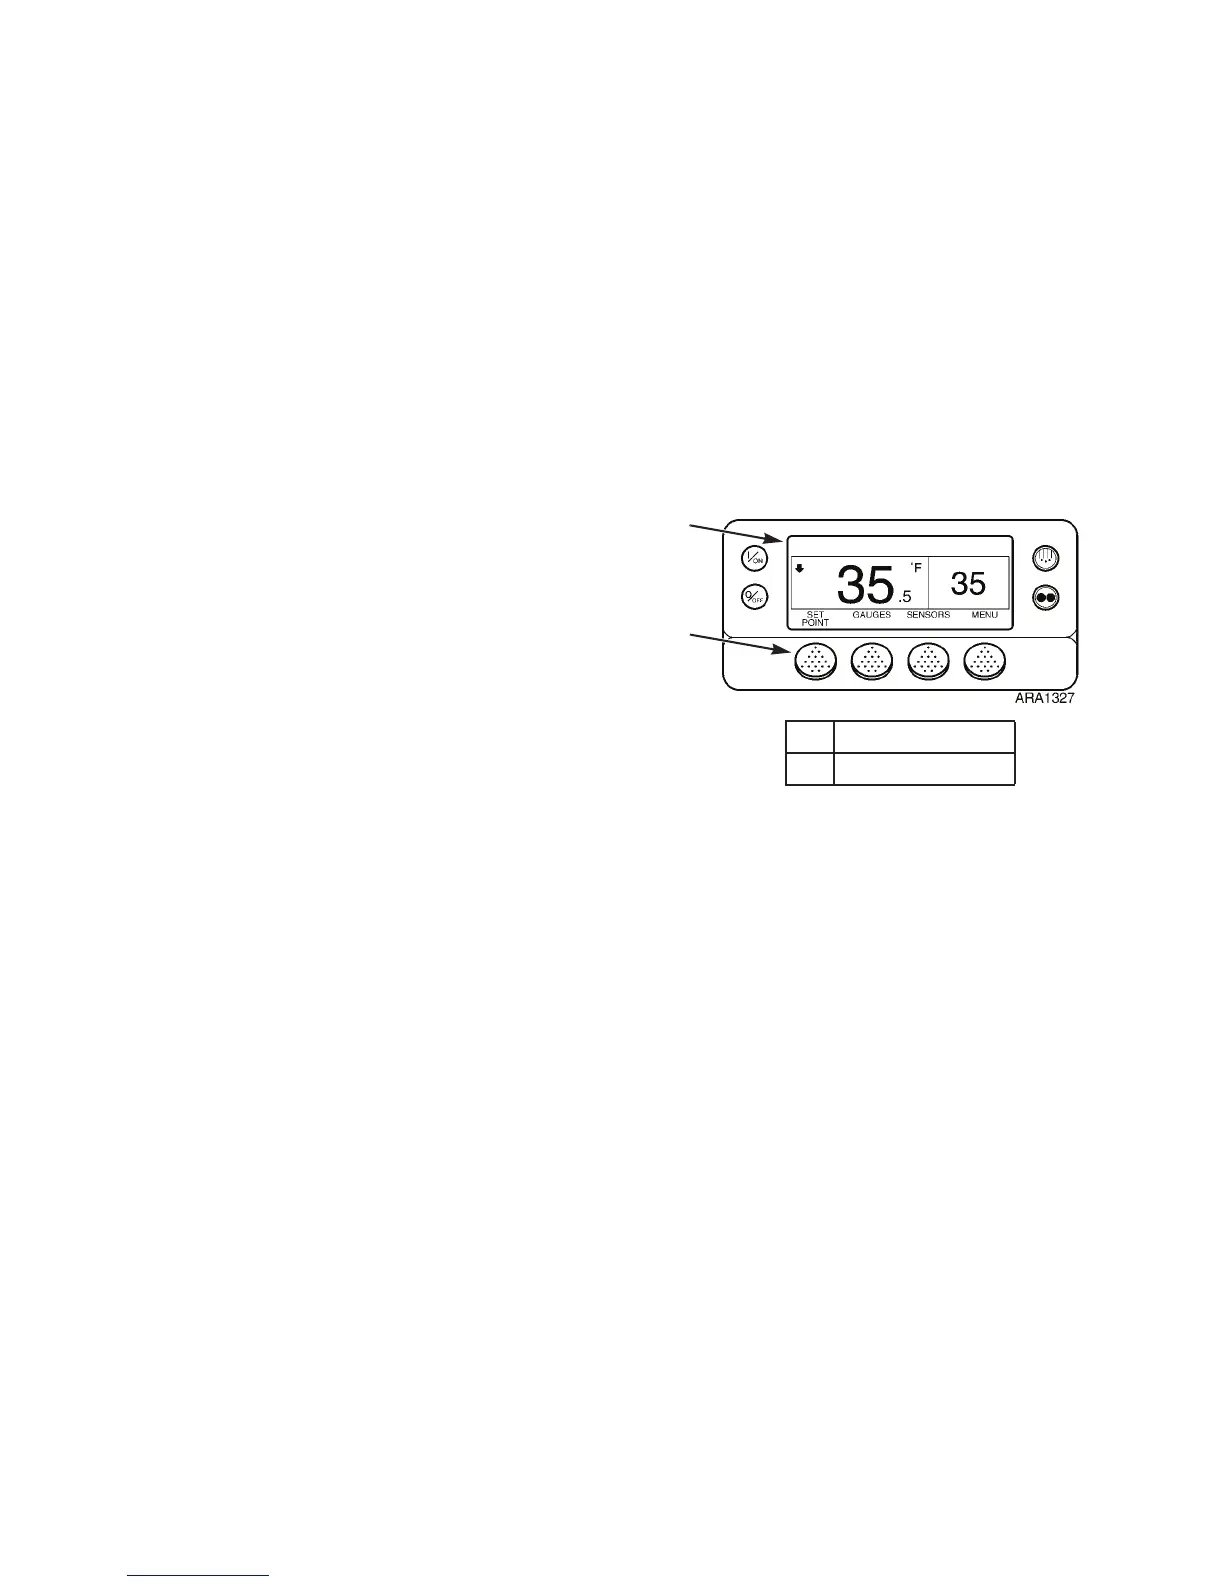
1. Standard Display
2. Setpoint Soft Key
Figure 41: Changing Setpoint
Operating Instructions
65
Changing the Setpoint
To change the setpoint complete the following steps.
NOTE: If the S
ETPOINT soft key (far left) displays PRODUCT
or PRODUCT/SETPOINT, the controller has been programmed
with OptiSet Plus temperature profiles. See “OptiSet Plus”
on page 115 for information about selecting or changing the
named product or the setpoint.
1. Begin at the Standard Display.
If the Temperature Watch Display is showing, press the
M
ENU soft key once to return to the Standard Display.
2. Press the S
ETPOINT soft key on the Standard Display. See
Figure 41. The “Setpoint” Screen briefly appears, then the
“Current Setpoint” Screen appears. See Figure 42.
3. Press the + or - soft keys to change the setpoint reading.
See Figure 42.
4. Press the Y
ES or NO soft key accordingly as described
below. See Figure 42.
•If the N
O key is pressed the setpoint change made with the
“+” or “-” soft keys will not be accepted, the setpoint will
not be changed and the display will return to the Standard
Display.
•If the Y
ES soft key is pressed, the setpoint change made
with the “+” or “-” soft keys will be accepted, and the
following screens will appear.
1. Standard Display
2. Setpoint Soft Key
Figure 41: Changing Setpoint