Proceed to sealing the chip case.
1.
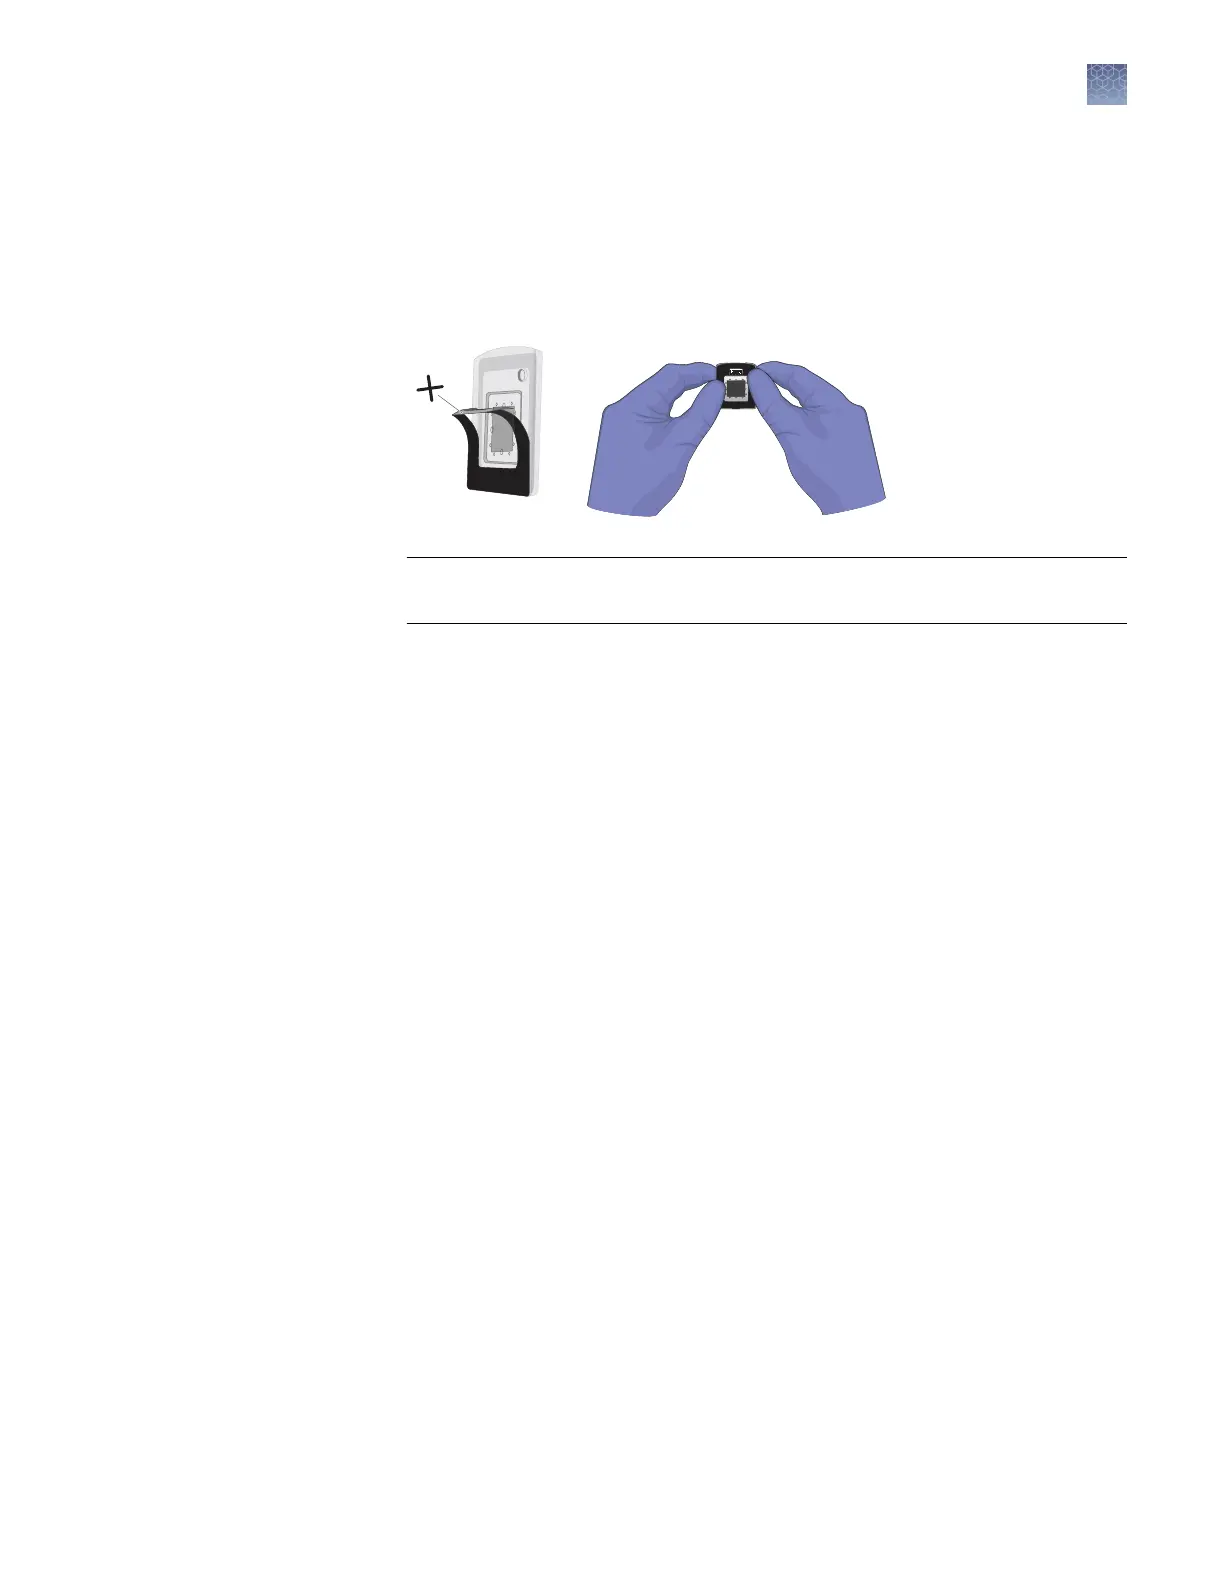
Gently pull back the top half of the label on the chip lid.
2.
Remove the label backing and press the label rmly over the ll port for
5 seconds to ensure a tight seal.
IMPORTANT! Press only on the label region of the chip lid. Pressure placed on
the window of the chip lid can expel the PCR reactions out of the chip wells.
3.
Gently run your ngers over the entire label to seal the remainder of the label.
4.
Inspect the sealed chip for potential problems:
•
Leaks – Conrm that no uid is leaking from the ll port or from the seal
between the chip and lid.
•
Bubbles – Check for large or multiple bubbles inside the chip case. One
small air bubble is acceptable.
•
Correct lid orientation – Conrm that the lid is correctly aligned on the
chip.
If the sealed chip fails any of the criteria above, discard it and prepare another
chip. The sealed chip cannot be opened and resealed.
5.
Store the prepared chip in a clean, dry, dark location until you are ready to load
it onto the thermal cycler.
Thermal cycle prepared chips within 2 hours after loading them.
Note: You can label the back of the chip with a permanent marker. This will not
affect the imaging data.
Seal the chip
case with the
label
Chapter 3 Prepare the digital PCR reaction and load the chips
Load the chips using the QuantStudio
™
3D Digital PCR Chip Loader
3
QuantStudio
™
3D Digital PCR System User Guide
31