3.
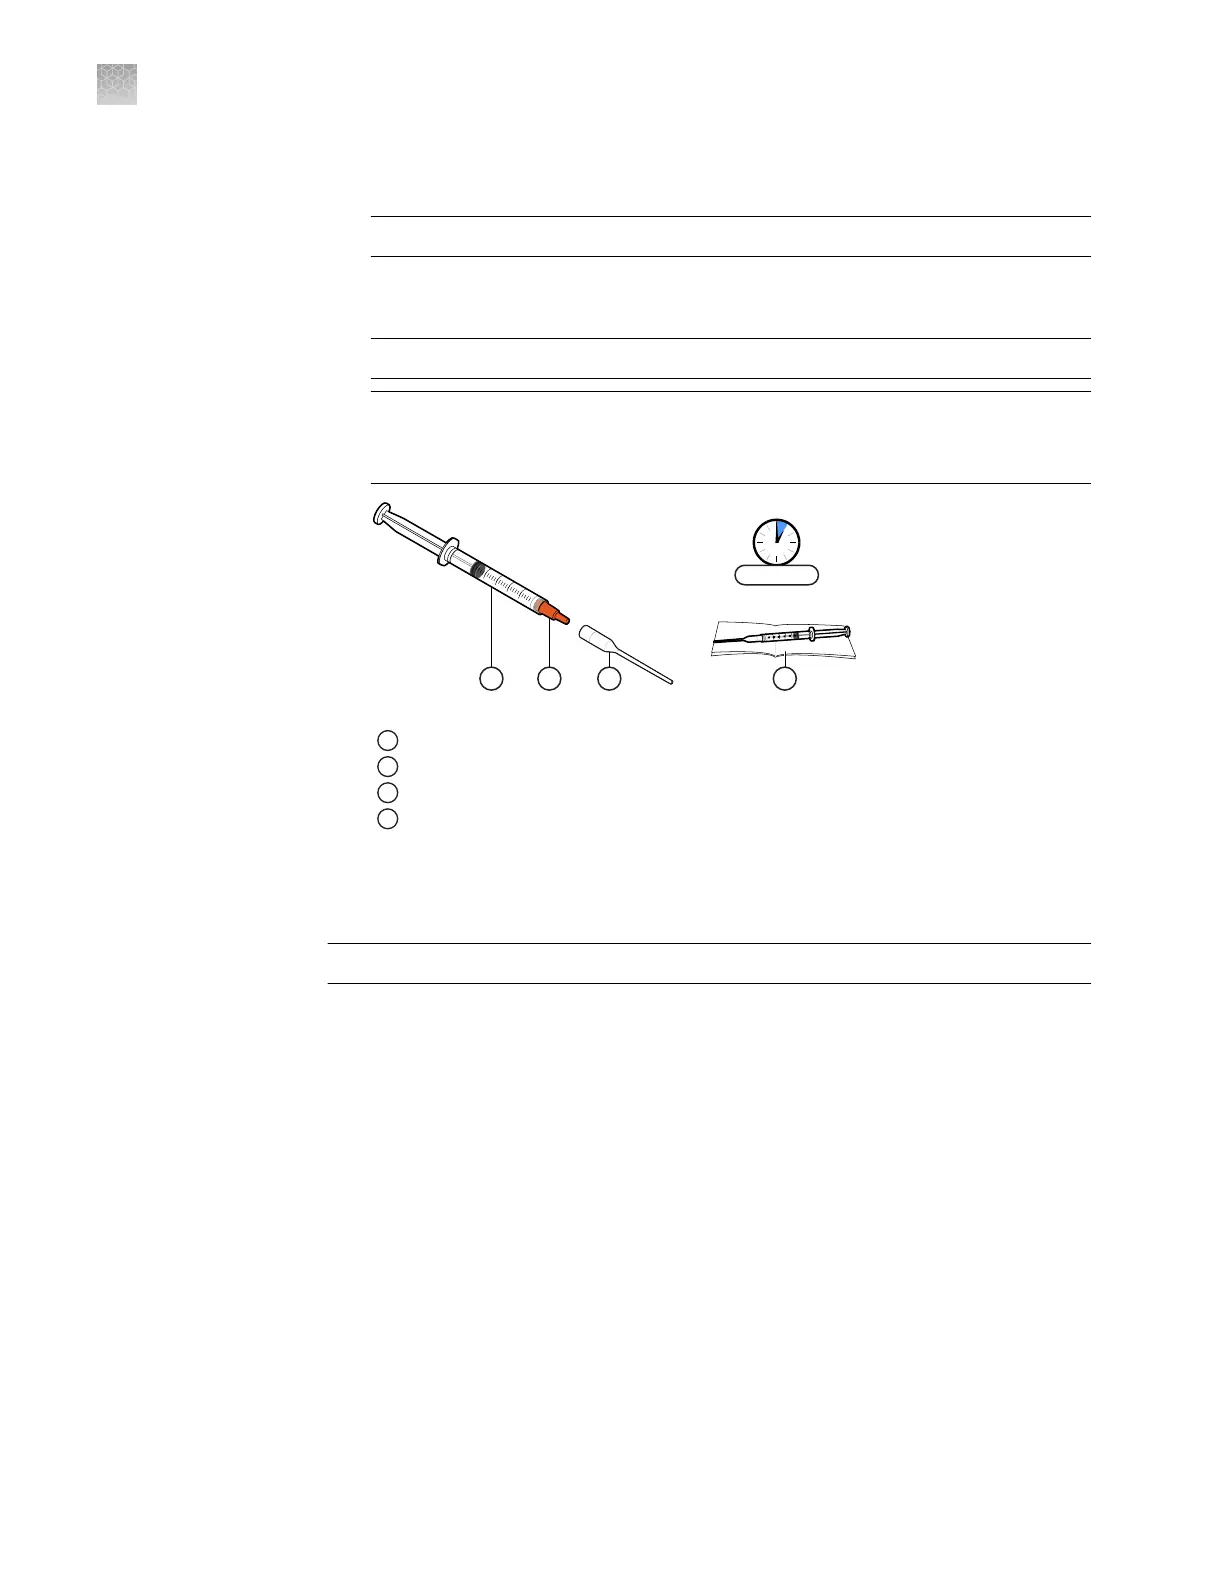
Remove the cap from the syringe, then attach the syringe tip by pushing it into
place.
IMPORTANT! No twisting or screwing is required to attach the tip.
4.
Carefully depress the plunger until Immersion Fluid ows from the tip of the
assembled syringe. Place it on a clean surface and proceed to the next steps.
IMPORTANT! Conrm that the tip is locked rmly in place before proceeding.
IMPORTANT! Open only one syringe at a time. Use all of the Immersion Fluid
within 60 minutes of uncapping the syringe. After a syringe is opened, you
cannot recap it for later use.
1
Immersion Fluid syringe
2
Cap (remove)
3
Syringe tip (push to attach)
4
Low-lint wipe
Load and seal the chips manually
IMPORTANT! Wear powder-free gloves while preparing the chips.
1.
Preheat the heated block to 40°C, the optimal temperature for loading chips.
Note: The loading surface should be a at, temperature-controlled surface that
is large enough to accommodate the chip.
2.
Remove the following consumables from their packaging and place them on a
clean, dry, lint-free surface:
•
QuantStudio
™
3D Digital PCR Chip Lid v2
•
QuantStudio
™
3D Digital PCR Sample Loading Blade
Appendix E Load chips manually
Load and seal the chips manually
E
108
QuantStudio
™
3D Digital PCR System User Guide