Use this procedure to manually congure the time zone, date, and time settings for
your instrument.
Note: If connected to a network, the QuantStudio
™
3D Digital PCR Instrument will
automatically synchronize the date and time settings via Network Time Protocol
(NTP). However, you will still need to manually set the instrument time zone.
1.
From the Main Menu of the touchscreen, touch , then touch Instrument
Settings.
2.
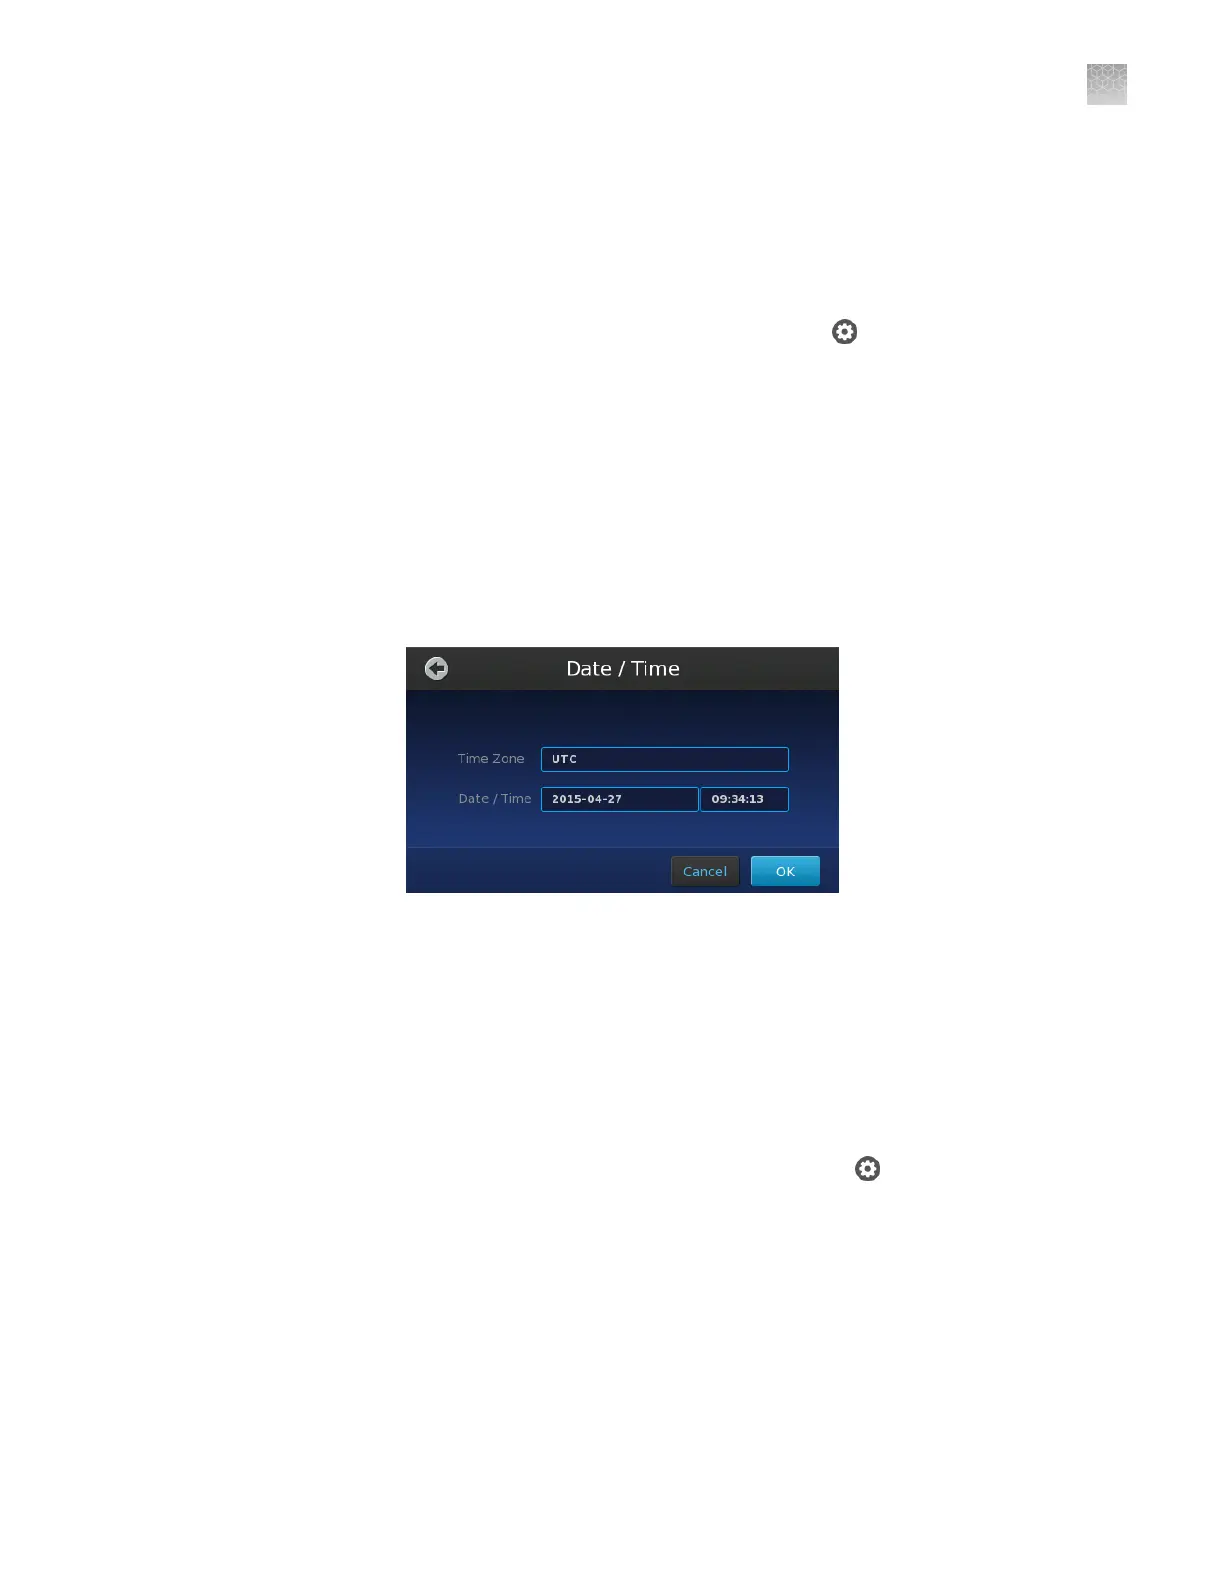
In the Instrument Settings screen, touch Date/Time.
3.
Set the time zone, date, and time:
a.
Touch the Time Zone eld, then select the correct continent and region
from the lists.
b.
Touch the
Date
eld, enter the current date, then touch
Enter
.
c.
Touch the Time eld, enter the appropriate time units, then touch Enter.
4.
Touch OK when done to save the setting.
Check the instrument firmware
Imaging and analysis of the QuantStudio
™
3D Digital PCR 20K Chip v2 requires
rmware version 3.0 or later on the QuantStudio
™
3D Digital PCR Instrument. To
check the rmware version:
1.
On the instrument touchscreen Main Menu, touch
.
2.
In the Settings Menu, touch Maintenance & Service.
Set the date
and time
Appendix C Maintenance
Check the instrument firmware
C
QuantStudio
™
3D Digital PCR System User Guide
87