4.
In the Maintenance & Service screen, touch Software Update then wait while
the instrument scans the USB drive for the rmware update.
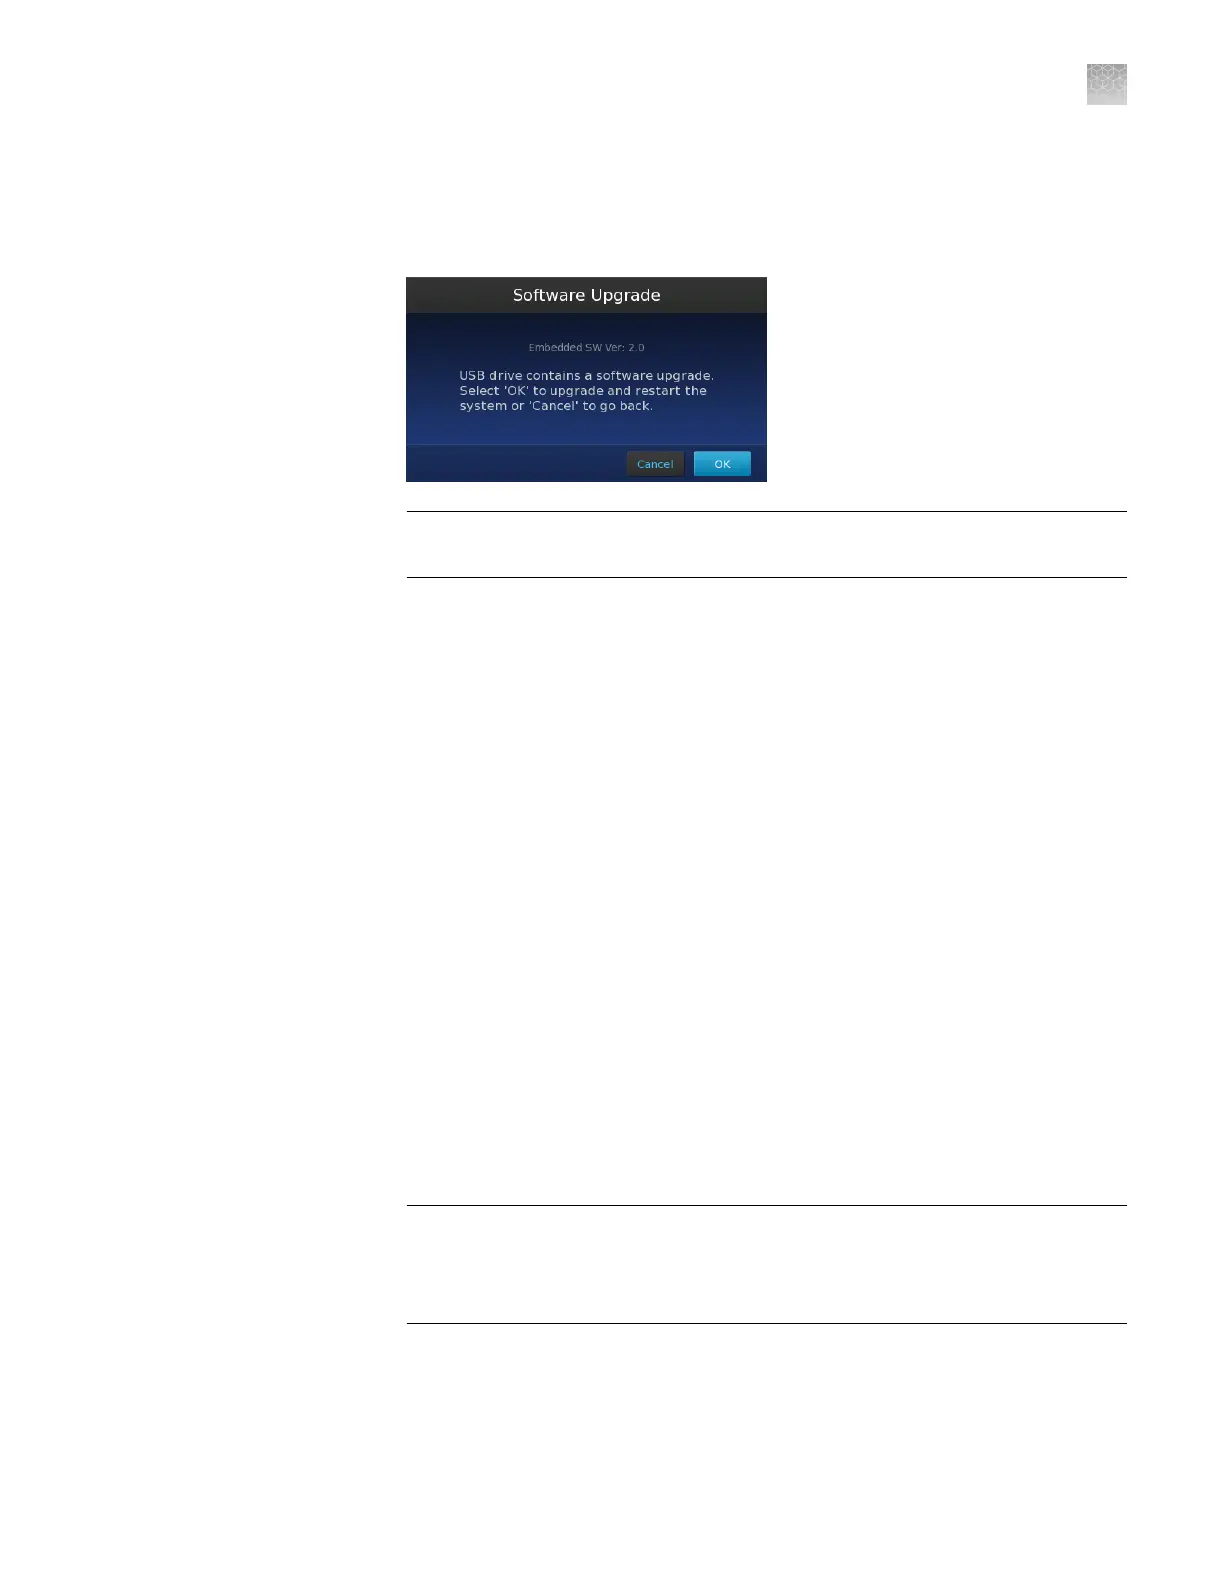
5.
In the Software Upgrade screen, touch OK to proceed with the update.
IMPORTANT! Do not remove the USB drive from the instrument until after the
update is complete.
6.
After the upgrade is complete and the instrument restarts, re-calibrate the
touchscreen (if prompted), then re-check the rmware version to conrm the
success of the update.
Returning your instrument for service
Before returning your QuantStudio
™
3D Digital PCR Instrument for service:
•
Transfer any experiment (.eds) les from the instrument as explained in “Transfer
the results” on page 49. This practice ensures that you will not lose data when
the instrument is serviced.
•
Conrm that the instrument is unloaded before you power off and pack the
instrument. If the instrument is moved while loaded, the chip inside may become
dislodged from the chip tray and obstruct the chip tray mechanism.
To return your instrument for service:
1.
Contact your local customer care center or technical support group (see
“Customer and technical support” on page 123) to obtain a copy of the
Certicate of Instrument Decontamination, a service notication, a service call
number, and packaging (if required).
2.
Decontaminate the instrument.
IMPORTANT! If the chip tray becomes contaminated with radioactivity, use a
commercially available decontaminant to remove the contamination. If the tray
cannot be decontaminated, the instrument cannot be returned to Thermo Fisher
Scientic for service.
3.
Complete and sign a copy of the Certicate of Instrument Decontamination.
4.
Fax the Certicate of Instrument Decontamination to the customer care center.
Appendix C
Maintenance
Returning your instrument for service
C
QuantStudio
™
3D Digital PCR System User Guide
89