3.
Remove the Base Module from the package and set it on a clean, level surface,
then remove the protective cover.
5 cm
(2 in)
20 cm
(8 in)
2
1
15.2 cm
(6 in)
ProFlex
PCR System
ProFlex
PCR System
CAUTION HOT
1
QuantStudio
™
3D Instrument
2
ProFlex
™
PCR System
IMPORTANT! The ProFlex
™
PCR System must be installed on a level surface.
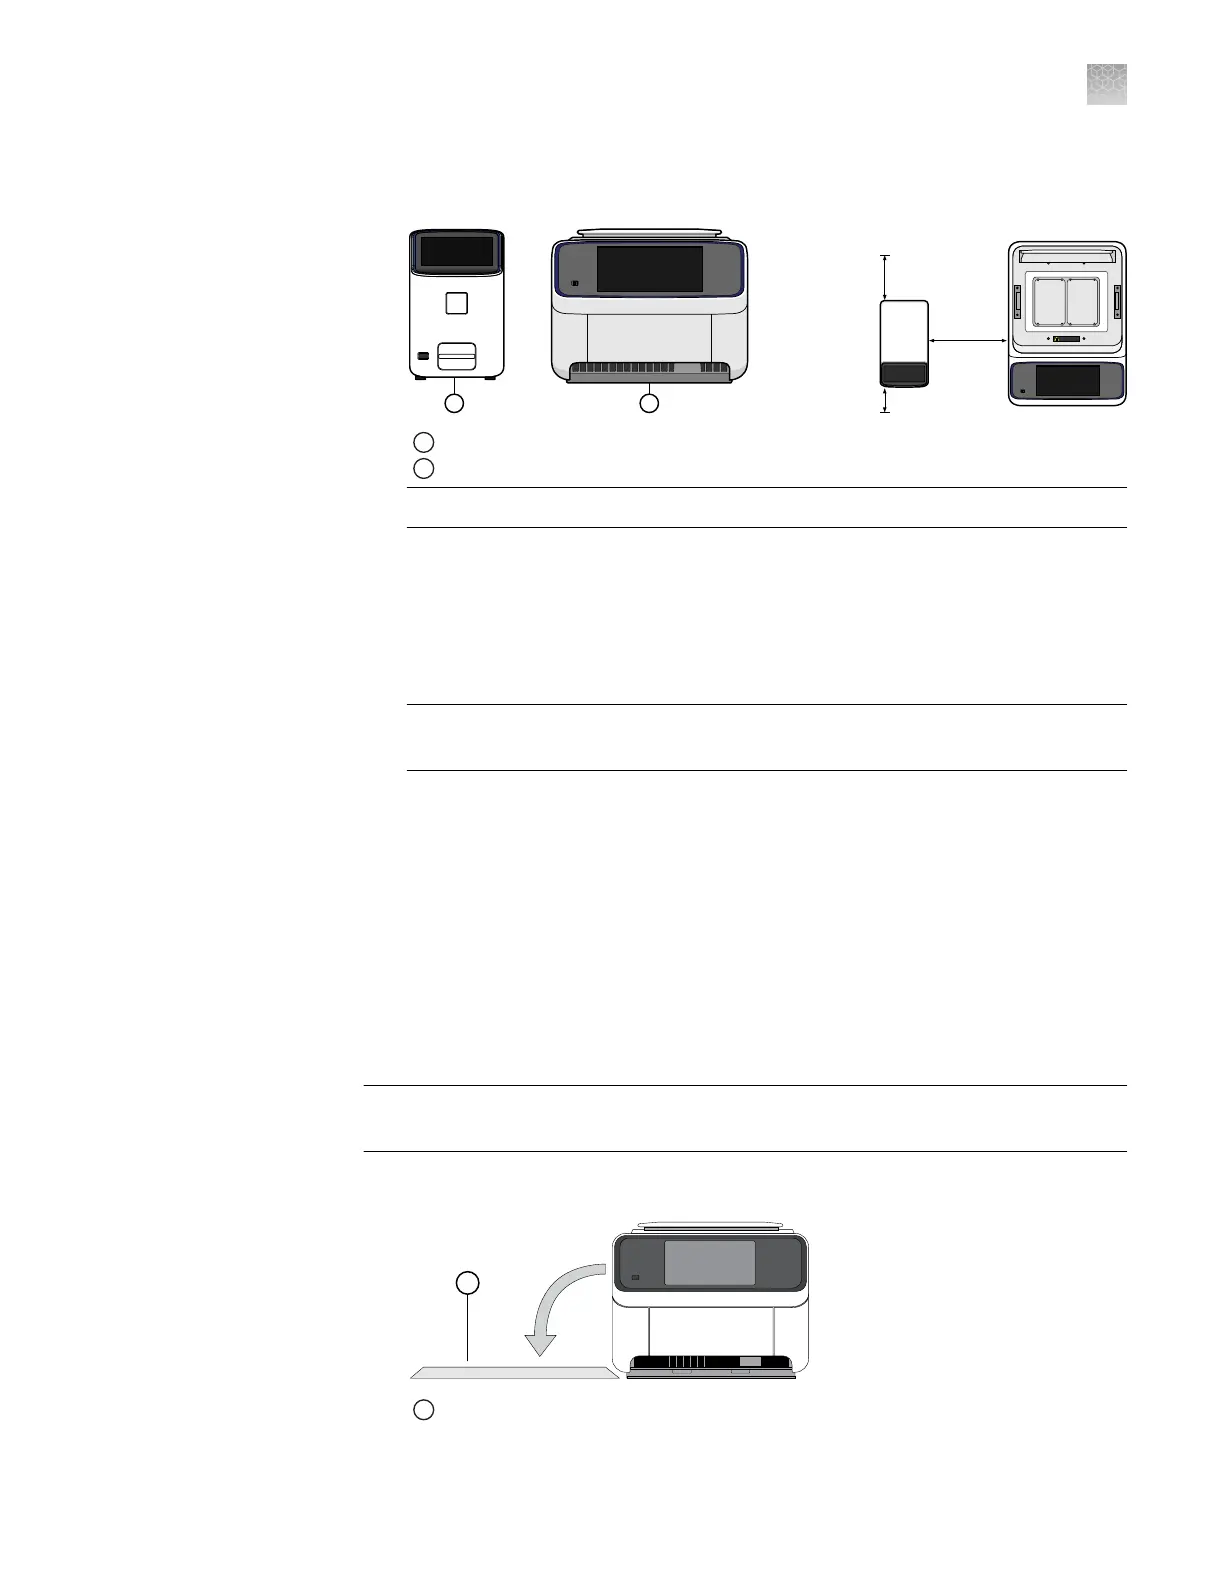
Note: If not located next to the thermal cycler, the QuantStudio
™
3D Instrument
requires only 15.2 cm (6 in) of clearance on either side of the instrument.
4.
Inspect the Base Module for damage caused during transportation.
If the instrument is damaged, note the location and appearance of the damage,
then contact customer support for assistance.
IMPORTANT! Save the packing materials and box in case you need to ship the
instrument for service.
1.
Clear a space to the right or left of the instrument, then place the drop cloth over
the area to provide padding for the instrument during the installation of the
risers.
2.
Unpack the Tilt Base Kit packages, then place the contents near the instrument.
3.
Load an empty consumable onto the sample block of the instrument, then close
the lid.
4.
Power off and unplug the instrument.
IMPORTANT! Before rolling the instrument onto its side, complete the tasks
described in “Prepare the workspace and instrument” above.
1.
Carefully roll the instrument onto the workspace protected by the drop cloth.
1
Drop cloth (either on right or left side of the instrument)
Prepare the
workspace and
instrument
Install the Tilt
Base
Appendix A Install the QuantStudio
™
3D Digital PCR System
Install the ProFlex
™
2 × Flat PCR System
A
QuantStudio
™
3D Digital PCR System User Guide
69