2.
Connect the power cord, power on the ProFlex
™
PCR System, then wait for it to
start (about 45 seconds). Follow the onscreen instructions to complete the
installation.
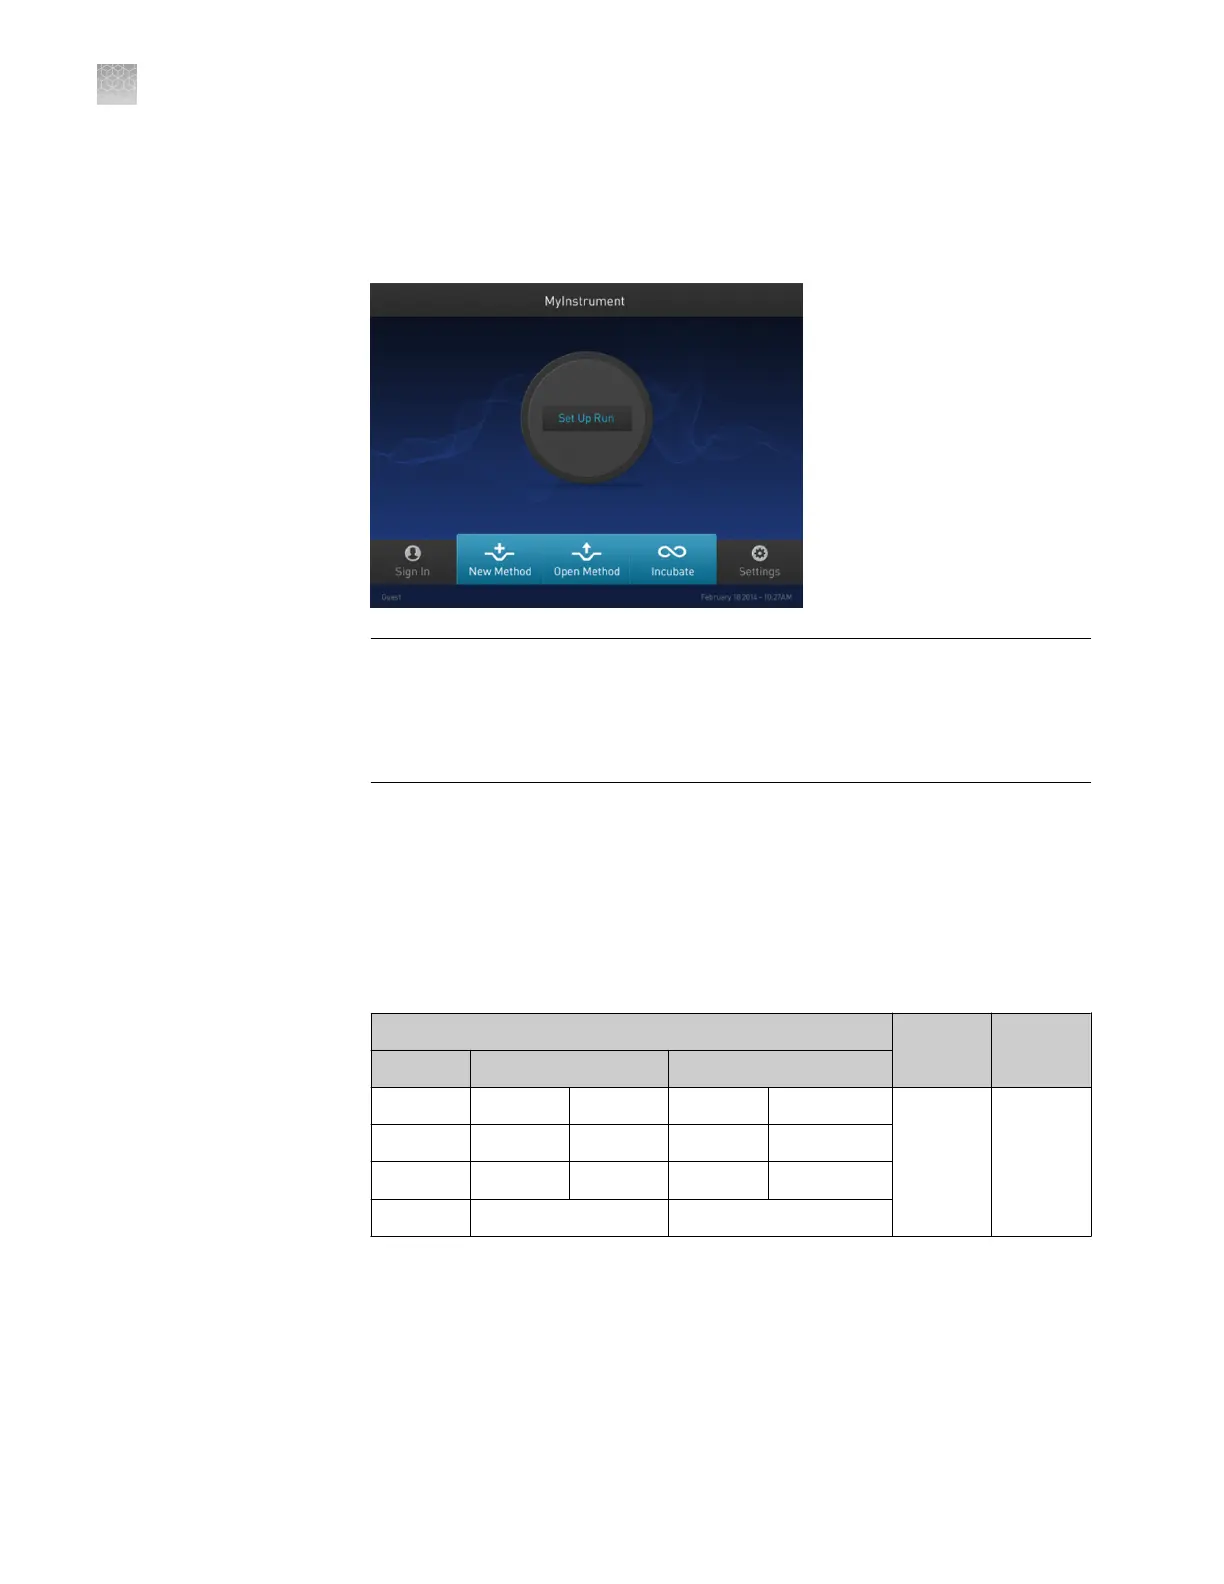
The ProFlex
™
PCR System is ready to use when the Main Menu displays.
IMPORTANT! If the instrument does not start, check the position of the sample
block module. The instrument cannot be powered on if the module is seated
incorrectly or if the lever is not completely closed. If the instrument does not
start even after adjusting the sample block module, or if the screen contains any
permanent patterns of lines or bars, contact technical support for assistance.
3.
Congure the ProFlex
™
PCR System settings as described in the ProFlex
™
PCR
System User Guide (Pub. No. MAN0007697).
4.
For optimal results, create a new method from the existing 3D template supplied
with the ProFlex
™
PCR System and verify the pre-dened method for thermal
cycling the chips:
Table 4 ProFlex
™
2 × Flat PCR System PCR Method
PCR protocol
Cover
temp.
Reaction
volume
Stage 1 Stage 2 Stage 3
96.0°C 60.0°C 98.0°C 60.0°C 10.0°C
70.0°C 1 nL
[1]
1.6°C/sec 1.6°C/sec 1.6°C/sec 1.6°C/sec 1.6°C/sec
0:10:00 0:02:00 0:00:30 0:02:00 ∞
1x (Hold) 39x (Cycles) 1x (Hold)
[1]
33 nL for firmware earlier than v1.1.4. The reaction volume on the instrument display does not refer to
the reaction volume on the chip and should not be changed.
Appendix A
Install the QuantStudio
™
3D Digital PCR System
Install the ProFlex
™
2 × Flat PCR System
A
72
QuantStudio
™
3D Digital PCR System User Guide