Chapter 10 – Steering Calibrations
73
This indicates the system has enough data for the first stage of the
calibration and the mounting bias calibration will be paused at this
point.
11. Proceed to cross the ‘A’ waypoint.
12. When the ‘A’ waypoint has been crossed, turn the vehicle around.
13. Acquire the track ‘0’ and engage the auto steering again.
14. Cross over the ‘A’ waypoint again travelling in the opposite
direction.
15. Set the vehicle speed to 2 kph or 1.2 mph.
16. Steer along the wayline back to the ‘B’ waypoint previously
created.
When the Distance To B is less than 50 m, the blue line on the
Calibration Progress bar will move from 50% and the percentage
will increase.
When the Calibration Progress bar reaches 100% this indicates the
system has enough data for the second stage of the calibration and
the mounting bias calibration is paused at this point.
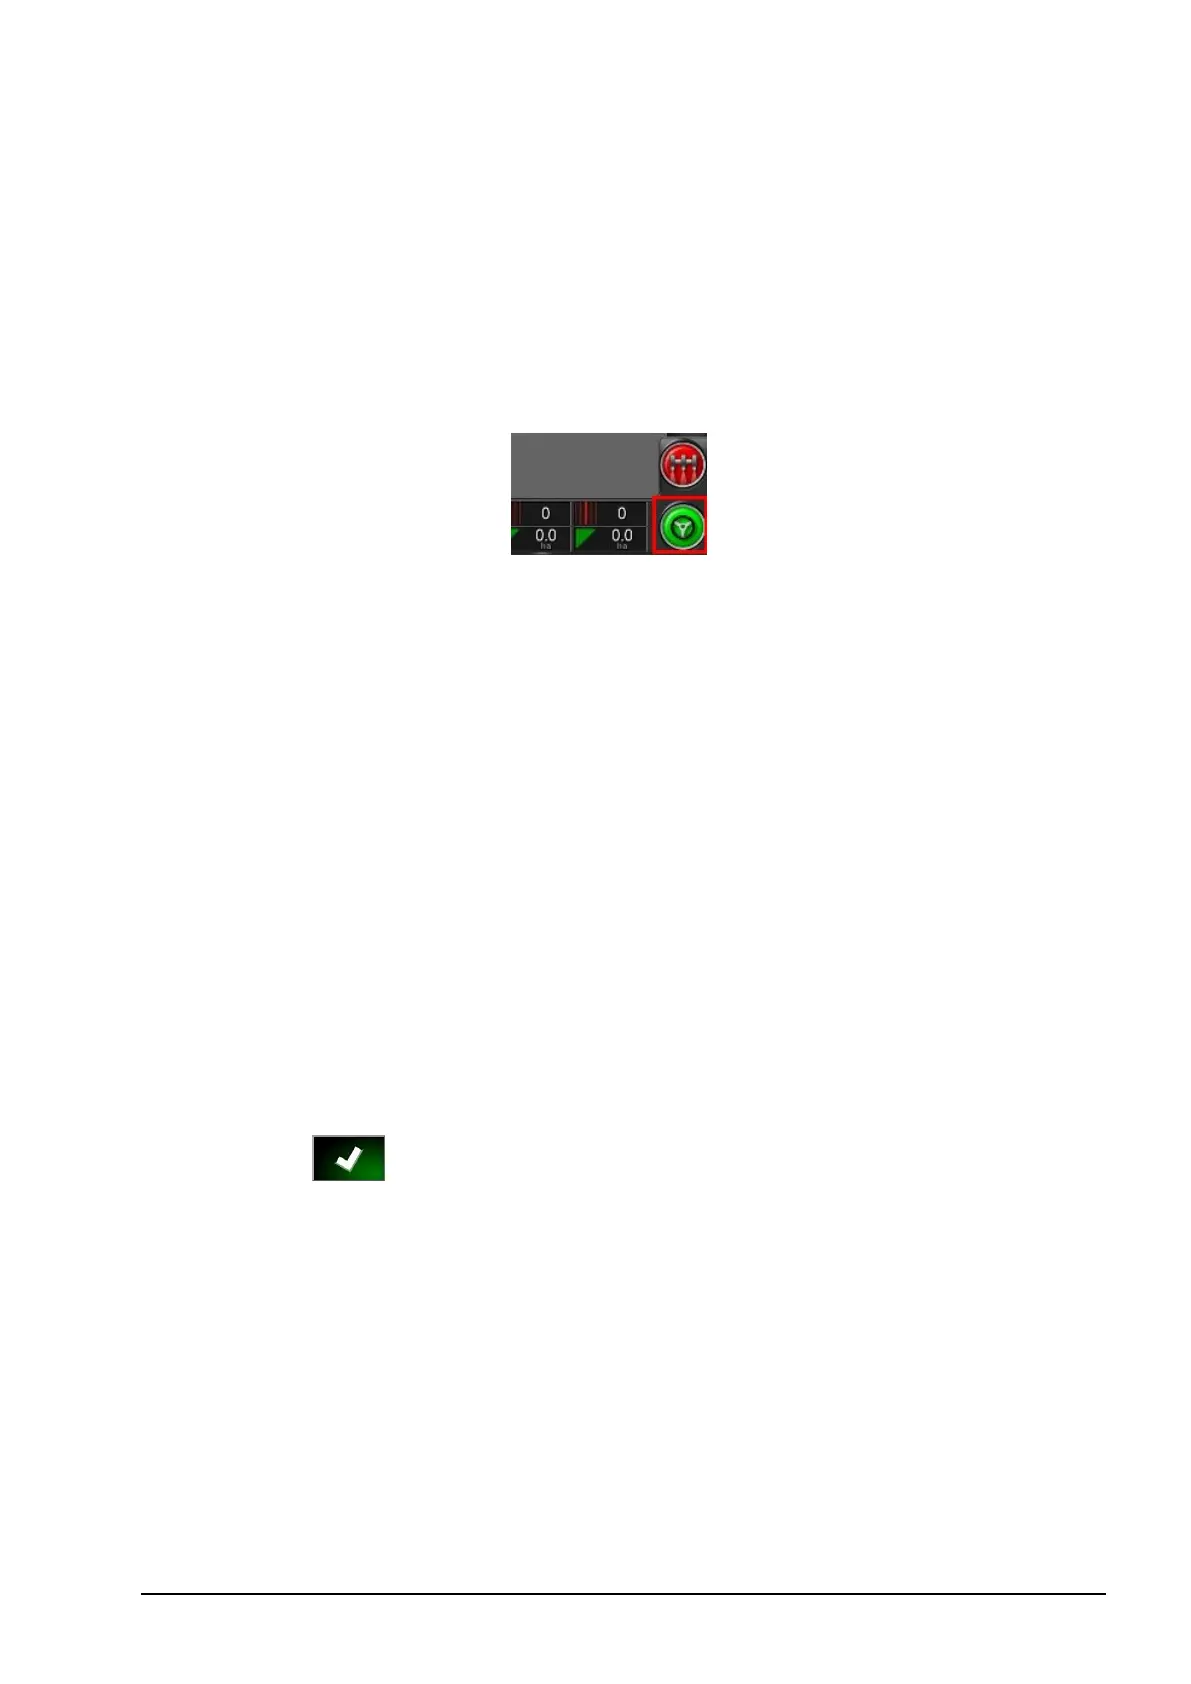
17. Proceed to cross the ‘B’ waypoint.
18. Stop the vehicle. Mounting Bias has been successfully calibrated.
19.
Confirm to return to the calibration screen.
The Steering Calibration screen will display Calibrated for
Compass, Wheel Angle Sensor and Mounting Bias.