10.3. Calibrating the mounting bias
72
the end of the pass and repeats the procedure. It is important that
the vehicle meets the ‘A’ and ‘B’ waypoints within approximately
30 cm, to initiate the next step in the calibration procedure.
3. Reposition the vehicle in an open area. When ready to start the
procedure, select to mark the ‘A’ waypoint.
4. Drive forward in a straight line. The ‘B’ waypoint is created
automatically when the Distance To A indicates 70 m/230 ft.
5. Turn the vehicle around and acquire the wayline just plotted, this
track number should read ‘0’.
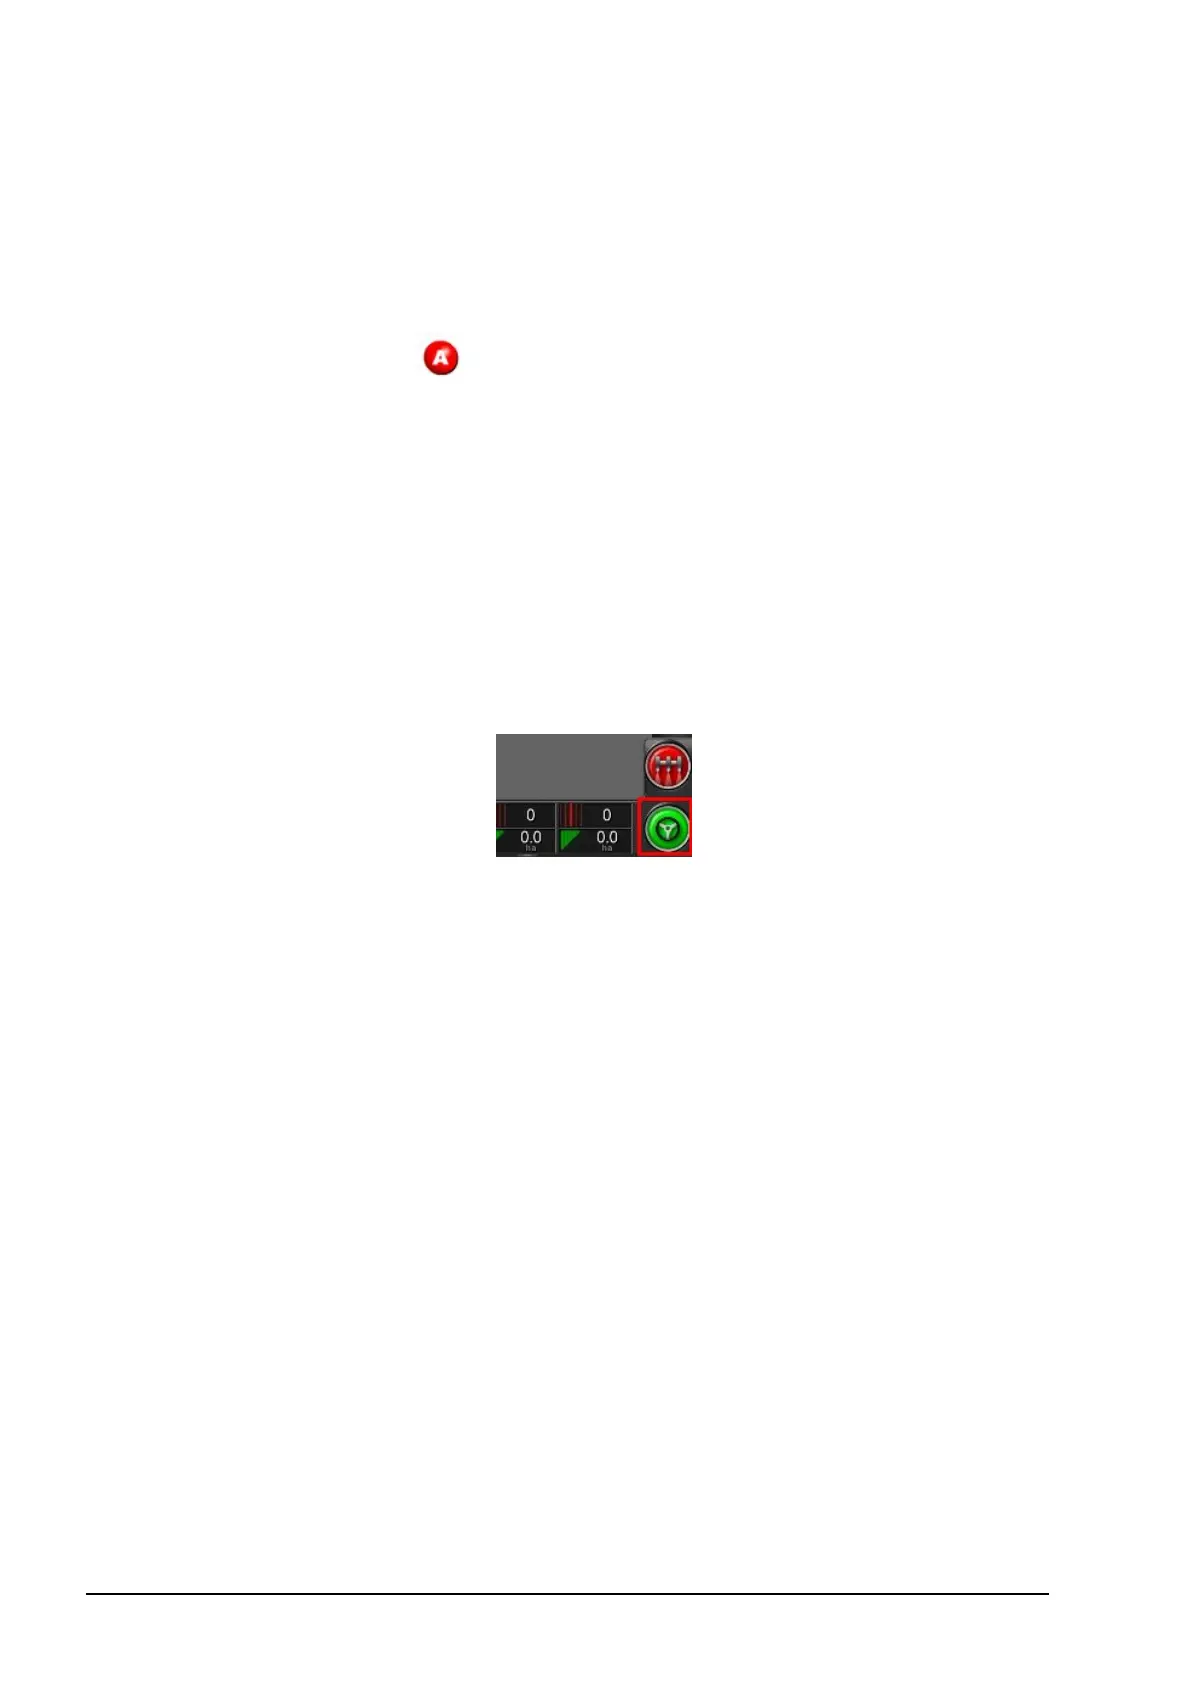
6. Select Auto Steer Engage on the operations screen to steer on the
wayline. The color will turn green, an audible tone will sound and
an ‘engage message’ will flash on screen to indicate the auto
steering has engaged.
If steering does not engage when Auto Steer Engage is selected,
the steering status box will appear.
7. Address any of the issues with red indicators before proceeding
with the mounting bias calibration procedure (work through
issues displayed from the top to the bottom of the screen).
8. Drive the vehicle over the ‘B’ point previously created during the
calibration procedure.
9. Set the vehicle speed to 2 kph or 1.2 mph.
10. Steer along the wayline back to the ‘A’ point previously created.
When the Distance To A indicates 50 m the blue line on the
Calibration Progress bar will start to move and the percentage will
increase.
When the Calibration Progress bar reaches 50% the calibration
bar will stop and the percentage will remain at 50%.