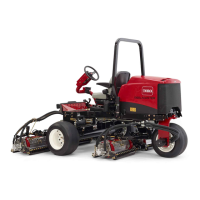
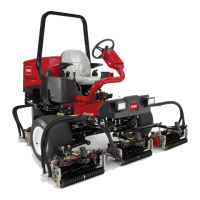
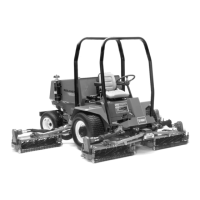
Figure157(continued)
1.Magnetsupport13.Parkingbrakelink25.Flangebushing
2.Washerheadbolt
14.Clevispin
26.Brakepivotbracket
3.Strikebracket15.Cotterpin27.Cotterpin
4.Washerheadbolt
16.Clevispin28.Clevispin
5.Magnetcatch
17.Cotterpin
29.Jamnut
6.Rivet18.Locknut
30.Cotterpin
7.Coverbracket
19.Flatwasher31.Brakelever
8.Controlpanelcover20.Switch
32.Retainingring
9.Locknut
21.Slottedhexheadscrew
33.Adjustmentrod
10.Parkingbrakespacer22.Bolt34.Adjustableclevis
11.Leverassembly23.Nut
12.Flatwasher
24.Brakepivotshaft
RemovingtheBrakeLinkages
1.Parkmachineonalevelsurface,lowercuttingunits,stopengine,engage
parkingbrake,andremovekeyfromthekeyswitch.
2.Removethecontrolpanelcoverfromthemachine.
IMPORTANT
Whenremovingtheadjustableclevisfromeitherthebrakepivot
shaftoradjustmentrodorthebrakeleverfromthecamshaftonthe
brakeassembly,makesuretomatchmarkbothparts.Markingboth
partswillmakereassemblyandbrakeadjustmenteasier.
3.RemovethepartsasnecessarytorepairbrakelinkagesusingFigure157
asaguide.
InstallingtheBrakeLinkages
1.InstalltheremovedpartsontothebrakelinkagesusingFigure157asaguide.
2.Installthecontrolpanelcovertothemachine.
IMPORTANT
Alwayscheckandadjustthebrakesanytimebrakelinkagesare
disassembledorrepaired.
3.Adjustthebrakelinkages(refertoAdjustingtheBrake(page7–3)).
Reelmaster
®
3100-D/3105-D
Page7–19
Wheels,BrakesandChassis:ServiceandRepairs
20252SLRevA

 Loading...


