2.HOW TO MAKE COPIES
22 Basic Copying Procedure
Be careful because the paper exiting area and the paper itself are hot.
The menu shown below may appear when you are using particular modes.
This menu appears when “SADF (single feed mode)” is set to the document feeder or in modes where the original
is placed on the original glass and the scanned data are temporarily stored in the memory, such as sort copying
or 1-sided to 2-sided copying. When this menu appears, follow the procedure below.
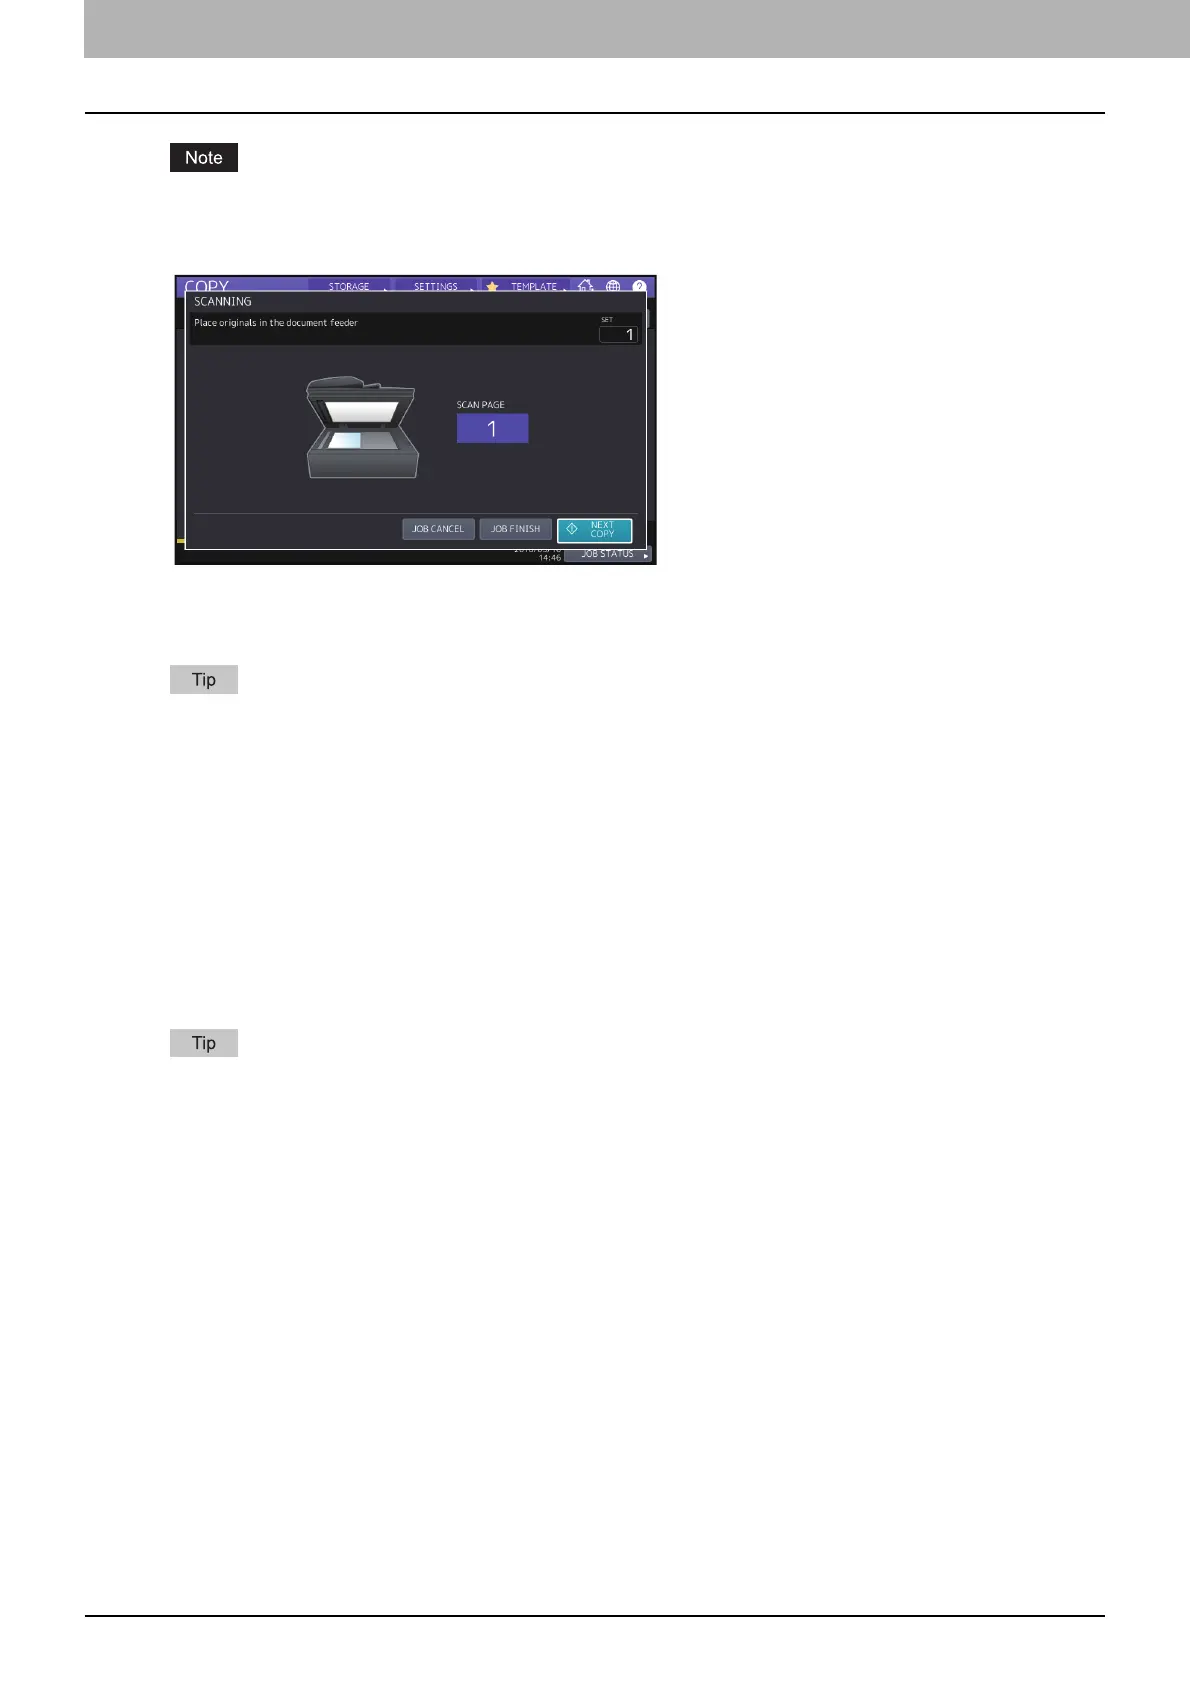
There are different messages displayed on the upper part of the menu for when the originals are scanned through
the ADF and for when scanning is performed through the original glass.
6
Place the next original, and then press the [START] button on the control panel or [NEXT COPY] on
the touch panel.
Scanning starts. (When “SADF (single feed mode)” is set to the document feeder, an original is fed automatically
when it is placed on the ADF.)
7
Press [JOB FINISH] on the touch panel after all the originals have been scanned.
Copying starts.
If you want to stop copying, press [JOB CANCEL].
 Loading...