4-14 Maintenance Procedures
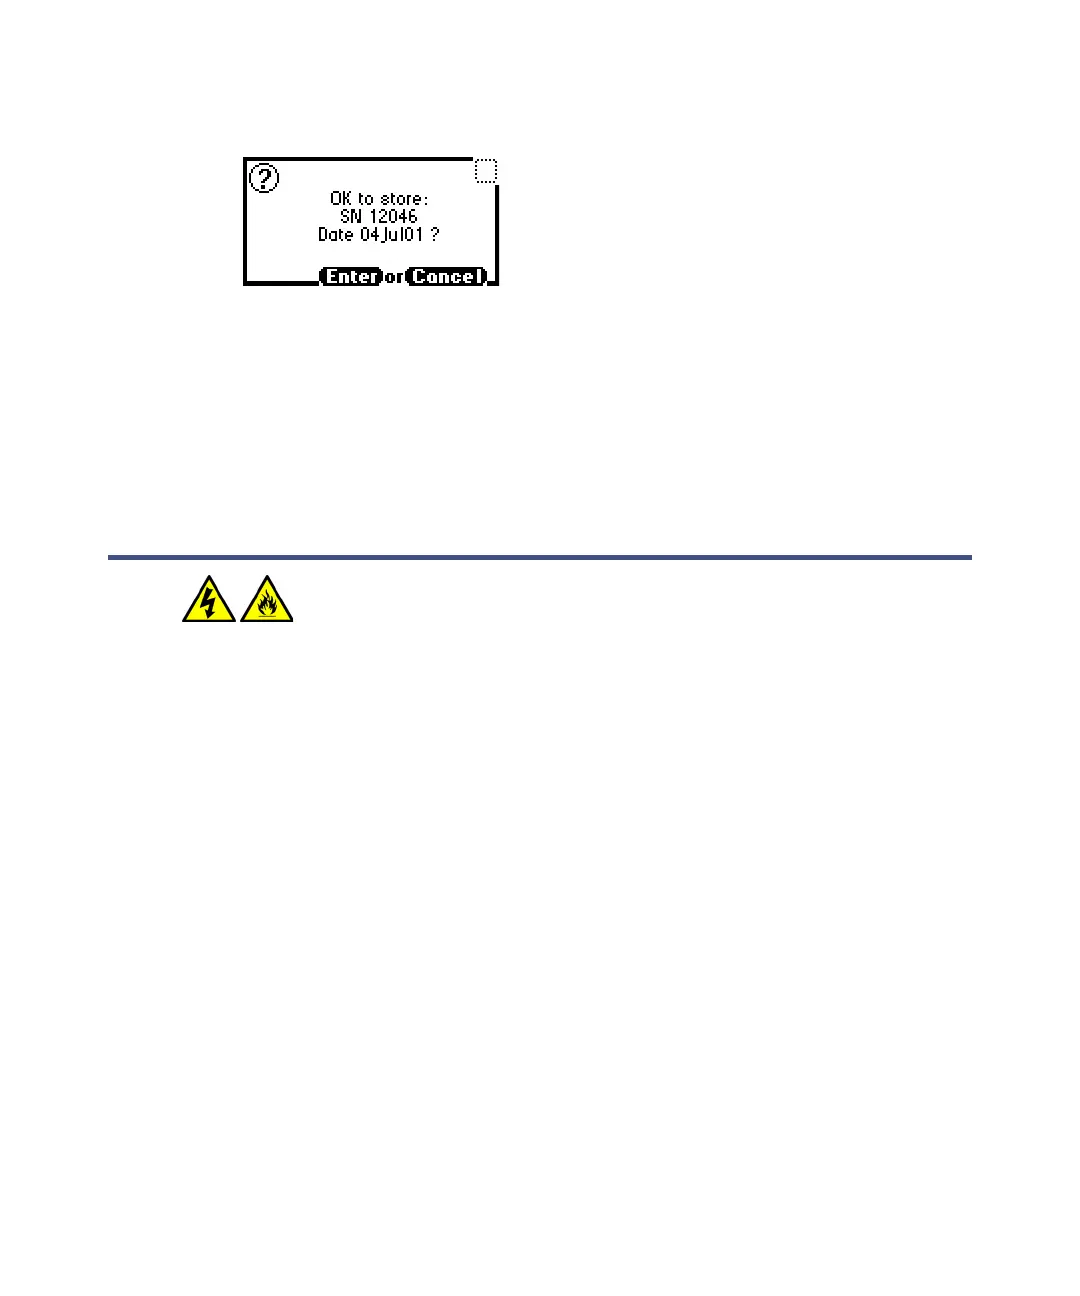
Lamp serial number OK to store message
11. Press Enter if the serial number and date of installation of the new lamp
are correct.
12. Press Enter at the confirmation message.
13. Perform a manual wavelength calibration (see page 3-35).
14. Perform a normalization procedure (see page 3-36).
Replacing the fuses
The detector requires two 100 to 240 VAC, 50 to 60-Hz, F 3.15-A, 250-V
(fast-blow), 5 × 20 mm (IEC) fuses.
Suspect a fuse is open or otherwise defective when
• the detector fails to power-on.
• the display is blank.
• the fans do not operate.
To replace the fuses:
Replace both fuses, even when only one is open or otherwise defective.
1. Power-off the detector and disconnect the power cord from the power
entry module.
2. Insert the tip of a small flat-blade screwdriver into the fuse holder slot
on the rear panel of the detector. With minimum pressure, pull on the
spring-loaded fuse holder and remove it from the rear panel.
Warning: To avoid electric shock, power-off and unplug the 2475
detector before examining the fuses. For continued protection
against fire, replace fuses with those of the same type and rating
only.