08/2012
6-93
WorkCentre 5021/5019
6.4.2.2
General Procedures
Initial Issue
6.4.2.2 NVM Read/Write
Purpose
Refers to the NVM data or changes setting value.
NOTE: For details on NVM No. (Chain-Link), refer to 6.3.5 until 6.3.20 in Chapter 6.
Procedure
1. Referring to NVM Data
(1) Enter the CE Diag Mode.
(2) Input the Chain-Link No. and press the [Start] button.
(3) The current NVM setting value is displayed.
• Numbers of 3 digits or fewer are displayed as right-justified. Numbers of 4 digits
or more will initially have their upper 3 digits displayed as right-justified. Press-
ing the [Start] button allows you to switch the display to the lower digits.
– When there is a next screen, the number will be displayed with a [triangle
mark] at its heading.
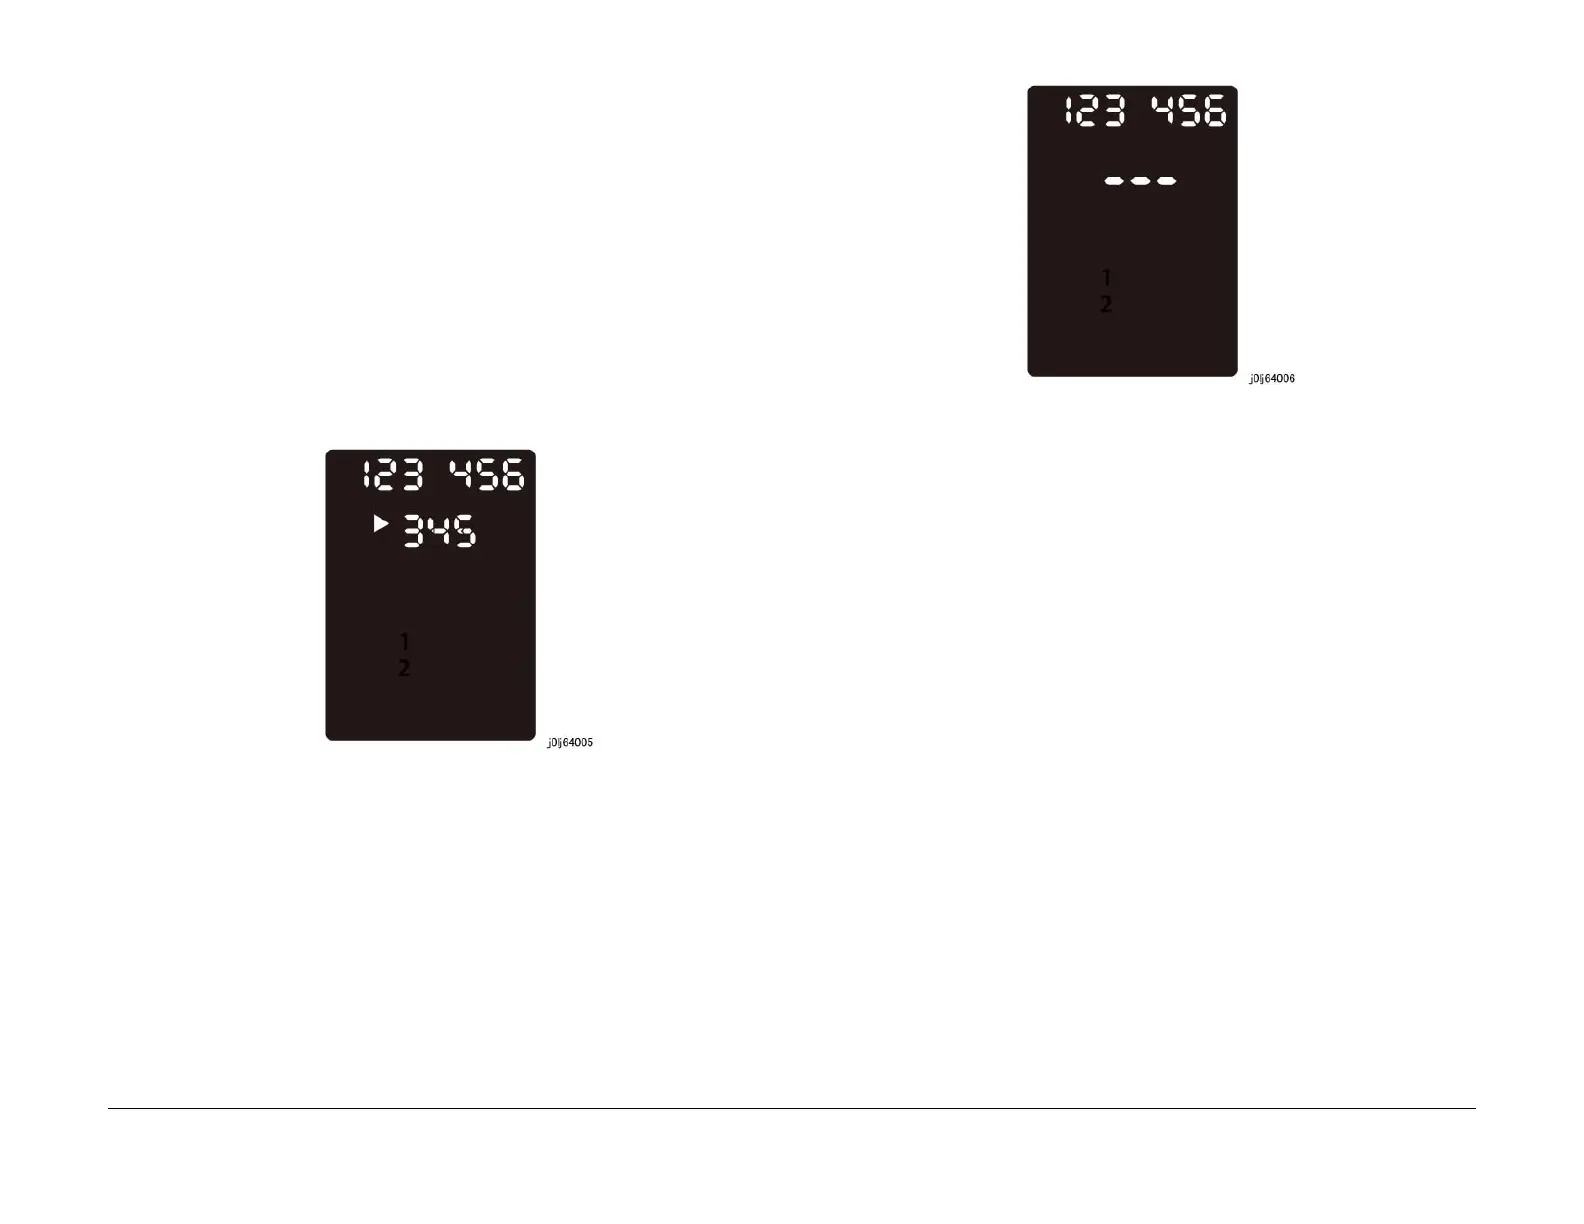
Figure 1 j0lj64005
2. Changing the Setting Value
(1) Pressing the [Start] button when an NVM Read value is being displayed causes the
currently displayed setting value to disappear and displays the cursor for inputting
the setting value that it is to be changed to.
Figure 2 j0lj64006
(2) Input the setting value by using the keypad causes the LED of the [Start] button to
flash and prompt for a confirmation.
• To input a negative value, press the [Cancel Scan Jobs] button to add a nega-
tive sign.
• When the setting value is of 4 digits or more, only the least significant 3 digits
will be displayed as it is being input. When inputting a number of 4 digits or
more, the number will be displayed with a [triangle mark] at its heading.
• When you need to re-input the setting value, the currently input value can be
deleted one-by-one by pressing the [Clear] button.
(3) Pressing the [Start] button again causes the LED of the [Start] button to turn ON and
confirms the setting value.
(4) Pressing the [Clear All] button returns you to the [Chain-Link Number Entry] screen.

 Loading...


