08/2012
6-103
WorkCentre 5021/5019
6.4.2.13
General Procedures
Initial Issue
6.4.2.13 Tone Up/Down
Purpose
Adjusts the toner density.
NOTE: For more details on the Toner Density Adjustment, refer to [ADJ 8.1.1 ATC Sensor
Read & Tone Up / Down] in Chapter 4.
6.4.2.13.1 Tone Up
Purpose
During ATC Sensor Read, if the value of [ATC Average Value] is larger than the [ATC Correc-
tion Target Value], it means that the current toner density is lighter than the target value and
hence Tone Up (output of blank paper) will be performed.
NOTE: The difference between [ATC Correction Target Value] and [ATC Average Value] must
be within 30 and the output is equivalent to A4L_7 sheets.
Procedure
1. Enter the CE Diag Mode and input 923-913 in the Chain-Link.
2. Pressing the [Start] button transitions to the [ATC Sensor Read] initial screen.
(The same as for ATC Sensor Read)
3. Pressing the [Start] button displays the animation to indicate that it is in progress.
After the computation has completed, the result for ATC Correction Target Value will be
displayed.
(The same as for ATC Sensor Read)
4. Pressing the [Original Size] button will display the ATC Average Value and the ATC Cor-
rection Target Value alternately.
5. Press the [Start] button when the ATC Correction Target Value is displayed with a [triangle
mark] at its heading.
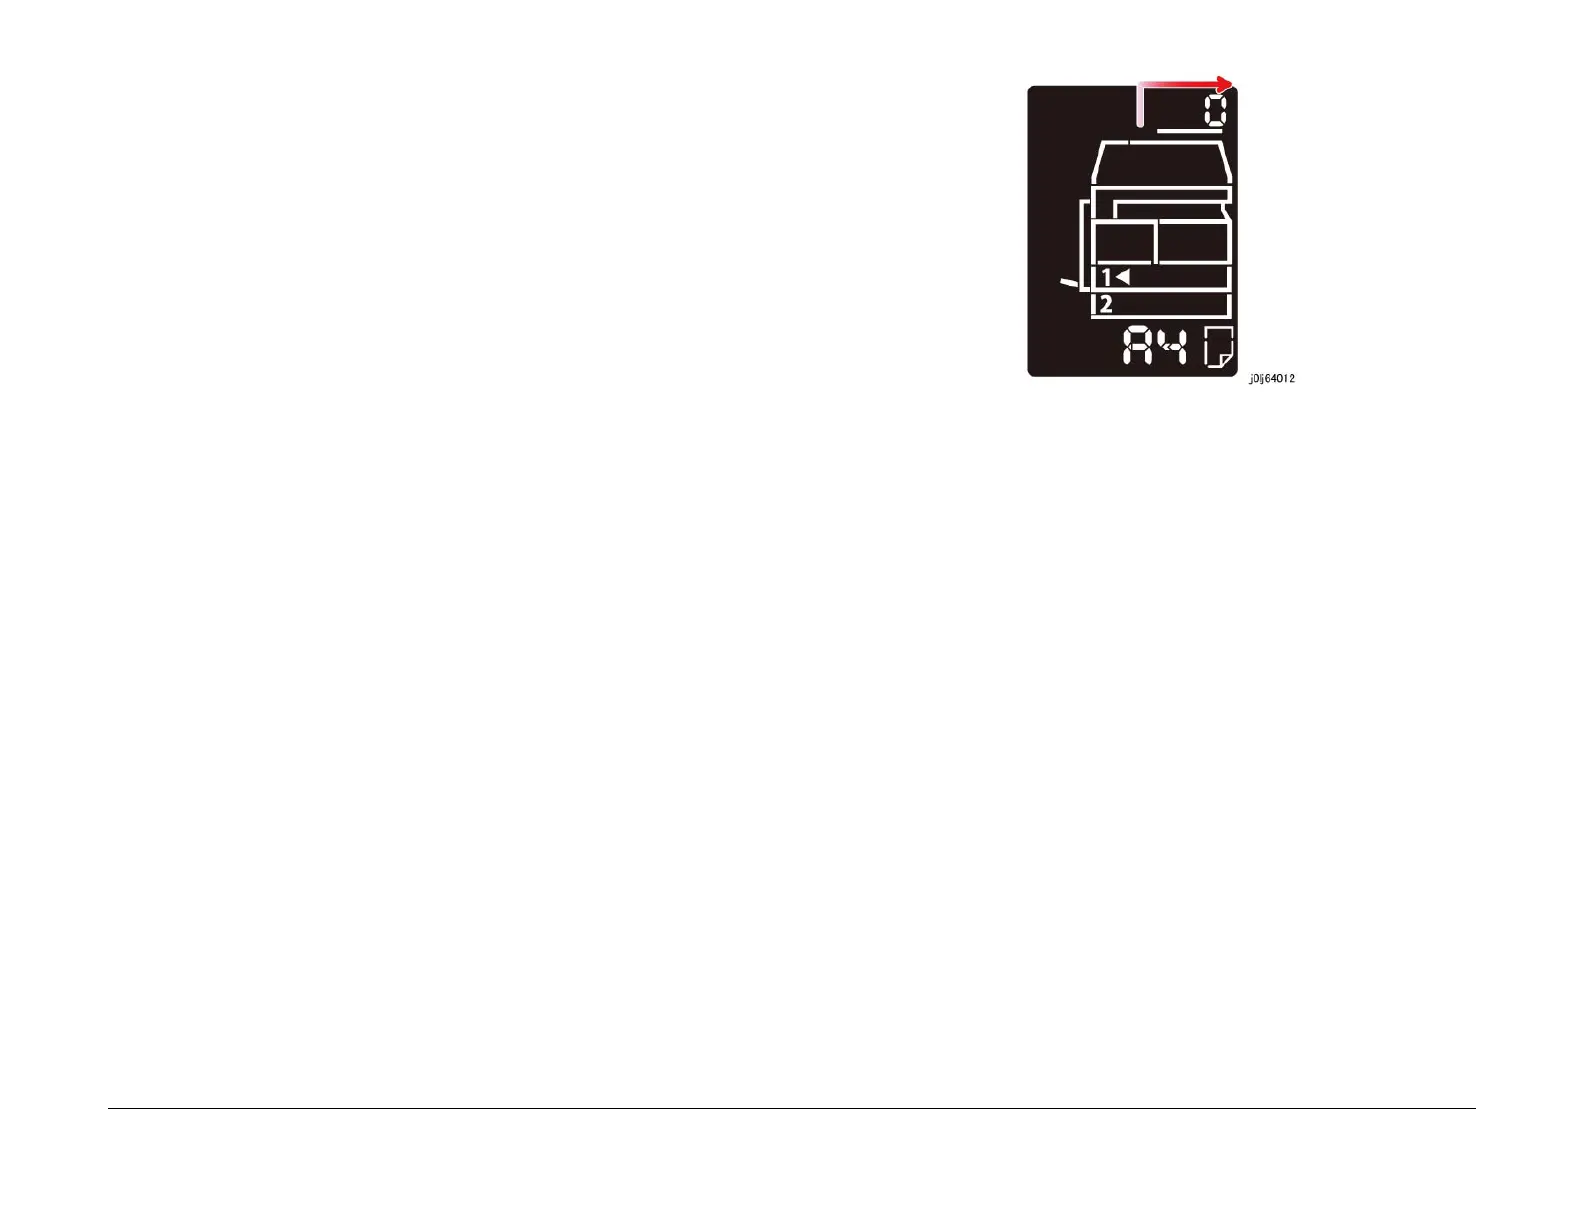
6. Use the [Reduce / Enlarge] buttons (Up arrow, Down arrow) to set the number of blank
paper to be output (1 to 20 sheets).
7. You can change the Tray and the Paper Size by pressing the [Paper Supply] and the
[Size] buttons.
NOTE: The Paper Size can be changed by pressing and holding down the [Size] button.
Pressing the [Start] button after the change returns you to the settings screen.
8. Pressing the [Start] button displays the animation to indicate that it is in progress.
It will count up after each blank paper that is output.
Figure 1 j0lj64012
9. After the last paper is output or when the [Stop] button is pressed, [End] will be displayed
on the UI.
10. Pressing the [Clear All] button returns you to the [Chain-Link Number Entry] screen.
6.4.2.13.2 Tone Down
Purpose
During ATC Sensor Read, if the value of [ATC Average Value] is smaller than the [ATC Correc-
tion Target Value], it means that the current toner density is darker than the target value and
hence Tone Down (printing of black images) will be performed.
NOTE: The difference between [ATC Correction Target Value] and [ATC Average Value] must
be within 30 and the output is equivalent to A4L_7 sheets.
Procedure
1. Enter the CE Diag Mode and input 923-914 in the Chain-Link.
2. Step 2 to Step 5 is the same as for Tone Up
3. Use the [Reduce / Enlarge] buttons (Up arrow, Down arrow) to set the number of solid
black printouts to be output (1 to 20 sheets).
4. Pressing the [Start] button displays the animation to indicate that it is in progress.
The machine will output the specified number of solid black printouts to lighten the toner
density.

 Loading...


