EA$1A
C1«l3
INSTALLING
THE
DRIVE CHAIN
1. Install:
• Drive
cha
in
£CA
17
41
0
NOTICE
~~~~~~~~~~~~~
Be
sure
to
put
on
safety
goggles
when
work-
ing.
TIP
~~~~~~~~~~~~~~-
lnsta
ll
the drive
cha
in joint with the drive chain
cut
& rivet tool.
Drive
chain
cut
&
rivet
tool
90890-01550
YM-01550
••••••••••••••••••••••••••••••••
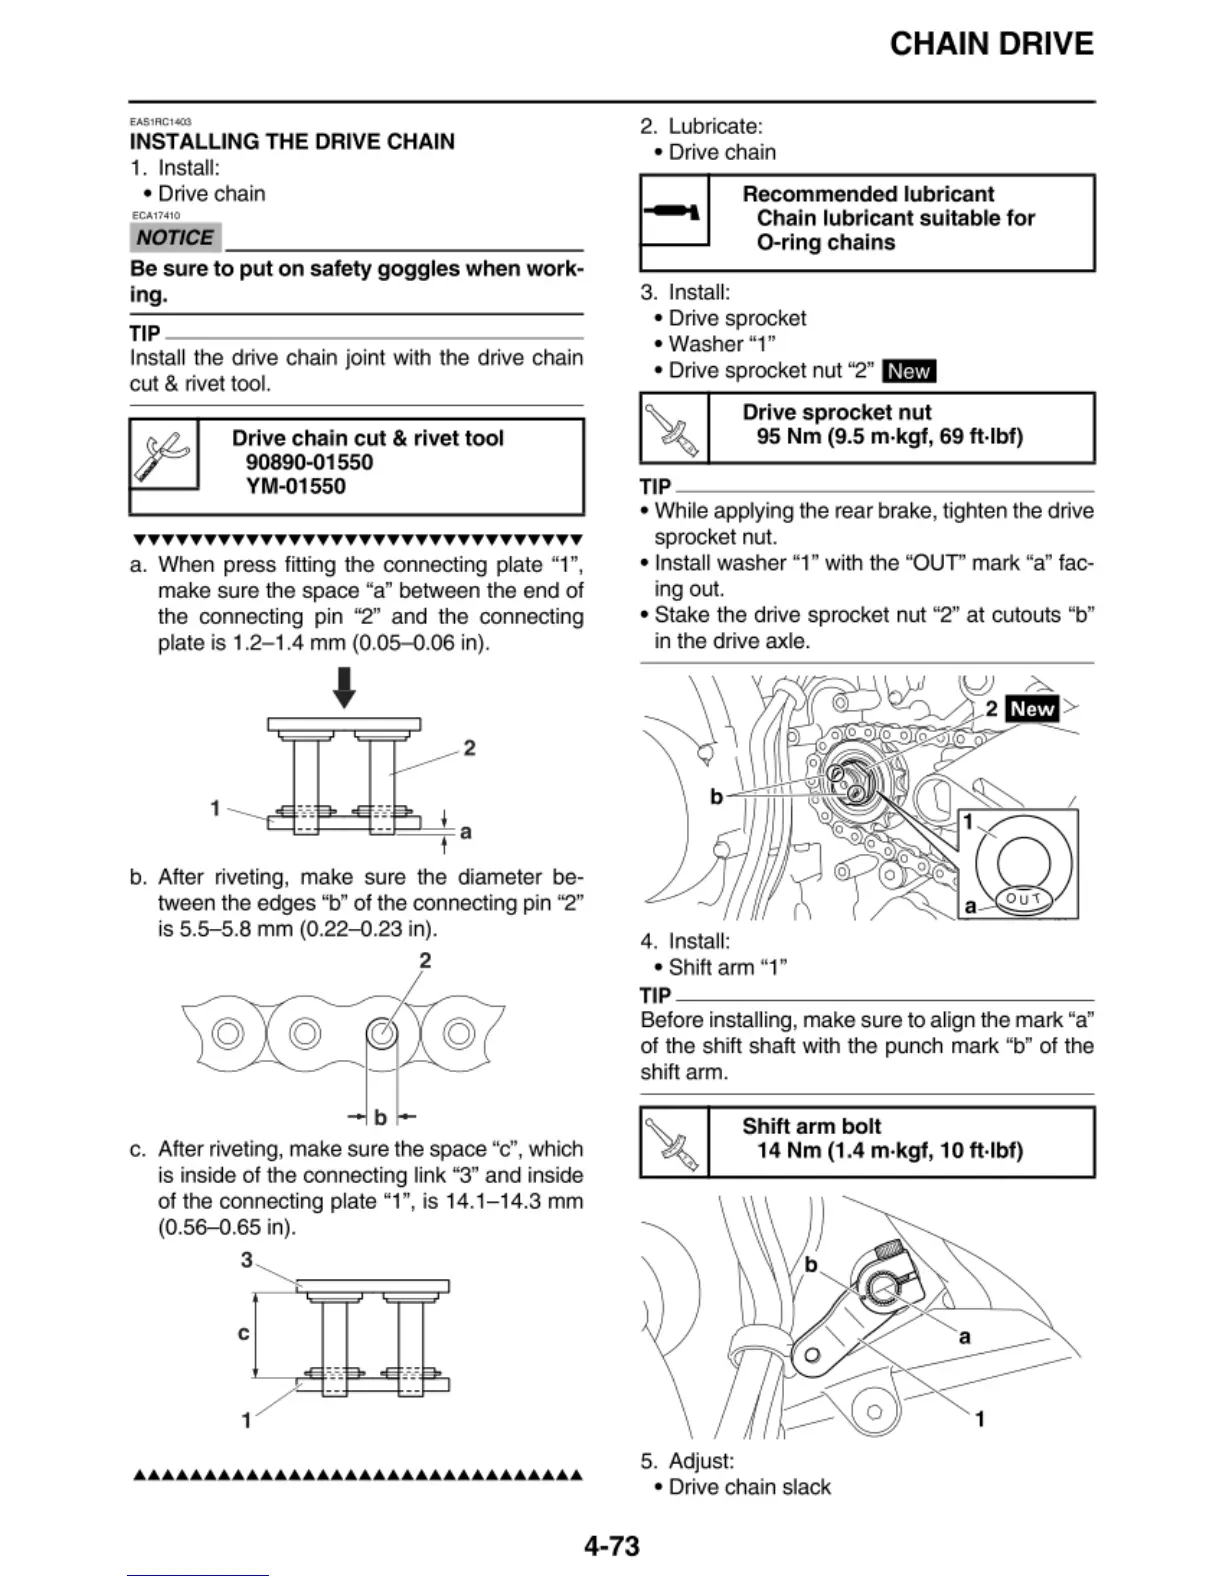
a. When press fitti
ng
t
he
con
ne
cting plate "1
",
make sure the space "a" between the e
nd
of
the connecting pin "2" and the connecti
ng
plate is 1.2- 1.4
mm
(0.05--0.06 i
n)
.
2
1
---
-t_c:,'t.,
·,·
:.7
·
1"
_
"-
_
-':_
't
"
:=J
"
t====
:::::;::
I a
I
b. After riveting, make sure the diameter b
e-
tween the edges "b"
of
the connecting pin "2"
is
5.
5-5.8
mm
(0.22-0.23 in).
2
b
c. Aft
er
ri
ve
ting,
ma
ke sure the space "c", which
is insi
de
of the con
ne
ct
ing
li
nk "3" and insi
de
of
the connecting plate "1", is 14.
1-
14
.3
mm
(0.56-Q.65 in).
3
~
---~
c
1
CHAIN DRIVE
2. L
ub
ricate:
• Dr
ive
chain
Recommended
lubricant
'
Chain
lubricant
suitable
for
0-ring
chains
3. Insta
ll
:
• Dri
ve
sprocket
• W
asher
"1"
•
Dr
i
ve
sprocket nut "2"
l@@W
Drive
sprocket
nut
95
Nm
(9.5
m·kgf,
69
ft-lbf)
TIP
~~~~~~~~~~~~~~-
•
Wh
ile applying the r
ear
brake, tighten the drive
sp
rocket nut.
• Insta
ll
washer
"1"
wit
h the "
OUT
'
ma
rk "a" fac-
i
ng
out.
• St
ake
the drive sprocket
nut
"2"
at cutouts "b"
in the
dr
i
ve
ax
le.
4. Insta
ll
:
• Shift arm "1"
TIP
~~~~~~~~~~~~~~
Before installing,
ma
ke sure to
al
ign the mark "a"
of
the shi
ft
shaft with the punch mark "b"
of
the
sh
i
ft
ar
m.
Shift
arm
bolt
14
Nm
(1
.4
m·kgf,
10
ft-lbf)
5. Adjust:
• Dri
ve
chain sla
ck
4-73



 To Next Page