chargi
ng.
T
IP
~~~~~~~~~~~~~~
Voltage should be measured 30 mi
nu
tes after
the engine is stopped.
b. Connect a charger and ammeter to t
he
bat-
tery and start chargi
ng
.
TIP
~~~~~~~~~~~~~~
Set the charging voltage to 16-17
V.
If the set-
ting is lower, charging will be insufficient.
If
too
hig
h,
the battery will be over-charged.
c. Make sure that the current is h
ig
her than the
standard chargi
ng
current written on t
he
bat-
tery.
TIP
~~~~~~~~~~~~~~~
If the current is lower than the standard charging
current written on the battery,
se
t the charging
voltage adjust dial at
20-24
V and monitor the
amperage for
3-5
minutes to check the battery.
• Standard charging current is reached
Battery is good.
• Standard charging current
is
not reached
Replace the batter
y.
d. Adjust the voltage so that t
he
current is
at
the
standard charg
in
g leve
l.
e. Set the time according to t
he
charging time
su
itable for the open-circuit voltage.
f.
If charging requires more than 5 hours, it is
advisab
le
to check the chargi
ng
current after
a lapse of 5 hours. If there is any change in
the amperage, readjust t
he
voltage to obta
in
the standard charging curren
t.
g. Measure t
he
battery open-circuit voltage after
leaving the battery unused for more than 30
minutes.
12.8 V or more --- Charging is complete.
12.7 V
or
less --- Recharging
is
required.
Under 12.0 V --- Replace the battery .
••••••••••••••••••••••••••••••••
YYTTTYTTTYYTTTYTTTYYTTYYTTTYTTTY
C
harging
me
th
od
using
a
constant
voltage
cha
r
ger
a. Measure the open-circuit voltage prior to
chargin
g.
TIP
~~~~~~~~~~~~~~
Voltage should be measured 30 minutes after
the engine is stopped.
b. Connect a charger and ammeter to t
he
bat-
tery and start charging.
ELECTRICAL COMPONENTS
c. Make sure that the cu
rr
ent is higher than the
standa
rd
ch
arg
ing cu
rr
ent w
ri
tten on the bat-
tery.
TIP
~~~~~~~~~~~~~~
lf
the current is lower than t
he
standard charging
current written on the battery,
th
is type of battery
charger cannot charge the VALA (Valve Regu-
lated Lead Acid) battery. A variable voltage
charger is recommended.
d. Charge the battery until the battery's cha
rg-
ing voltage is 15
V.
TIP
~~~~~~~~~~~~~~
Set the charging time
at
20 hours (maximum).
e. Measure the battery open-ci
rcu
it voltage after
leaving the battery unused
fo
r more than 30
minutes.
12.8 V
or
more --- Charging is complet
e.
12.7 V
or
less --- Recharging is required.
Under 12.0 V --- Replace the battery.
••••••••••••••••••••••••••••••••
6. Insta
ll
:
• Battery
Re
fer to "GENERAL CHASSIS" on page 4-1.
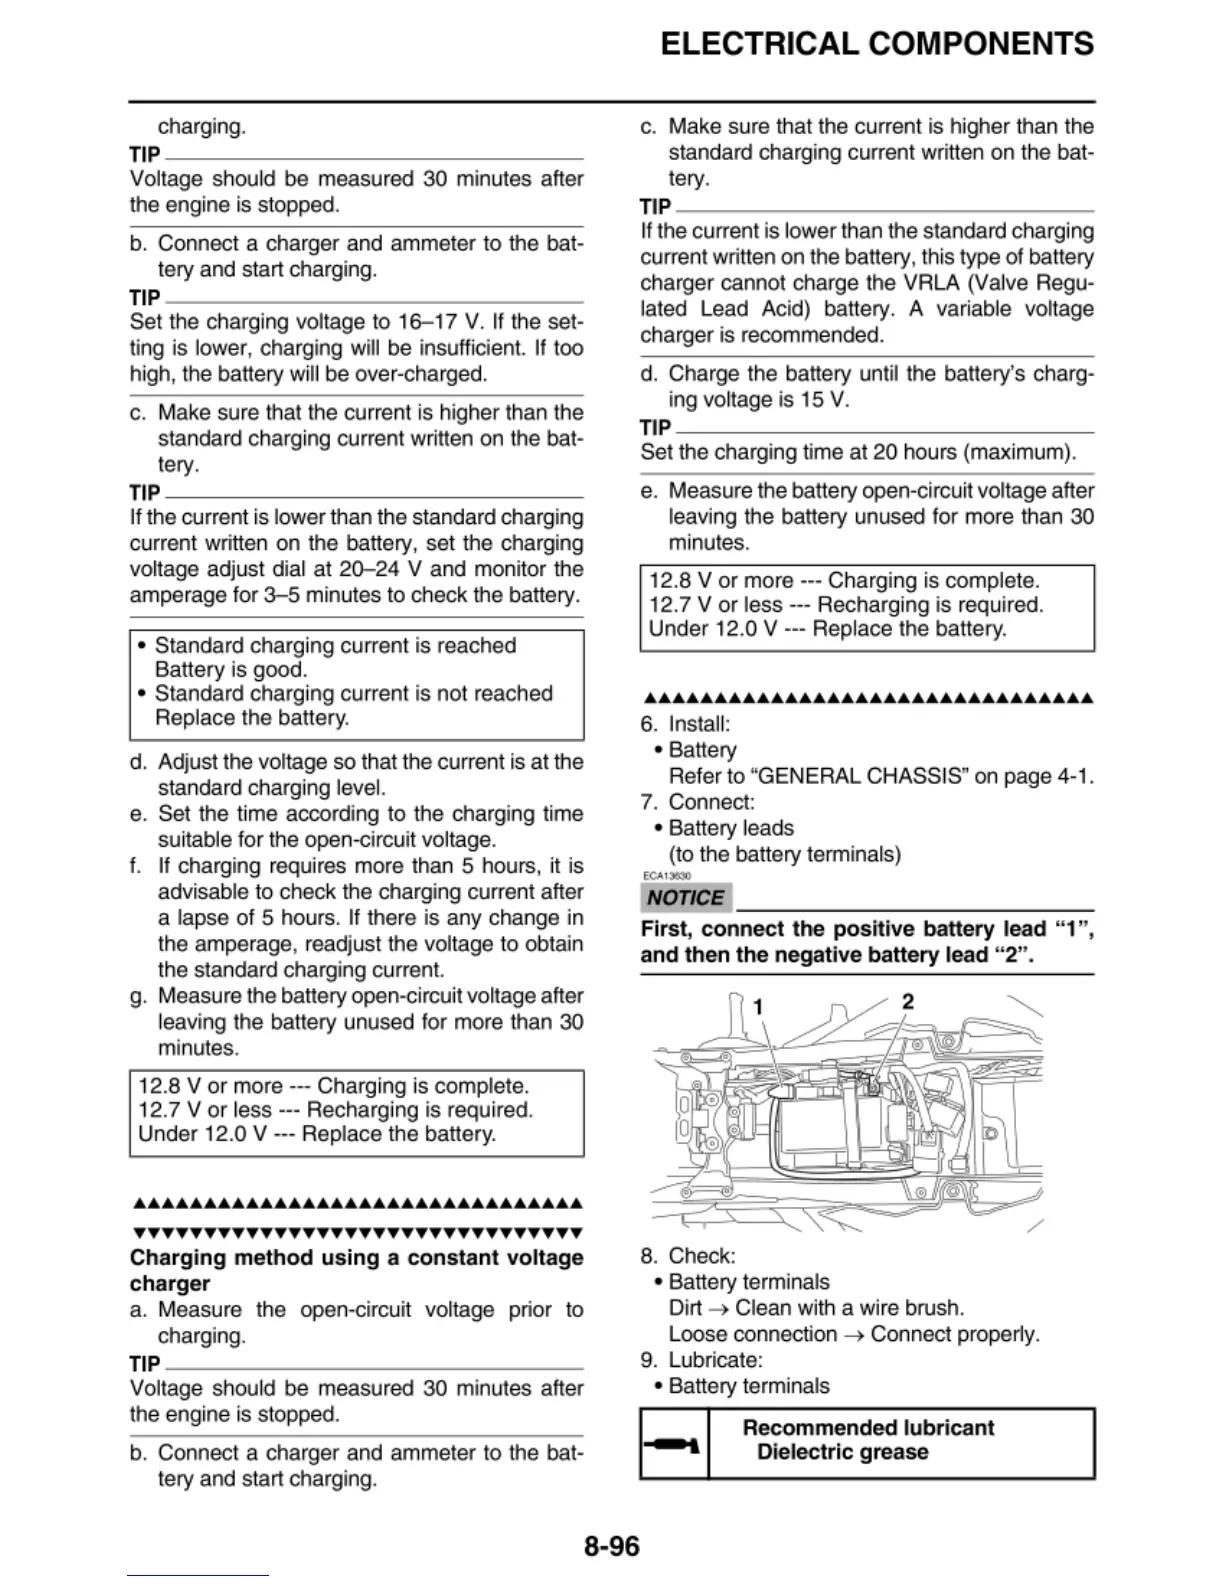
7.
Connect:
•
Ba
tt
ery leads
(to the battery terminals)
NOTICE
~~~~~~~~~~~~~
First,
connect
th
e
po
siti
ve
batt
ery
le
ad " 1
",
and then the negative battery lead
"2".
8. Check:
•
Ba
tt
ery term
in
als
Dirt 4 Clean with a wire brush.
Loose connection
4 Connect properly.
9. Lub
ri
cate:
• Ba
tt
ery term
in
als
Rec
omm
ended l
ubri
ca
nt
1--al
Diel
ectric
grease
8-96



 To Next Page