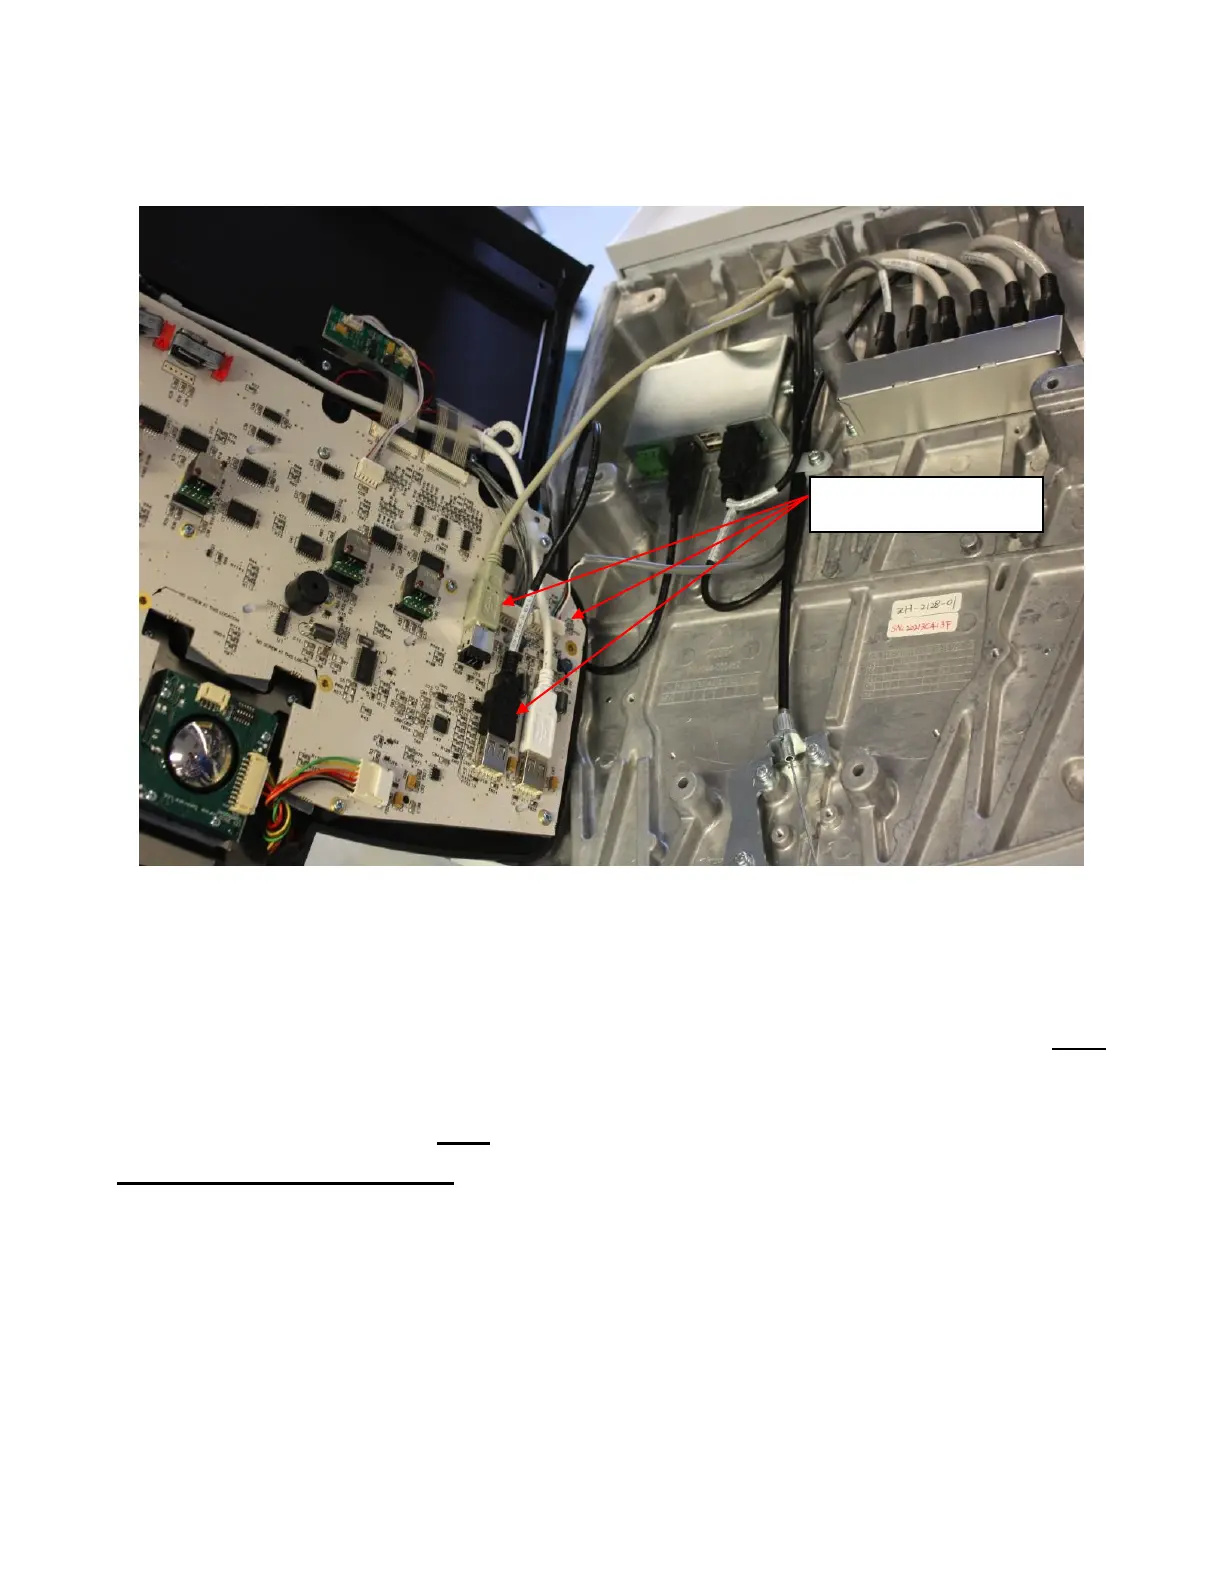
5. While lifting the User Interface and exposing the underside of the UI, disconnect the USB and
power cables from the UI assembly connectors on the bottom side of the User Interface PCB as
shown below.
6. Reverse the steps above to install the replacement User Interface.
If replacement of the trackball is required, proceed to Trackball Replacement steps prior
to re-installing the User Interface (Refer to section below).
If replacement of the QWERTY keyboard is required, proceed to QWERTY
Replacement steps prior to re-installing the User Interface (Refer to section below).
Trackball Removal/Replacement: (if changed separately)
1. Ensure the User Interface is removed per steps 1 thru 5 of User Interface Removal Procedure
above.
2. Set the user interface (keys facing down) on a surface that will not damage the surface of the
User Interface.