6
Printer
- 6.1
Connecting to a Printer
36
6
Connecting to a Printer
Note
Use the postscript printer for printing data.
Consult the network manager when connecting a network (LAN) printer.
Read the manual concerning how to set up an IP address for the printer.
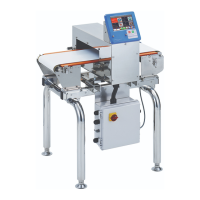
Connecting a Printer to USB Port
Connect the USB cable of the printer to the USB port of the
display module.
Touch the "Printer" button in the "Setting
tab) to display the "Printer" screen.
Select "USB" on the "Printer" screen.
Restart the AD-4971.
Fig. 447 PPrinter Screen (USB)
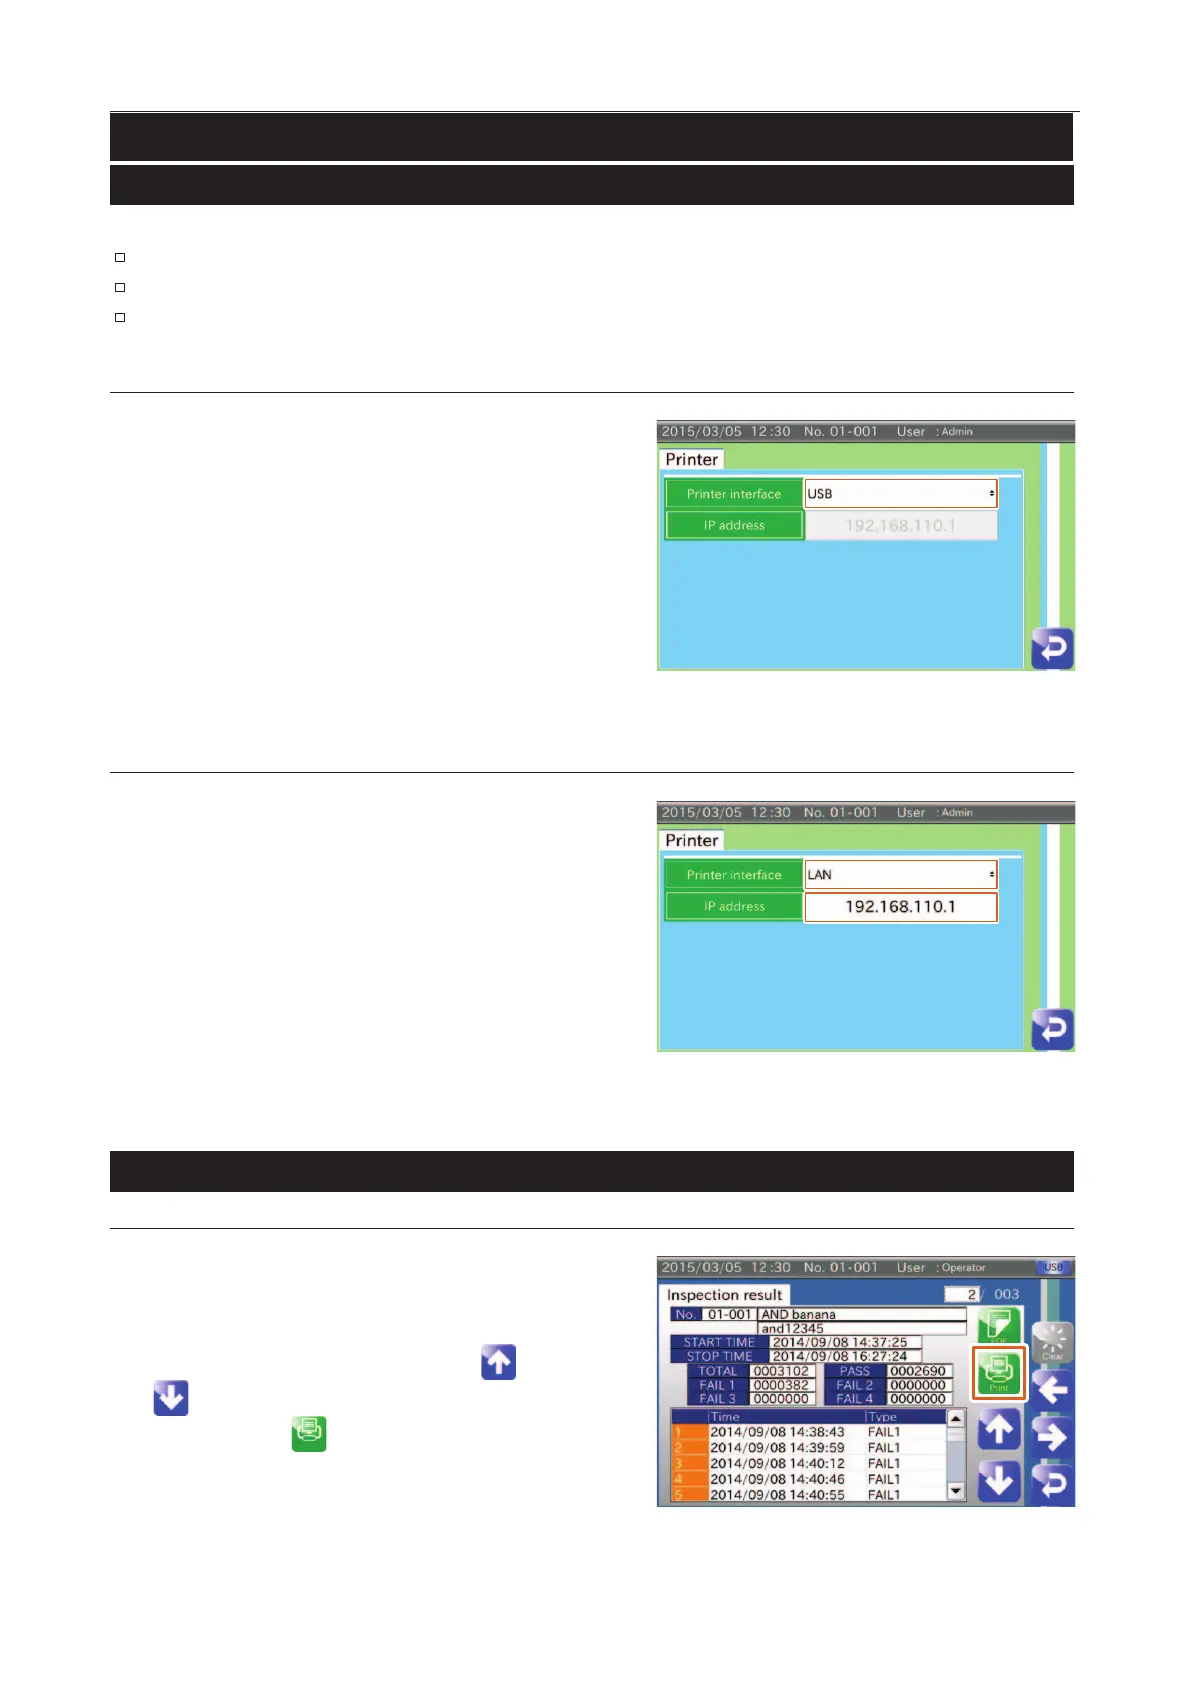
Connecting a Printer to LAN Port
Connect the LAN cable of the printer to the LAN port of the
I/O box.
Touch the "Printer" button in the "Setting
tab) to display the "Printer" screen.
Select "LAN" on the "Printer
" screen. Input the IP address of
the LAN printer.
Restart the AD-4971.
Fig. 448 PPrinter Screen (LAN)
Printing Results and History
6.2.1.
Printing Inspection Results and History
Display the "Inspection results" screen in the "History"
screen.
Connect the printer to the USB port or LAN port.
Select an inspection result using the "Up " and "
" icons.
Touch the "Print " icon to display the "Printing
counter" dialog box and touch the "YES" button.
Fig. 449 IInspection Results Screen