Installation and Maintenance Manual - Aastra 5000 AMT/PTD/PBX/0058/4/6/EN
Maintenance 01/2011 Page 435
• Check that the functional
technical state of the new
card is compatible with
the old one.
• Install the i-button
module.
• Install the i-button module of the old IUCV-D card on the new
card.
• Insert the new card into its
slot.
• Slide the card along the card guides until it clicks into place.
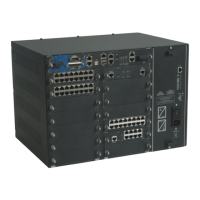
• Lock the card in place using the 1/4 turn locks (see Figure 4.1).
Nota : The IUCV-D card can be hot-plugged in an
operational AXD iPBX.
• Perform the wiring exactly
as in the old cabinet.
• Perform a software check. • Check the software release of the card on the AMP (see
document [1]).
• Contact your distributor if the details do not coincide.
• Check the card indicators. For a card fitted with indicators, check that the yellow and/or green
indicators on the front panel are on, and that no red indicator is on
(refer to Section 4.4 to check that the operating conditions indicated
by the LEDs are correct).
• Activate the IUCV-D card
from the AMP.
Refer to the document Aastra Management Portal AXD-AXL-AXS-
AXS12-A5000 Server – Operating Manual.
• For a duplex
configuration, reactivate
the passive UCV-D card
from the AMP.
Refer to the document Aastra Management Portal AXD-AXL-AXS-
AXS12-A5000 Server – Operating Manual.
Nota : In a duplex configuration, the two UCV-D cards
(active and passive) communicate through the
IUCV-D card. When the IUCV-D is removed, the
duplex function stops working. The status of the
passive UCV-D card then changes to "alarm" or
"faulty". It is, therefore, necessary to reactivate the
passive UCV-D card.
• Back up the customer
configuration.
Table 17:
OPERATION DETAILS OF THE OPERATION / COMMENTS
 Loading...